Quick answer
Let the oven cool, remove the racks, scrape out loose crumbs, then use a baking-soda paste and time to soften baked-on grease before wiping and rinsing. Follow your manual for steam-clean or high-temperature self-clean cycles, never mix cleaners, and keep caustic oven spray away from heating elements, the gasket and your skin.
An oven does not need to look showroom-perfect to be clean. It needs to be free of loose crumbs, thick grease and residue that smokes every time you bake. The safest method is slower than a harsh spray: identify the oven, remove what you can, soften the grime, wipe in stages and follow the manual for any automatic cleaning cycle.
This ten-step process works for a conventional electric or gas oven. Read the owner’s manual first, especially if the oven is self-cleaning, steam-cleaning, coated with a special finish or still under warranty.
1. Identify the oven and read its cleaning instructions
Before you reach for a product, find the model manual or the manufacturer’s care page. Ovens differ in what they allow around the door glass, heating elements, racks, fan openings and interior coating.
Look for three separate functions:
- Manual cleaning: usually a cool oven, mild detergent or an approved paste and a damp cloth.
- Steam clean: a short, lower-temperature cycle for light spills on models that include it. GE describes its steam-clean process as a way to loosen small spills, not a replacement for every deep clean.
- High-temperature self-clean: a much hotter cycle that reduces residue to ash. It has specific preparation, ventilation and pet-safety instructions.
Do not assume a different brand’s instructions apply to your oven. The manual is the rule when it conflicts with a generic tip.
2. Cool, isolate and protect the work area
Wait until the oven is completely cool. Remove pans and baking stones, turn the controls off and, for a built-in appliance or any work near electrical parts, follow the manual’s power-isolation instructions. Do not spray into a warm oven: cleaner can flash, spread fumes and burn you.
Put an old towel on the floor and open a window or run the extractor fan. Wear gloves, and use eye protection if you are working with a labelled commercial product. Keep children and pets out of the area. If the oven is gas-powered, do not disturb the gas connection or burner parts while cleaning.
3. Remove racks, trays and loose accessories
Take out the racks, roasting trays, thermometers and removable side supports if the manual says they can come out. Clean these separately so you can reach the oven walls instead of pushing grime around.
Soak metal racks in hot water with dish soap in a bathtub, large basin or plastic storage box. After 30 minutes, scrub with a non-scratch pad, rinse and dry. A ball of foil can scratch some finishes, so do not use it unless your manual specifically permits it. Leave racks out until the interior is finished.
4. Scoop and scrape loose crumbs before adding water
Use a dry paper towel, soft brush or plastic scraper to gather burnt crumbs from the floor and corners. A vacuum with a suitable nozzle can collect cold crumbs, but do not drag the nozzle across hot surfaces or use it on wet cleaner.
A plastic scraper is safer than a metal knife for enamel. Work gently around the door seal, fan cover and heating elements. The aim is to remove what will fall away easily, not to gouge the coating.
5. Make a mild paste for baked-on grease
For ordinary enamel interiors, mix baking soda with enough water to make a spreadable paste. Apply a thin layer to greasy walls, the floor and the inside of the door, avoiding heating elements, vents, the gasket and any area your manual says to leave dry.
The paste does not need to fizz to work. Baking soda gives you mild abrasion while the water and waiting time soften residue. If you use a commercial oven cleaner instead, check the label and your manual first: some self-cleaning ovens prohibit it, and some interior surfaces are not compatible with caustic spray.
6. Let the paste work instead of scrubbing harder
Close the door and leave the paste for several hours or overnight. For a light spill, 30–60 minutes may be enough. Put a note on the oven so nobody turns it on while the paste is inside.
This is the step that saves your enamel. If the grease is still hard when you return, add a little moisture and wait longer rather than attacking the surface with steel wool or a sharp tool. Thick carbon may take two gentle passes.
7. Wipe, rinse and repeat until the residue is gone
Use damp microfibre cloths or a non-scratch sponge to lift the softened paste. Rinse the cloth often in clean water; otherwise you are redistributing grease. Follow with several clean-water wipes until the interior no longer feels gritty or chalky.
A small amount of white vinegar on a separate damp cloth can help with a remaining alkaline film, but it is optional. Never combine vinegar with bleach, ammonia or a commercial cleaner. Chemical mixtures can release dangerous fumes. Keep liquid out of control panels, vents, the fan opening and electrical components.
8. Clean the door glass without scratching or flooding it
The door is usually easier to clean when it is flat, but only lower it or remove it if the manual gives instructions. Wipe loose crumbs first, then use a damp cloth with dish soap or the approved baking-soda paste. Let residue soften, wipe gently and rinse with a clean damp cloth.
Do not use a razor blade, abrasive powder or scouring pad on glass unless the manufacturer explicitly allows it. Do not pour liquid into the gap between panes. If grime is trapped inside double glass, follow the manual’s access procedure or have an appliance technician handle it rather than forcing the door apart.
For the outside, a small amount of glass cleaner on a cloth is safer than spraying directly at the handle, controls or door seams. Our streak-free window-cleaning guide has the same dry-edge and final-buff technique for the glass surface.
9. Choose steam-clean or self-clean carefully
Automatic cycles are tools, not shortcuts you can use blindly. Use this stop-and-check matrix before choosing one:
| Oven condition or task | Safer route | Stop and check |
|---|---|---|
| Ordinary food residue on a known enamel interior | Cool manual clean with an approved mild method | The manual forbids a paste, water or a particular abrasive |
| Light spill on a model with steam clean | Use the manual’s water amount and cycle, then wipe | The model has no steam function or the spill is heavy |
| Heavy grease before self-clean | Remove loose soil and follow the self-clean preparation steps | Smoke, damaged lining, unknown finish or a manual warning |
| Cleaner needed on a coated or self-cleaning interior | Use only a product and surface combination the label and manual allow | The label says caustic, the manual says no cleaner, or the finish is unknown |
| Grime between door panes or near sealed components | Follow the manufacturer’s access procedure or call a technician | The door must be forced apart, the gasket is damaged or liquid entered the gap |
If the label and manual disagree, stop and follow the manufacturer’s instructions or obtain appliance advice. This table is a decision aid, not a universal approval list.
- Steam clean: use the exact water amount and cycle in the manual. It is suited to light spills and still requires wiping afterward. GE’s guidance notes that racks may remain in some steam-clean models, but your model decides.
- High-temperature self-clean: remove racks and accessories as directed, wipe out heavy loose soil first and ventilate. Whirlpool warns that heavy soil can create more smoke and that birds are especially sensitive to the fumes; move pet birds to another closed, well-ventilated room.
- No automatic cycle: continue with the manual paste-and-wipe method. Do not improvise by placing a tray of chemicals in a hot oven.
Stay nearby during a self-clean cycle. If smoke becomes heavy, cancel it when the manual permits, ventilate and let the oven cool before investigating. Never pour water into a hot oven to suppress smoke.
10. Reassemble, test and prevent the next hard clean
Rinse and dry the racks, replace them and check that the gasket sits flat. Remove every cloth, scraper and loose crumb from the oven. Run an empty oven briefly only when the manual says it is safe, with ventilation on, and stop if you smell burning insulation, see unusual smoke or notice a fault.
Preventive cleaning is easier than a deep clean:
- Wipe a fresh spill after the oven cools, before it bakes on.
- Put a baking sheet on a lower rack to catch drips, never directly on the oven floor unless the manual permits it.
- Do not line the oven floor with foil; it can block heat or damage the finish on some models.
- Check the door seal and remove crumbs from the threshold during a monthly wipe.
- Wash racks and the interior lightly every few months, or sooner if smoke or smell returns.
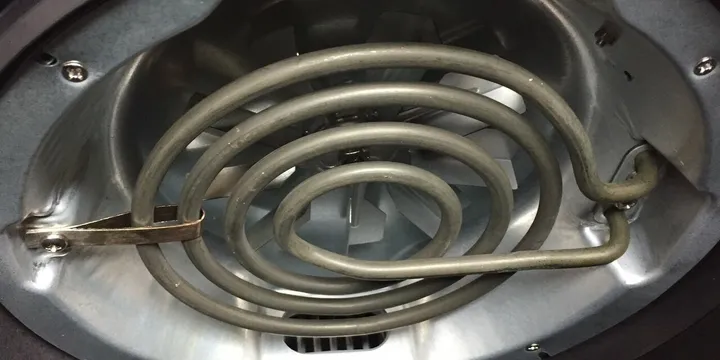
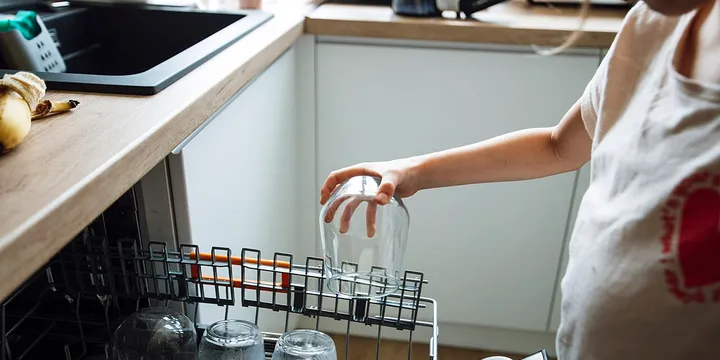
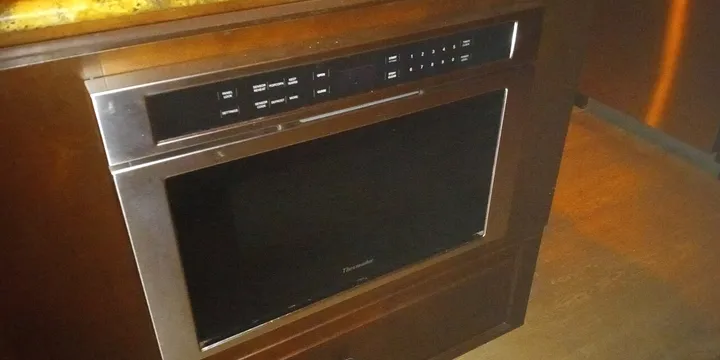
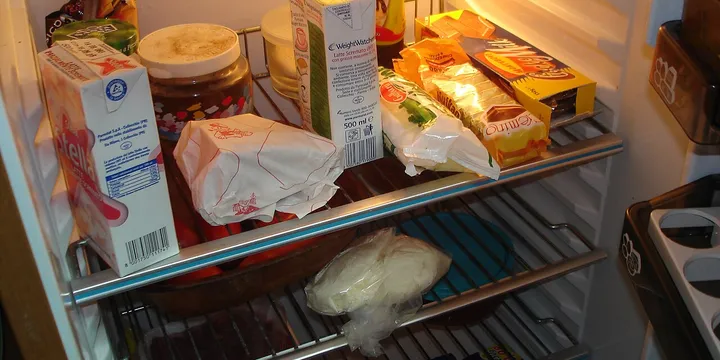
For another frequently overlooked kitchen appliance, use this dishwasher-cleaning guide to check the filter, spray arms and drain area. For a smaller cooking appliance, the air-fryer cleaning guide covers basket, drawer and heating-area care, while the microwave-cleaning guide covers steam-softening, safe wiping and door-care details. If you are working through the rest of the kitchen next, the refrigerator-cleaning guide covers the food-safety and cold-storage steps that an oven guide cannot.
When to use commercial oven cleaner
Commercial oven sprays can be highly caustic. Poison Control recommends reading the label carefully, following the directions exactly and storing the product closed and out of sight of children and pets. Use gloves, eye protection and ventilation, and never mix it with another cleaner. If it touches skin or eyes, follow the product’s first-aid directions and contact your local poison centre or emergency service as appropriate.
Stop and call an appliance professional if the oven has damaged insulation, a loose door, a persistent gas smell, an electrical fault or contamination inside a sealed component. For ordinary food residue, a cool oven, time and repeated clean-water wipes are usually enough. If a spill has become a fabric or floor stain outside the appliance, the stain-removal guide covers the same blot-first principle without risking the oven’s finish.
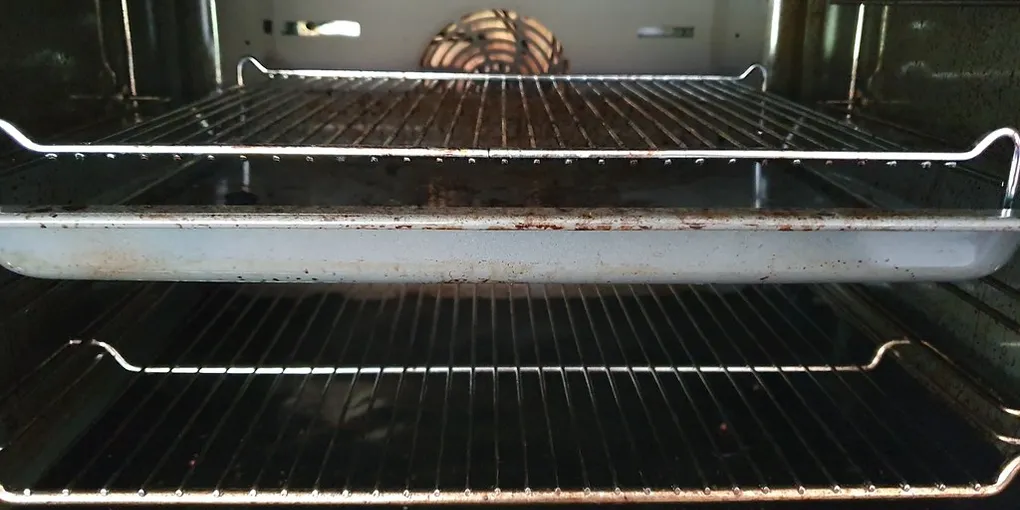
Hero image: textlad, CC BY-SA 4.0, via Wikimedia Commons.
Sources
Frequently Asked Questions
What is the easiest way to clean a very dirty oven?
Let the oven cool, remove the racks, scrape out loose debris and cover the interior with a baking-soda-and-water paste. Leave it several hours or overnight, then wipe with damp cloths and rinse until no residue remains. Use a commercial oven cleaner only if the product and your oven manual allow it.
Can I use baking soda and vinegar to clean an oven?
Baking soda is useful as a mild abrasive and grease-loosening paste. A little white vinegar on a cloth can help lift remaining residue, but the fizz from combining the two is not the main cleaning action. Never mix vinegar with bleach, ammonia or another cleaner, and keep liquids away from electrical parts.
Should I use the self-clean function on my oven?
Only if your oven has that feature and the owner's manual permits it for the current condition. Remove items as directed, ventilate the room, keep children away and move pet birds to another well-ventilated room because high-temperature cycles can create fumes. Heavy soil can produce smoke, so manual cleaning may be safer first.
How do I clean oven racks without damaging them?
Remove the racks and soak them in hot water with dish soap in a tub or large container. Use a non-scratch pad, rinse and dry them completely before replacing them. Do not put racks through a self-clean cycle unless your specific manual says they can stay inside, because heat can discolor or damage their finish.