How to Clean a Microwave: 10 Steps for Grease and Odor
Quick answer
Unplug the microwave for cleaning, remove the turntable, and loosen stuck food with steam from a microwave-safe bowl of water. Let the hot container stand before removing it, then wipe the cavity with mild soap and water, clean the door and controls without spraying them, and avoid abrasive pads, oven cleaner, ammonia and bleach.
A microwave can look clean from across the kitchen while grease sits on the ceiling, dried sauce clings to the turntable and a burned smell lingers behind the door. The good news is that you usually do not need a special product. You need a safe container, a little steam, a soft cloth and enough time to let loosened food wipe away.
This is a general cleaning method, not a replacement for the owner’s manual. Interior coatings, filters, vents, turntables and special steam-clean programs vary by model. GE’s microwave cleaning recommendations put the manual first and recommend mild, non-abrasive cleaning methods. If your manual says something different, follow it.
1. Pick a safe cleaning window
Clean after the microwave has cooled, and choose a moment when you can leave the door open briefly afterward. You will need a microwave-safe bowl, water, mild dish soap, soft cloths or paper towels, a non-scratch sponge and a dry towel. A soft toothbrush can help around the door edge, but do not use anything sharp to scrape the cavity.
Put a small bin nearby for crumbs and a towel on the counter for the turntable. Keeping the supplies simple makes it less tempting to reach for a strong oven product that was not designed for a microwave interior.
2. Disconnect power before cleaning
For maintenance, GE advises unplugging the microwave to reduce the possibility of electric shock. Unplug it before wiping the controls, exterior or interior. If the plug is inaccessible, use the model’s manual for the correct isolation procedure rather than reaching around a built-in appliance.
Never clean around a damaged cord, loose outlet or exposed wiring. Stop and arrange qualified service if you see electrical damage, scorching or a part that has come loose.
3. Empty the cavity and remove loose crumbs
Take out food, packaging and anything that is not part of the appliance. Remove the glass turntable and its roller ring if the manual allows them to come out. Brush loose crumbs into the bin before adding water; otherwise, they can turn into a paste on the first wipe.
Look at the ceiling, side walls, rear wall and the area around the door. Dried splatter is easier to deal with when you know where it is, and a quick inspection can reveal a cracked cover, peeling coating or other damage that should not be scrubbed.
4. Make steam only with a model-appropriate method
Some manufacturers, including GE, describe a water-filled microwave-safe bowl as a way to soften cooked-on food. The amount, power and time below are an example—not a universal setting. If your manual does not describe steam cleaning, use a damp cloth and skip this step.
- Use the container, water amount, power and time specified by your manual. For the GE example, about one cup of water is heated for about three minutes, followed by a five-minute stand.
- Never heat an empty microwave, and never leave the appliance unattended if the manual or local guidance says otherwise.
The bowl and water will be hot. Do not rush to grab them when the timer stops. The FDA’s microwave guidance notes that many microwave injuries are heat burns from hot containers, overheated food or erupting liquids. Use an oven mitt, open the door carefully and keep your face and hands away from the steam.
Do not heat an empty microwave. The FDA notes that some ovens should not be operated empty, so the water-filled bowl is important and your manual wins on the exact procedure.
5. Wipe the loosened soil from top to bottom
After the standing time, wipe the ceiling first, then the side walls, rear wall and floor. Use a soft damp cloth or sponge. Work in small sections and rinse the cloth often so you lift grease instead of spreading it.
For ordinary splashes, warm water is often enough. If you need more cleaning power, use a small amount of mild dish soap in the water. Wipe again with clean water to remove soap, then dry the cavity with a fresh towel.
Do not flood openings, vents, the light, the control panel or the area around the door switches. A damp cloth is safer than pouring or spraying liquid into the appliance.
6. Treat stubborn spots gently
If a patch is still hard, repeat the steam step rather than forcing it. You can hold a warm, damp cloth against the spot for a few seconds, then wipe with a non-scratch sponge. A baking-soda-and-water paste may be appropriate for some interiors, but only use it when the manual or manufacturer allows it.
GE specifically warns against commercial oven cleaners, abrasive cleaners and cleaners containing ammonia or bleach on microwave parts. Skip steel wool, scouring powder, metal scrapers and anything that could scratch the coating. Do not mix products: a clean cloth, fresh water and one mild product at a time are enough.
7. Wash the turntable and roller ring
Carry the glass turntable with both hands and wash it with warm water and mild dish soap. Clean the underside, the centre hub and the roller ring where crumbs collect. Rinse away detergent and dry both parts before putting them back.
Let a cold glass turntable warm gradually before exposing it to very hot water. Do not put it in a dishwasher unless the owner’s manual says it is dishwasher-safe. If the ring does not lift easily, check the manual instead of levering it with a knife.
8. Clean the door without spraying it
Wipe the inside and outside of the door with a soft, damp cloth and mild soap if needed. Clean the rim and the sealing surfaces carefully, then wipe away soap residue with clean water. Keep the door’s mesh, hinges, latches and seals free of greasy buildup, but do not press, bend or pry at them.
Clean the handle and the area around it, where fingerprints and food film build up. Never spray cleaner directly onto the door, control panel or vents. Put the cleaner on the cloth, use very little liquid and dry the surface immediately.
9. Wipe the controls and exterior
Use a barely damp cloth on the control panel, followed by a dry cloth. This is especially important for touch controls and the seam around a built-in unit. Wipe the top and sides only if you can reach them safely; do not move a heavy microwave or remove a cover just to clean behind it.
If your model is an over-the-range microwave, its grease filter and underside may have separate instructions. Check the manual for filter removal and cleaning. Do not assume the filter, vent path or charcoal component can be washed just because the outside looks dusty.
10. Remove odors and finish with a dry reset
If the microwave smells, remove the food source first. Wipe away every visible spill, wash the turntable and leave the door open while the cavity dries. For a persistent odor, check the manual before using lemon or vinegar. Some manufacturer guidance describes adding one of them to water, but a model-specific instruction should decide what is safe for your interior.
Put the dry turntable and roller ring back, plug the microwave in and run it only when you are ready to use it. After cooking, cover food that is likely to splatter, wipe fresh spills once the cavity is safe to touch and leave the door open for a short time if the manual permits.
Choose the safe cleaning route
| What you find | Use this route | Stop and get advice when |
|---|---|---|
| Loose crumbs or ordinary splashes | Cool, unplugged appliance; soft cloth and mild soap | The cord, outlet or controls are damaged |
| Dried food on an approved interior | Manual-approved steam or damp-cloth method, then rinse and dry | The manual does not permit the water, paste or cleaner |
| Grease on the turntable or roller ring | Remove only if the manual allows; wash separately and dry | Glass is hot, cracked or cannot be removed safely |
| Peeling coating, damaged waveguide cover or sparking | Stop cleaning and stop using the appliance | Contact the manufacturer or a qualified technician |
| Grime between door panes or around a sealed component | Follow the manufacturer’s access procedure | Do not force the door apart or pour liquid into gaps |
This matrix is a decision aid, not a substitute for the model manual. Manufacturer instructions control power isolation, water amounts, dishwasher use and approved cleaners.
When cleaning should stop
Do not keep scrubbing if the interior coating is peeling, the waveguide cover is damaged, the door does not close properly, the hinges or latches are bent, or the microwave sparks when it should not. The FDA says a damaged door, hinge, latch or seal can present a radiation-safety concern and recommends contacting the manufacturer. Unusual noise, smoke or a burning smell is also a reason to stop using the appliance and arrange service.
A clean microwave is mostly a maintenance habit: cover messy food, wipe spills before they harden and use steam when you miss one. For the rest of the kitchen, the oven-cleaning guide covers baked-on grime, while the refrigerator guide combines appliance cleaning with food-safety checks.
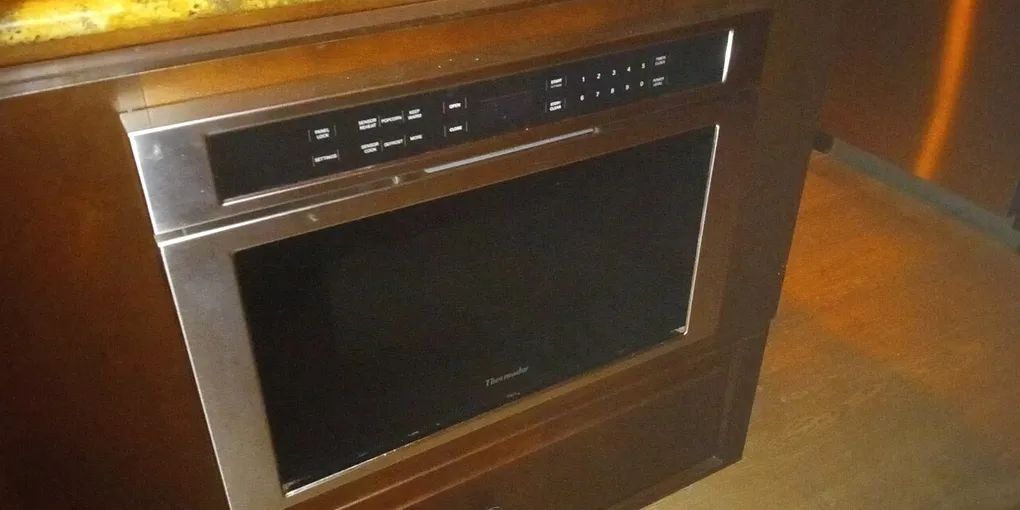
Hero image: Sonny doe, CC BY-SA 4.0, via Wikimedia Commons.
Sources
Frequently Asked Questions
What is the best thing to clean the inside of a microwave with?
Start with a soft cloth or sponge, warm water and a small amount of mild dish soap. Use a model-approved baking-soda solution for stubborn soil, rinse away residue and dry the cavity; your owner's manual takes priority over a general recipe.
How do you clean burned food out of a microwave?
Remove loose debris, heat a microwave-safe bowl of water to create steam, let the bowl stand before touching it, and wipe the softened soil. Repeat rather than attacking the cavity with an abrasive pad or oven cleaner.
Can you clean a microwave with vinegar or lemon?
Some manufacturers describe diluted vinegar or lemon in water for steam cleaning or odors, but surfaces and instructions vary. Check your manual, keep the liquid in a microwave-safe container, and never mix cleaning products.
How often should you clean a microwave?
Wipe fresh spills as soon as the microwave is cool enough to handle, then do a fuller clean whenever grease, odor or dried splatters return. A short weekly wipe and a deeper monthly check is a practical starting routine, not a universal manufacturer schedule.