Quick answer
Clean windows on a cool, cloudy day: dust and wash the frame first, use a small amount of dish soap in warm water, then squeegee from top to bottom with overlapping strokes and wipe the blade after each pass. Finish the edges with a dry microfiber cloth, and never overreach from a ladder.
Windows rarely need a complicated chemical routine. They need less dirt before the water arrives, less soap than you think, and a squeegee that is still flexible and clean. Most streaks come from one of four things: dust turned into mud, solution drying on the glass, a dirty blade, or a cloth that is already carrying yesterday’s grime.
This nine-step method works for ordinary interior and exterior glass. Check the window manufacturer’s instructions first if you have low-emissivity coatings, decorative film, stained glass, unusual frames or a warranty that specifies a cleaner.
1. Pick the right day and clear the area
Choose a cool, cloudy day without strong wind if you can. Direct sun warms the glass and dries the cleaning solution while you are still working, which leaves mineral and soap marks behind. Work in small sections if the weather gives you no choice.
Move lamps, plants and furniture away from the inside sill. Outside, move toys, hoses and garden tools out of your footing area. Keep pets and children away from open windows, buckets and wet floors. If a window opens onto a drop, treat it as a safety task first and a cleaning task second.
2. Gather a small, clean kit
You do not need a cupboard full of sprays. Set out:
- A bucket of warm water.
- A few drops of ordinary dish soap, or a glass cleaner approved for your window type.
- A good squeegee with a straight, uncracked rubber blade.
- Several clean microfiber cloths, including one reserved for final edges.
- A soft brush or vacuum attachment for dry dust.
- A small, soft sponge for frames and sills.
- An extension pole for reachable exterior glass.
Use separate cloths for frames, glass and the final polish. A cloth that wiped a muddy sill will put a new film across a clean pane. If you choose a commercial product, the EPA’s Safer Choice label is one way to find products assessed against a standard for safer ingredients; it is not a reason to ignore the product label.
3. Remove dust before adding water
Close the window and brush or vacuum the frame, sill, corners and screen track. Sweep cobwebs away from the outside frame. A dry pass prevents grit from becoming wet grit that you drag across the glass.
Remove insect screens if they come out easily. Mark which screen belongs to which opening if several look identical. Do not force a stuck screen or lean through an open upper-floor window to reach it; that is a repair or professional-cleaning problem.
4. Wash the frame, sill and screen first
Use a damp sponge with a little soapy water on the frame and sill, then wipe with clean water and dry. Start at the top so dirty water falls onto an area you have not finished. Pay attention to the drainage holes on the outside sill, but do not poke them with a sharp tool.
For screens, lay them flat if possible, brush or vacuum both sides gently, then rinse or wipe according to the screen material. Let them dry completely before reinstalling. A wet screen against a frame can hold moisture where you cannot see it.
The car-interior cleaning guide uses the same dry-first, low-moisture principle.
5. Mix a mild solution, not a bubble bath
For routine glass, add a few drops of dish soap to a bucket of warm water. The water should feel lightly soapy, not thick with foam. Too much detergent leaves a film that looks exactly like streaking.
For light mineral deposits on ordinary, uncoated glass, a 1:1 mixture of white vinegar and water can help loosen the residue. The Wirecutter glass-cleaning guide describes that as a common starting solution. Test an inconspicuous area first, and keep acid away from marble, limestone and other natural-stone sills. Do not assume vinegar is safe for every frame, coating or tinted film.
Never mix cleaning products. In particular, the CDC’s bleach guidance says never to mix household bleach or disinfectants with other cleaners. You do not need bleach to clean ordinary window glass.
6. Wet one manageable section
Dip the sponge or a clean microfiber cloth into the solution and wring it out. Wash a pane in sections small enough to squeegee before the surface dries. Work the top edge, corners and lower edge carefully, where grime collects.
Do not use abrasive powders, scouring pads or a rough scraper on coated glass. A razor can remove paint specks from some plain glass, but it can also scratch coatings or film and is not a safe default. For dried paint, adhesive or construction debris, check the manufacturer’s instructions or call a glass professional rather than escalating blindly.
If the glass is greasy, make a second mild pass instead of adding more soap. Clean water and a clean cloth beat a stronger chemical in most homes.
7. Squeegee from top to bottom
Start with the rubber blade wet and place it at the top corner of the pane. Pull down in one straight stroke, keeping steady pressure. Overlap the next stroke slightly so a narrow strip of glass is not left between passes. For a wide window, use vertical strokes; for a small pane, one horizontal pull can work if you keep the edge controlled.
Wipe the blade with a clean microfiber after every stroke or two. A single grain of grit or a dirty line of rubber can draw a streak from one side of the glass to the other. If the blade chatters, skips or leaves a consistently wet line, clean it and replace it if the rubber is nicked or hardened.
Do not keep scrubbing the glass after the solution has started to dry. Re-wet the section lightly and squeegee it again. Fast, controlled removal is more reliable than polishing a dry pane.
8. Detail the edges and inspect in different light
Use a dry, clean microfiber cloth to wipe the squeegee line around the frame, the bottom corners and any water left on the sill. Fold the cloth to expose a dry face as soon as it becomes damp. Do not use the same cloth indefinitely; moisture and dirt simply move around the pane.
Look at the glass from an angle, then from the opposite side. Interior and exterior marks can look like one stubborn streak when they are actually two separate films. If the inside looks clean but the outside still hazes, repeat only the dirty side instead of washing both panes again.
For the final check, open and close the window gently and confirm that no cloth, bucket or cleaner has been left on the sill. If you are cleaning a bathroom window, a quick wipe after showering complements the shower-cleaning routine and prevents mineral buildup from becoming a bigger job. For the dusty surface above the room, use the ceiling-fan cleaning guide rather than brushing dust onto the glass.
9. Clean high glass without overreaching
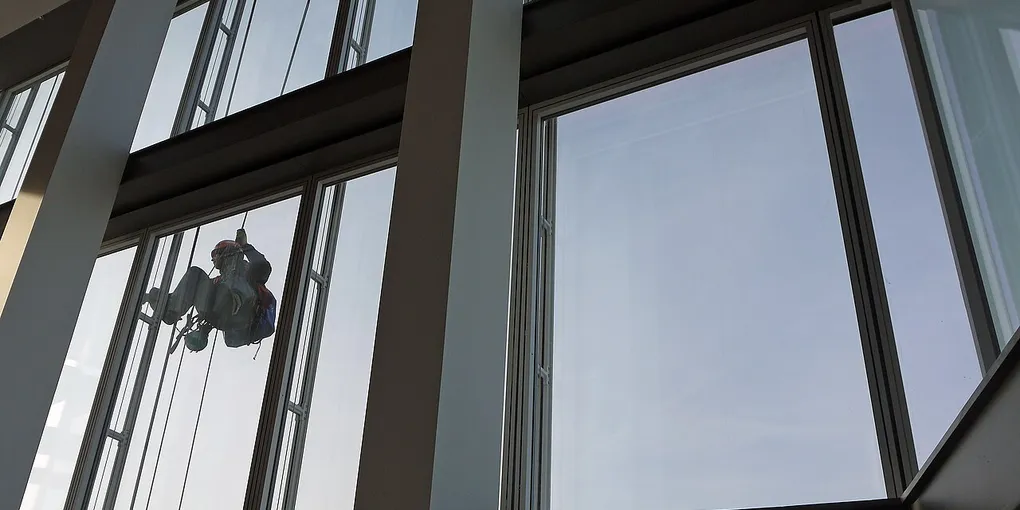
Ground-level windows are a cleaning task. High exterior windows are a fall-risk task. Use a washer and squeegee on an extension pole from the ground where the reach is reasonable. Keep the pole under control and do not work beneath people or vehicles.
If you must use a ladder, place it on firm, level ground, keep three points of contact, face the ladder and move it instead of leaning sideways. Never stand on the top cap or the top rungs, and never climb with a bucket in one hand. OSHA’s portable-ladder safety guidance covers stable setup, contact and avoiding unsafe positions. When the window is above a stairwell, over a fragile roof, beside power lines or beyond a comfortable reach, hire a professional.
Fix the streak before you start over
| What you see | Likely cause | First fix |
|---|---|---|
| Long vertical lines | Dirty or nicked squeegee blade | Rinse or replace the blade, then re-wet and pull again |
| Hazy film everywhere | Too much soap or a dirty cloth | Use clean water, less detergent and a fresh microfiber |
| White crusty spots | Mineral deposits or hard water | Test diluted vinegar on ordinary glass; avoid sensitive frames and stone |
| Marks only at the edge | Water left in the frame or sill | Dry the perimeter immediately with a folded cloth |
| Specks that never move | Paint, grit or etched glass | Stop abrasive scrubbing; check the glass-care instructions or call a professional |
Clean kitchen and bathroom glass when marks appear, wash all windows every few months, and deep-clean screens and frames in spring and autumn. Roads, construction and sea air may require more frequent work. Fix drainage and condensation instead of repeatedly wiping the glass.
The short version is simple: dry first, wash gently, remove the water before it dries, and keep your tools cleaner than the window. A bucket and a good blade will usually outperform a shelf of aggressive sprays.
Hero image: It’s No Game, CC BY 2.0, via Wikimedia Commons.
Frequently Asked Questions
What is the best homemade solution for cleaning windows?
Start with warm water and a few drops of dish soap. For light hard-water marks on ordinary glass, a 1:1 mix of white vinegar and water can help, but keep it off natural-stone sills, unapproved coatings and sensitive frames. Use a clean squeegee and microfiber cloths; too much soap creates more streaks.
How do you clean windows without leaving streaks?
Work out of direct hot sunlight, remove loose dust first, use a small amount of cleaning solution, and squeegee in overlapping strokes from the top down. Wipe the blade after each pass and dry the edges with a fresh microfiber cloth. Dirty water, excess soap, worn rubber and fast drying are common causes of streaks.
Should you clean windows on a sunny day?
A cool, cloudy day is usually easier because direct sun heats the glass and dries the solution before you can squeegee it. If you must work in sun, clean the shaded side first, use small sections and remove the solution immediately instead of letting it evaporate.
How do you clean high windows safely?
Use an extension pole or a tool that lets you work from the ground whenever possible. If a ladder is necessary, set it on firm, level ground, keep three points of contact, do not overreach or stand on the top rungs, and stop if the glass cannot be reached safely. Hire a professional for awkward, very high or exterior windows.