How to Clean a Car Interior: 10 Steps for a Fresh, Safe Cabin
Quick answer
Empty the cabin and remove the mats, vacuum before adding moisture, then choose the gentlest cleaner that matches the material. Test it on a hidden spot, apply liquid to a cloth rather than electronics or screens, and stop if a seat belt, airbag area, wiring, persistent dampness or an unknown coating is involved.
Cleaning a car interior is mainly a material-and-moisture problem. The reliable order is to remove loose items, clean dry dirt first, use the least aggressive method that works, and let damp materials dry before the cabin is closed. This guide is for a normal fabric, vinyl, leather or plastic interior; the vehicle manual controls for special coatings, perforated seats, screens and trim.
The Toyota interior-cleaning instructions are a useful safety baseline: vacuum first, use a wrung-out cloth, keep SRS components and wiring dry, and do not polish the instrument panel if reflection could obstruct the driver’s view. Other vehicles can differ.
Use this material decision aid first
| Area | Start with | Keep out of it | Stop or check the manual when |
|---|---|---|---|
| Dashboard, plastic and vinyl | Soft brush, vacuum, then a barely damp cloth | Excess liquid, bleach, solvents and glossy polish | The surface has a special coating or paint |
| Touchscreen and instruments | Power off, dry microfiber, then only an approved damp method | Direct spray, paper towels and abrasive cleaner | A mark will not lift gently |
| Fabric seats and carpet | Vacuum, hidden-spot test, small sections, blotting | Flooding foam or wetting seat electronics | Dampness persists beneath the surface |
| Leather | Vacuum seams, approved cleaner, dry soft cloth | Hard brushes, acidic/alkaline products and standing water | The finish, dye or coating is unknown |
| Seat belts and airbag areas | Follow the vehicle manual only | Solvents, soaking, pulling covers or scrubbing | The belt is frayed or the area is wet |
| Rear window | Lukewarm-water cloth, strokes parallel to heater wires | Glass cleaner and rough scrubbing | A wire is damaged or visibility remains poor |
The table is a decision aid, not permission to ignore your manual. Toyota’s instructions specifically warn that liquid near electrical components or SRS wiring can cause malfunction, that polish can reflect from the instrument panel, and that glass cleaner can damage rear-window defroster wires. Treat those as stop points for any vehicle with similar systems.
1. Empty the cabin and inspect before wet cleaning
Remove rubbish, bottles, child seats, loose change, mats and anything from the door pockets. Look beneath the seats and in the boot for the actual source of an odour. If you find standing water, a wet carpet backing, mould, smoke residue or a leak, do not cover it with fragrance; investigate the source or use a professional.
Park in shade when possible, switch the vehicle off and open the doors. Check the manual for ventilation advice. Keep the driver’s footwell and pedal area clear throughout the job.
2. Gather a small, separate kit
Use a vacuum with a soft brush and crevice tool, several clean microfiber cloths, a soft detailing brush, a bucket of clean water, and a cleaner labelled for each material you actually have. Keep one cloth for glass, one for screens and one for dirty surfaces. The Car and Driver guide also separates the dry vacuuming stage from later wet cleaning; that prevents loose grit from becoming an abrasive paste.
Do not mix cleaners. Before a product touches a visible surface, read both its label and the vehicle manual. If either source says the material is incompatible, stop.
3. Vacuum from the high points down
Use the soft brush on the headliner, dashboard and vents, then vacuum seats, seams, console gaps, door pockets and floors. Move the seats to reach the rails and the area underneath. Vacuum mats outside the car: shake rubber mats, vacuum carpet mats on both sides, and keep them out until dry.
Do not scrub or pull the headliner. If the vacuum-cleaning guide helps you restore weak suction, fix that before pressing the nozzle hard against delicate fabric.
4. Clean mats and carpet with the least moisture
Wipe or wash rubber mats according to their material and dry them before replacing them. For carpet mats and floor carpet, use an upholstery-safe product in small sections. Brush lightly, then blot with a dry cloth. Do not flood the floor: Toyota warns that water can reach electrical components under or above the floor.
The Kärcher cleaning guide similarly recommends removing mats first, testing stain treatments on an inconspicuous area and drying mats before they return to the car. Its product-specific advice is not universal, so use your own manual and label as the final authority.
5. Treat fabric seats as upholstery
Vacuum the piping and under the buckles. Test the cleaner on a hidden section and wait long enough to see whether the colour or texture changes. Work one small section at a time with a lightly damp cloth or soft brush. Blot loosened dirt instead of scrubbing it deeper into the foam, and keep liquid away from heated or ventilated-seat controls.
For a fresh spill, lift solids with a spoon, blot from the outside toward the centre, and change to a clean part of the cloth. The stain-removal guide uses the same blot-first logic for common spills. If liquid has reached a seat belt, wiring or a control module, stop.
6. Wipe leather, vinyl and hard trim carefully
Vacuum seams, then use a barely damp cloth. If water is not enough, use a cleaner made for that material and follow its dilution instructions. Wring the cloth out; the goal is a damp surface, not a wet one. Dry each small area as you go and avoid perforations.
For the dashboard, vents, switches and cup holders, put product on the cloth rather than directly on the surface. Skip high-gloss dressings on the steering wheel, pedals, gear selector and handbrake: grip matters more than shine. Never use a stronger solvent just because a mark is stubborn.
7. Clean screens and controls last
Turn displays and controls off so smears are visible. Start with a clean, dry microfiber cloth. If the manual permits damp cleaning, use the smallest amount of approved liquid on the cloth, never on the screen. Keep liquid out of USB ports, seams, speakers and rotary controls. A coating that will not clean with gentle wiping is a manual-check problem, not a reason to escalate blindly.
8. Clean glass without damaging wires or sensors
Use a cloth intended for glass and work in the shade. Apply cleaner to the cloth, not across the dashboard. For the rear window, follow the vehicle manual: Toyota says to use a lukewarm-water cloth and wipe parallel to the defroster wires rather than using glass cleaner. If a camera or sensor lens sits near the windscreen, keep cleaner away from it and follow the manual.
9. Deodorize only after removing the cause
Empty the bin, wash the spill, dry the mat and inspect for leaks before using an odour product. A light treatment on dry fabric may help a surface smell, but it will not fix mould, smoke residue or liquid trapped below the carpet. Persistent mustiness is a moisture diagnosis, not a fragrance problem.
10. Dry, inspect and replace only safe items
Run a hand over seats and carpet. Keep doors open and ventilate until the material feels dry, then replace the mats and child seats. Check that nothing interferes with pedals, seat travel, belt buckles, airbags or the driver’s view. If a belt is frayed, the headliner is loose, or an airbag area was soaked, stop and arrange qualified help.
Illustrative planning example
Suppose a small hatchback has two fabric seats, rubber mats and one coffee spill. A sensible plan is: 10 minutes to empty and inspect, 15 minutes to vacuum dry dirt, 10 minutes to clean and hang the mats, and 15 minutes for the spill and hard surfaces. That is a 50-minute planning estimate, not a measured promise. If the spill has reached the seat electronics or the carpet stays damp, the plan changes from “continue cleaning” to “stop and assess.”
Keep the next clean smaller
Do a short rubbish-and-mat reset weekly, vacuum high-touch areas every few weeks, and deep-clean after a spill, a long trip or a wet season. Keep a small rubbish bag in the car but empty it regularly. For the exterior, the at-home car-washing guide covers paint-safe soap and separate wheel tools.
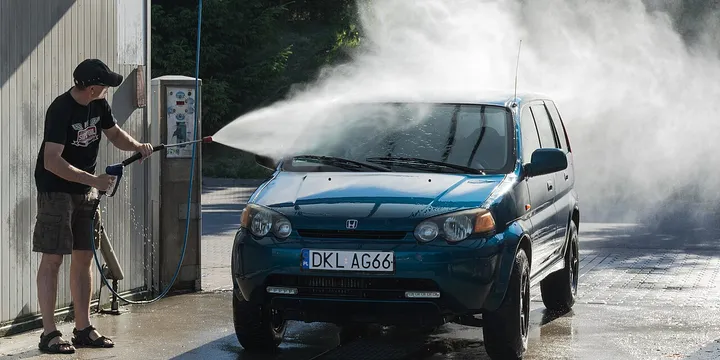
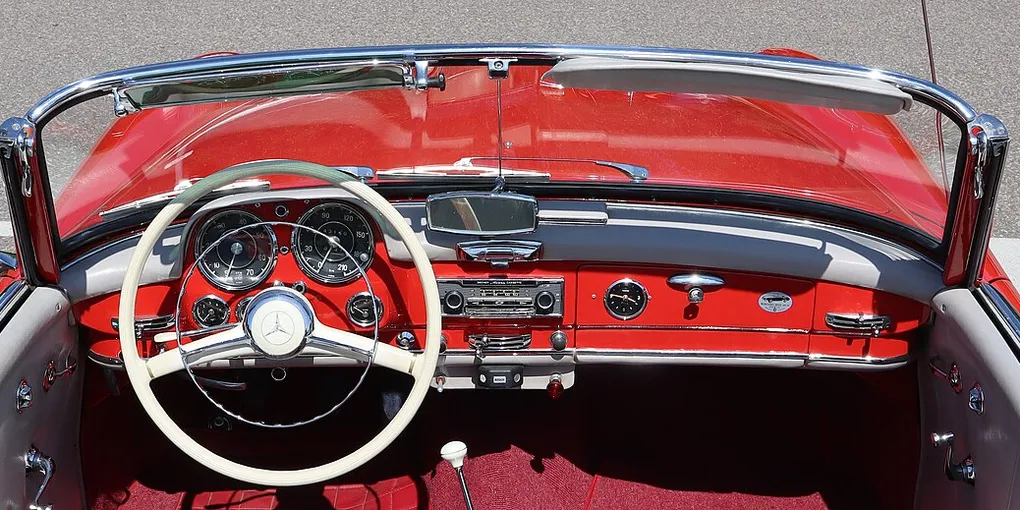
Hero image: Palauenc05, CC BY-SA 4.0, via Wikimedia Commons.
Take it with you
- Download the car-interior cleaning checklist
A plain-text material check, cleaning order and stop-point checklist for a safer cabin clean.
Sources
Frequently Asked Questions
What is the safest thing to use to clean a car interior?
Start with a soft cloth dampened with lukewarm water, then follow the vehicle manual and the product label for the material. Test in a hidden area, wring out excess liquid, keep moisture away from electronics and SRS components, and avoid bleach, solvents and glossy dashboard products unless the manufacturer specifically approves them.
Can I spray cleaner directly on a car dashboard or screen?
Put the smallest useful amount on a cloth instead of spraying the dashboard, vents, switches or display. Turn screens off, use the vehicle-maker's instructions for coatings, and stop if a mark needs a stronger solvent than the manual allows.
How do I clean cloth car seats without leaving water marks?
Vacuum first, test an upholstery-safe product on a hidden section, work in small areas and blot rather than scrub. Use as little moisture as possible, keep liquid away from seat electronics, and ventilate until the seat and foam feel completely dry.
When should I stop cleaning and get help?
Stop for a wet seat belt, a spill near an airbag or wiring, a damaged coating, persistent dampness, mould, smoke odour, a leak, or a stain in the headliner. The vehicle manual or a qualified detailer can identify the material and the safe next step.