Quick answer
Empty the vanity and shelves, group items by routine, remove duplicates and put daily-use products in the easiest-to-reach space. Measure before buying bins, use vertical or over-door storage where it is safe, keep products away from heat and water, leave plumbing accessible, and do a short weekly reset.
A small bathroom becomes frustrating when every routine starts with moving five other things. The solution is not a wall of matching containers. It is a compact system: keep only what earns space, group items by the way you use them, and make the next action obvious.
This guide works for a narrow apartment bathroom, a shared family bathroom or a room with one shallow vanity. Start with the storage you have. Add a product only after measuring the space and checking that it will not block plumbing, ventilation, doors or safe movement.
1. Photograph and measure the room first
Take a quick photo of the vanity, medicine cabinet, shelves, shower area and door. Measure the width, depth and height of every storage area, including the clearance needed to open drawers and doors. Note pipes under the sink, electrical outlets, heat sources and any places that must stay accessible.
Do not measure an optimistic rectangle behind a pipe or hinge. A bin that fits on paper can still prevent a shutoff valve from turning or make a drawer impossible to open. Write the measurements in your phone before shopping.
2. Empty every storage zone
Take everything out of drawers, cabinets, shelves and shower caddies. Put items on a towel or clean floor by broad category: dental, hair, skin, makeup, bathing, first aid, linens, cleaning, travel and backstock.
Reset Your Nest uses this full-empty approach because it reveals what is actually owned and lets daily routines guide the final layout. Wipe the empty surfaces, but do not turn this into a deep-cleaning project before the sorting decision is made.
3. Make decisions before buying containers
Handle each item once and choose keep, use up, elsewhere, give away if accepted, or discard according to the product label and local rules. Keep duplicates only when they have a clear job, such as one product in the shower and a sealed spare in backstock.
Do not keep an unwanted product in the bathroom simply because it was expensive. Do not pour unknown chemicals together or transfer products into an unlabelled container. If a product is damaged, leaking, separated or missing its safety information, follow the label or local hazardous-waste guidance instead of experimenting.
4. Build zones around real routines
Create small zones rather than sorting only by product type. A morning zone might include toothbrush supplies, face care and the items used before leaving. An evening zone might include cleansing, hair or skincare products. Give the shower, toilet and cleaning zones their own boundaries.
The categories can be shared or personal. In a shared bathroom, separate each person’s everyday items when that prevents arguments and makes returning things easier. Put rarely used travel supplies and duplicates together so they do not occupy the best drawer.
5. Give prime space to daily-use items
The easiest space to reach should hold the things used every day. Put occasional products higher, farther back or in a clearly labelled backstock bin. Keep heavy items low and avoid a tall stack that requires balancing products on the counter while you search.
Group items used together side by side. If toothpaste, floss and a toothbrush are part of one routine, their homes should be adjacent. The time saved comes from fewer decisions, not from arranging bottles by colour.
6. Use vertical space carefully
Small bathrooms often have unused wall height and door space. A narrow shelf, hook rail, stackable bin or slim rolling cart can add capacity without consuming the centre of the floor. IKEA describes its BOAXEL system as modular, easy to assemble and adaptable with different sizes and shelf materials; that is a useful design principle even if you choose another product.
Before mounting anything, check the wall, lease rules and the manufacturer’s fixing instructions. Do not drill into a wall when you cannot identify likely pipes or wiring. For a rental, prefer removable solutions only when their stated load and surface limits suit the job.
7. Make under-sink storage plumbing-friendly
The area below a sink is valuable but awkward. Measure around the trap and supply lines, then choose low bins that can be lifted out in one movement. Store cleaning cloths, spare toiletries or other grouped supplies in separate containers so a leak does not turn one large box into a mystery pile.
Leave the shutoff valves, drain connections and cabinet base visible enough to inspect. Never pack items tightly against a damp pipe or use storage to hide a recurring leak. The best under-sink system can be removed quickly when maintenance is needed.
8. Control the counter and shower
Keep the counter to a deliberate daily set. A small tray can make several items behave as one movable group, but it should not become a place where every new product lands. Return extras to their zone immediately.
In the shower, use a caddy only when it drains properly and is secure. Keep products away from a heater or other heat source, and do not place electrical devices where they can fall into water. Hooks work well for towels and robes when they do not block the door or create a collision point.
9. Label backstock, not everything
Labels help most where the contents are hidden: under the sink, in a high cabinet or in a shared backstock bin. Use plain names such as toothpaste, hair tools, travel and refills. Do not label a container so specifically that the system fails when one product changes.
Transparent bins can help you see supplies, while solid bins reduce visual noise. Pick based on the location: visibility matters in a deep cabinet, while a calm appearance may matter on open shelves. Always measure first; containers that waste width are decoration, not storage.
10. Finish with a five-minute reset
Put the daily items back, close every drawer and walk through one ordinary routine. Notice where you hesitate, reach across another person’s zone or leave something on the counter. That friction is evidence that the system needs a small adjustment.
Once a week, remove empty packaging, move older backstock forward, wipe a bin if it has collected residue and return misplaced items. If a category repeatedly overflows, reduce it, relocate it or give it more suitable storage. A small bathroom stays organised when the reset is easier than abandoning the system.
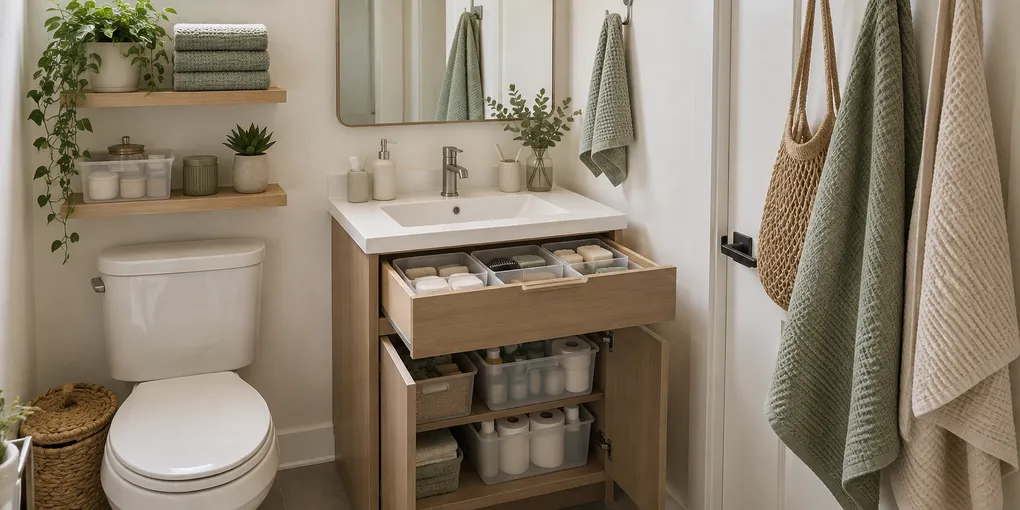
Hero image: generated with OpenAI image generation for lejnel.com; no external source material used.
Sources
Frequently Asked Questions
What should I do first when organizing a small bathroom?
Take everything out of the drawers, cabinets and shower storage, then group items by routine or category. This shows duplicates and makes it easier to decide which products deserve the limited prime space.
How can I organize a small bathroom without a vanity?
Use a small rolling cart, a narrow freestanding cabinet, measured shelves or hooks where they do not obstruct doors, ventilation or safe movement. Keep the everyday routine together and store backstock elsewhere if possible.
How do I organize the space under a bathroom sink?
Measure around the pipes first, then use one or two easy-to-lift bins or shallow drawers for grouped supplies. Keep the shutoff valves, drain connections and leak-prone areas visible and reachable.
How do I keep a small bathroom organized?
Return products to their assigned zones after each routine and do a five-minute weekly reset. Remove empty containers, move backstock out of prime space and change a category when you repeatedly leave it on the counter.