Quick answer
Organize a pantry by emptying one section at a time, discarding damaged or unusable food, grouping ingredients by how you use them, and putting the oldest safe items at the front. Keep staples visible, label opened or decanted foods, and leave enough space to see what needs using.
A pantry becomes frustrating when it stores food but hides it. You buy another bag of rice because the first one is behind three tins, discover four half-used packets of pasta, and find a spice only after buying a replacement.
The fix is not a perfect row of matching containers. It is a simple system: see what you have, put similar things together, use older safe items first, and make the next meal easier to choose. You can apply these steps to a walk-in pantry, a tall cupboard, a pantry cabinet or a few shelves in a small kitchen.
1. Choose one shelf or zone first
Do not empty the entire kitchen onto the floor. Pick one shelf, cabinet or category and finish it before moving on. A small completed zone gives you a working pattern without turning the job into an all-day project.
Take a quick photo before you start if the pantry is very crowded. It helps you notice what was difficult to find and gives you a before-and-after reference without requiring a perfect makeover.
2. Remove everything from that zone
Place the contents on a clean table or counter. Wipe the shelf with a slightly damp cloth and let it dry before putting food back. Look at the shelf depth, height and corners while they are empty:
- Can you reach the back without removing everything in front?
- Are tall packets blocking shorter items?
- Is a heavy can stored where it could fall?
- Is there moisture, a leak, crumbs or evidence of pests?
If you find a leak, damp packaging or insects, pause the organizing project and deal with the cause. For tiny flies around produce, recycling or compost, use the fruit-fly control guide to trace the source before putting food back. Do not simply transfer contaminated or damaged food into a prettier container.
3. Make four sorting groups
Sort the food into four temporary groups:
- Use soon: opened packages, short-dated items and ingredients that fit meals you already plan to make.
- Everyday staples: the flour, rice, pasta, oats, sauces and canned goods you reach for regularly.
- Backstock: unopened duplicates and occasional ingredients.
- Question or discard: leaking, bulging, badly rusted or severely damaged cans; food with an unusual smell or appearance; and packages you cannot identify safely.
When in doubt about a damaged container, do not taste the contents to test them. Utah State University Extension advises discarding badly dented, bulging, rusty or leaky cans or jars, and using the oldest sound cans first.
4. Group food by the job it does
Categories based on use are easier to maintain than categories based only on packaging. A practical pantry map might be:
- Breakfast: oats, cereal, coffee, tea and spreads
- Cooking bases: rice, pasta, grains, stock and canned tomatoes
- Baking: flour, sugar, baking powder, cocoa and decorations
- Canned and jarred food: beans, vegetables, fruit, sauces and fish
- Snacks: crackers, nuts, dried fruit and lunchbox items
- Flavor: spices, oils, vinegar and condiments
- Backstock: unopened duplicates kept together rather than scattered
Keep ingredients that commonly appear in the same meal near one another when the shelf allows it. A small “quick dinner” zone with pasta, sauce and canned beans can be more useful than a visually strict alphabetical system.
5. Put frequent-use items at the easiest height
Use the space between your eyes and waist for daily staples. Put lighter, occasional or backup items higher up, and keep heavy jars, large cans and appliances on a lower shelf where they are stable and easier to lift.
In a deep pantry, place one row of everyday food at the front and use a shallow bin or riser for the back row. The goal is not to fill every centimetre. Leave enough space to pull one item out and read the label without unloading the shelf.
For a small pantry cabinet, vertical shelf risers, a narrow door rack or a shallow pull-out bin can create layers. Measure before buying anything; a container that steals the last usable centimetre makes the pantry harder, not better.
6. Use containers only where they solve a problem
Airtight, food-safe containers are useful for opened flour, rice, oats, cereal, pet treats and other dry goods that need protection from moisture or pests. They are not compulsory for every packet.
If you decant an ingredient, keep it identifiable. Write the food name and the date opened on the container, and keep the original package nearby until you have copied important ingredient or allergen information. Never put an unidentified white powder in a plain jar and rely on memory.
Choose a few matching sizes if that helps stacking, but do not buy a large container set before you know what the pantry actually needs. Your weekly meal-planning routine will tell you which staples you use often; those deserve the best containers first.
7. Rotate older food to the front
Use a first-in, first-out routine: when you restock, move the older safe item forward and put the newer one behind it. Do this for cans, jars, pasta, grains and unopened duplicates.
Write the purchase month and year on cans if the printed date is difficult to read. Store shelf-stable food in a cool, dry place away from heat sources and temperature swings. Utah State University Extension specifically recommends a cool, dark, dry storage area, keeping cans off bare concrete and preventing sealed cans or jars from freezing.
Do not treat every date as an automatic discard moment. The FDA explains that date labels on many packaged foods relate to quality, and recommends using its FoodKeeper resource for storage guidance. Follow the product’s instructions and use extra caution with anything that has been stored improperly, opened, damaged or cannot be identified.
8. Create a visible “use soon” box
Give the food that needs attention a permanent, visible home: one small basket or one shelf section. Put opened packets, almost-empty jars and ingredients for the next few meals there.
Once a week, choose one “use soon” item before shopping. Add it to soup, pasta, an omelette, a tray bake or the grocery-saving use-it-up habit. This turns pantry organization into less waste instead of just nicer shelves.
Keep the box small. If it becomes a second pantry, the signal has disappeared.
9. Make labels and lists work for you
Label shelves rather than every individual packet when the grouping is obvious. Useful labels include Breakfast, Baking, Quick dinners, Snacks and Backstock. In a shared kitchen, labels explain where food returns, which prevents one person from rebuilding the mess by accident.
Keep a short inventory on the inside of the door or in a note on your phone. Record only items you routinely forget, such as spare stock, specialty flour or multiple cans of the same ingredient. A full catalogue becomes another chore; a short list prevents duplicate purchases.
If you already track household belongings in a spreadsheet, the home inventory guide shows how to use clear names and locations. A pantry list can be much simpler: item, quantity and “use soon” note.
10. Install a five-minute weekly reset
Choose one predictable moment, such as before writing your grocery list:
- Return misplaced items to their zones.
- Move older safe food to the front.
- Put opened packages in the “use soon” box.
- Wipe one visible spill.
- Check what you already own before adding anything to the list.
Every few months, inspect the back corners, check containers for moisture and look for damaged packaging. For home-canned foods, use tested preservation methods and follow specialist storage guidance from the National Center for Home Food Preservation rather than improvising a shelf-life rule.
A 20-minute pantry reset
If you want a quick start, set a timer and do only this:
- Empty one shelf.
- Discard food that is clearly damaged or unsafe according to the guidance above.
- Group the rest by use.
- Put everyday items at the front and older safe items before newer ones.
- Create one small “use soon” box.
- Write down only the duplicates you are most likely to buy again.
A useful pantry is not the one with the most labels or the most expensive containers. It is the one where you can answer three questions quickly: What do I have, what should I use next, and where does the next item go?
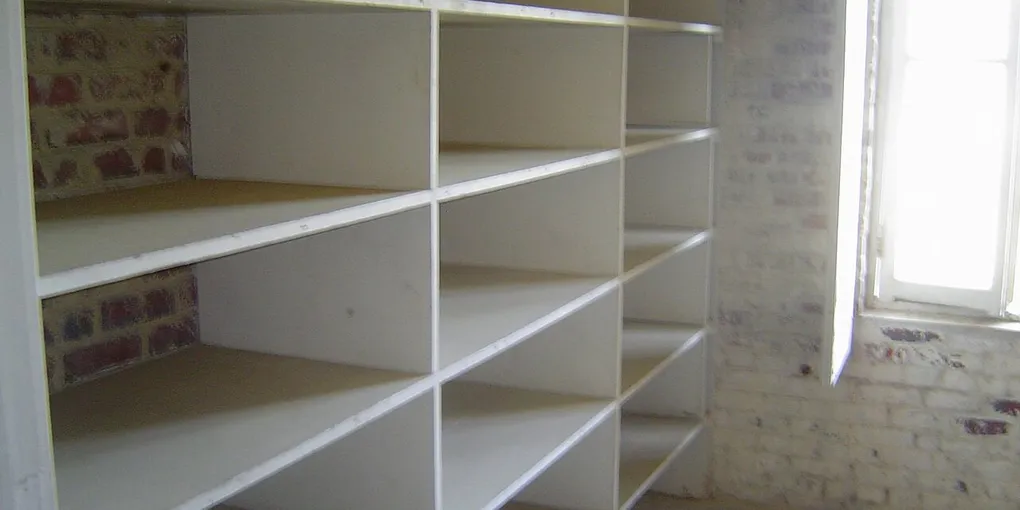
Hero image: User:Doug Coldwell, CC BY-SA 3.0, via Wikimedia Commons.
Sources
Frequently Asked Questions
What is the best way to organize a pantry?
Group foods by use: breakfast, cooking staples, baking, snacks, canned foods and backstock. Put the items you use most between eye and waist height, keep heavier containers low, and use bins or risers only when they improve visibility rather than hiding food.
How do I organize a small pantry?
Empty and measure one shelf, use its vertical space, and reserve the easiest-to-reach area for daily staples. A shallow bin or turntable can make a deep corner usable, but leave enough room to pull items out and read labels.
Should pantry food be stored in airtight containers?
Use clean, dry, food-safe airtight containers for opened dry goods when they protect against moisture or pests. Keep the original package or copy its name, ingredients and date information so the food remains identifiable.
How do I stop pantry food from expiring?
Check the pantry before shopping, date opened packages, place older safe items in front, and plan one meal around ingredients that need using each week. Treat a date label as information about quality or safety according to the product and official guidance, not as a reason to buy duplicates.