Quick answer
Empty the thermos, rinse it with warm water, wash the body and every lid part with dish soap and a soft brush, then air-dry everything completely before reassembling. For stubborn coffee stains or smells, use a product-approved denture tablet or a measured baking-soda soak. Check the care label before using a dishwasher, and never use bleach, abrasive scrubbers or boiling water unless the manufacturer specifically permits them.
A thermos is easy to clean badly. The bottle body looks spotless after a quick rinse, while coffee oils, milk residue and moisture hide in the lid, gasket or straw. Close it while damp and the next drink may taste stale—or the lid may develop the musty smell people mistake for a problem with the stainless steel.
The reliable routine is simple: empty it promptly, wash every removable part, use warm water rather than boiling water, and let the pieces dry completely before you put them back together. The care label for your exact model always wins, especially for dishwasher use.
The short routine after every use
Do these steps whenever you finish a drink:
- Empty the thermos completely. Do not leave coffee, tea, milk or juice sitting in it.
- Rinse the body and lid with warm water to remove loose residue.
- Open the lid or separate the stopper if the design allows it. Look for a gasket, straw, sliding cover or small drinking channel.
- Leave the lid off and place the bottle upside down to drain.
- Keep the parts separated until they are fully dry.
This is especially important for drinks other than water. EatingWell notes that milk and juice should not remain in an insulated container for long because they can spoil. A quick rinse is useful, but it is not a substitute for washing.
What you need for a proper clean
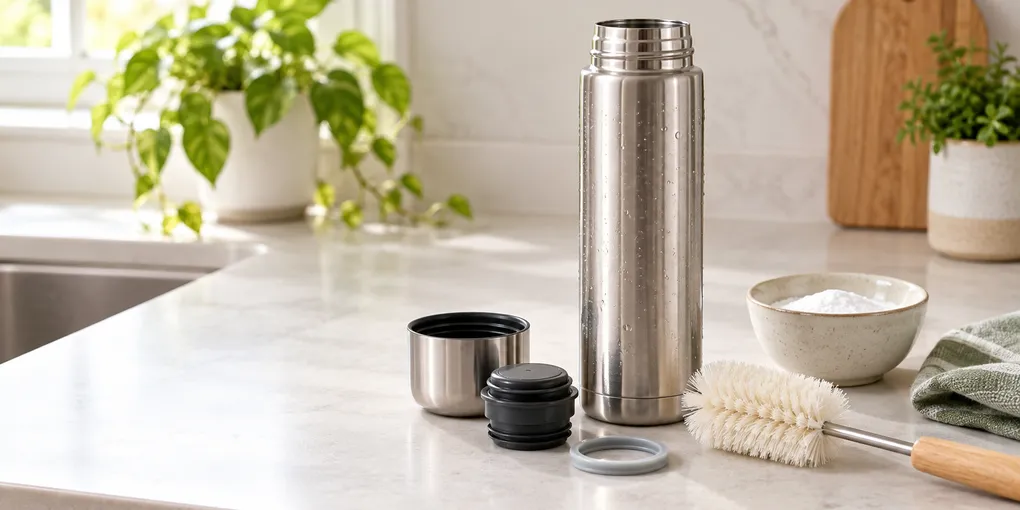
Gather a long, soft bottle brush, mild dish soap, warm water and a small soft brush or clean toothbrush for the lid. A straw brush helps with narrow channels. Keep a clean towel nearby, but prefer air-drying the inside rather than pushing a damp towel into the bottle.
Avoid steel wool, abrasive powders and rough scouring pads. They can scratch surfaces and make later cleaning harder. Do not reach for bleach: Thermos Brand specifically warns against it, and rubber or silicone seals may be less tolerant than the steel body.
How to clean the thermos step by step
1. Check the care label first
Read the base, packaging or manual before choosing a dishwasher cycle or soaking method. “Dishwasher-safe” does not mean every part, rack or drying cycle is safe for every insulated bottle. If you cannot confirm the model’s limits, hand wash it.
2. Take the lid apart as far as practical
Remove the gasket only if the manufacturer’s design permits it. Separate a straw, slider, cap or valve. Photograph the lid first if you are unsure how the pieces fit back together. Small crevices are common sources of odor, so washing only the outside of the lid leaves the hardest part untouched.
3. Wash the body with warm soapy water
Add a few drops of dish soap and warm—not boiling—water. Scrub the bottom, shoulder and threads with the bottle brush. Empty it and rinse until the water runs clear and there is no slippery soap feel.
4. Wash every lid component separately
Use the small brush around the gasket groove, drinking opening and underside of the cap. Run a straw brush through the entire straw in both directions. Rinse each part separately. If a gasket is cracked, permanently discolored, sticky or still smells after washing, look for a model-approved replacement rather than trying harsher chemicals.
5. Air-dry before reassembly
Stand the bottle upside down with the opening exposed. Lay the lid, gasket and straw on a clean, dry surface. Thermos Brand recommends complete air-drying before reassembly; sealing damp parts is an invitation to trapped odors.
Removing coffee stains and stale smells
Wash with soap first. A deep-cleaning ingredient works better after loose oil and residue are gone.
For a tablet method, fill the bottle partly with warm water and use a denture-cleaning or bottle-cleaning tablet only if its label and your thermos instructions permit it. Let it finish fizzing, then brush, empty and rinse several times. A Reddit r/lifehacks post describes two or three tablets and a several-hour soak for heavy coffee residue, but that is personal experience rather than universal product guidance. Start with the product directions.
For a baking-soda soak, add about one tablespoon to warm water, swirl it around the interior and leave it for roughly 30 minutes. Scrub and rinse. Thermos Brand also describes an optional vinegar treatment for persistent odors, but do not mix cleaning chemicals together, and do not assume an acidic soak is appropriate for every coating or seal. Follow your manual and rinse thoroughly.
If the bottle body is clean but the smell remains, clean the gasket and lid again. The hidden seal is often the real source.
What not to do
- Do not pour boiling water into the thermos for cleaning. EatingWell warns that very hot water can damage paint, exterior parts or the vacuum seal.
- Do not use bleach or chlorine cleaners unless the exact manufacturer instructions explicitly approve them.
- Do not scrub with steel wool or abrasive pads.
- Do not close the lid while the bottle or gasket is damp.
- Do not soak removable metal or rubber parts for hours unless the manual says to do so.
- Do not guess about the dishwasher. Insulation, coatings, lids and seals can have different limits.
If the outside becomes unusually hot when the thermos is filled, it stops retaining heat or cold, or the inner wall is chipped or cracked, stop using it. Cleaning cannot repair a damaged vacuum or interior. Replace the bottle or contact the manufacturer.
A simple weekly checklist
For a coffee or tea thermos, use this repeatable reset:
- Empty and rinse immediately after use.
- Wash the body with warm soapy water and a soft brush.
- Separate and wash the lid, gasket and straw.
- Inspect the seal for cracks, stickiness or trapped residue.
- Rinse every part until no soap remains.
- Air-dry fully with the lid off.
- Reassemble only when everything is dry.
Once you have this routine, the thermos is no more difficult than a reusable water bottle. For a coffee-heavy kitchen, you may also want the related coffee-maker cleaning guide and French-press cleaning guide. The principle is the same: clean the part that holds residue, then give moisture somewhere to escape.
Hero image: generated by OpenAI for Lejnel, 2026.
Sources
Frequently Asked Questions
Can you put a thermos in the dishwasher?
Only if the care instructions for that exact model allow it, and follow the stated rack and drying limits. When the manual is missing or unclear, hand washing with warm soapy water is the safer default for an insulated thermos.
How do you remove a coffee smell from a thermos?
Wash the body, lid and gasket separately with dish soap first. Then use a product-approved denture tablet or a warm-water baking-soda soak, rinse several times and air-dry with the lid off. If the smell remains, inspect or replace the gasket.
Is bleach safe for cleaning a stainless-steel thermos?
Do not use bleach unless the manufacturer explicitly says it is compatible. Thermos Brand and EatingWell warn against chlorine or bleach because it can damage stainless steel and rubber or silicone parts.
How often should you clean a thermos?
Rinse it after every use and wash the body, lid and gasket daily when it held coffee, milk, juice or a protein drink. Give it a deeper clean at least weekly, or sooner if it smells, feels slimy or shows residue.