Quick answer
Start with your owner's manual, then unplug and cool the machine, wash every removable food-contact part, and run only the manufacturer-approved descaling cycle. Vinegar is acceptable for some drip brewers but can damage machines such as Nespresso models, so never treat it as universal.
A coffee maker can make a great cup and still be overdue for cleaning. Old coffee oils cling to the basket and carafe, while warm standing water and mineral deposits can affect the reservoir, valves and heating path. The result may be a stale smell, slower brewing, bitter flavour or a machine that stops before the pot is full.
The safe fix is not to pour a random kitchen chemical into the reservoir. Start with the owner’s manual and separate washing from descaling: washing removes coffee oils and residue from accessible parts, while descaling targets mineral buildup inside the water path. This guide covers common drip, pod and espresso-style machines, but your model’s instructions always take priority.
1. Find the manual and identify the machine type
Look for the model number on the underside, back or rating label, then open the manufacturer’s care instructions. Confirm which parts are dishwasher-safe, whether the water filter must be removed, what descaler is approved and whether the machine has a Clean or Descale program.
A simple drip brewer, a pod machine and a pump-driven espresso machine do not have the same water path. A method that is acceptable for one can damage another. Nespresso, for example, warns against vinegar for its machines, while some drip-brewer instructions allow it. Do not copy a ratio from a different brand.
2. Unplug, cool and empty everything
Switch the machine off, unplug it and wait until the hot plate, carafe and brew head are cool. Pour out old water, discard grounds or remove the used pod, and take out a water filter if the manual says to remove it before cleaning.
Never immerse the electrical base, cord, plug, pump housing or espresso machine body in water. Put a towel under the machine in case the reservoir or drip tray spills. If you see a damaged cord, leaking case or exposed wiring, do not clean and reuse it: arrange service or replacement.
3. Wash every removable food-contact part
Remove the carafe lid, filter basket, permanent filter, pod holder, drip tray and reservoir only as the manual describes. Wash them with warm water and a little mild dish soap, using a soft brush for coffee oils in seams and corners. Rinse until there is no soap smell, then dry the parts.
Do not assume that a plastic part is dishwasher-safe. Heat can warp a reservoir, lid or pod component, and a warped seal may leak. Keep small gaskets, springs and filter holders in their original order. If a carafe has baked-on coffee film, soak it rather than scraping the glass with metal.
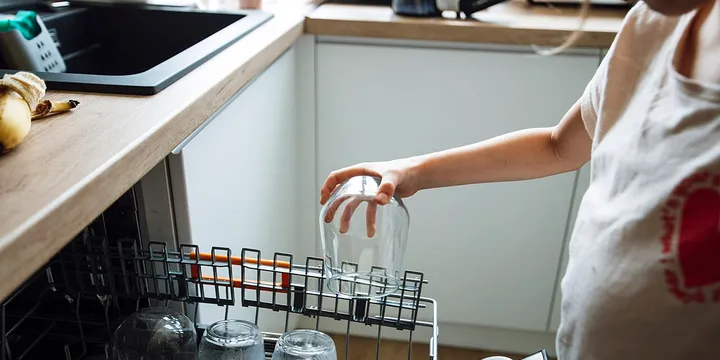
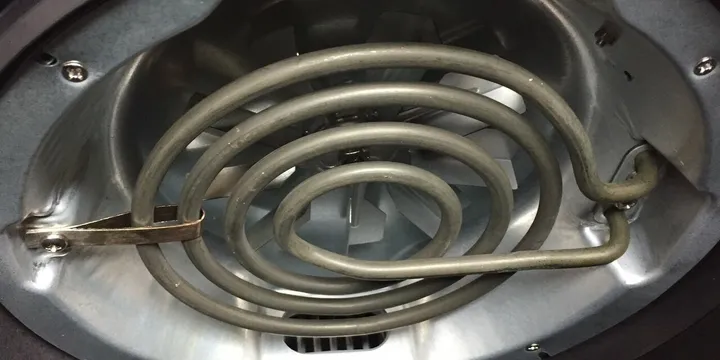
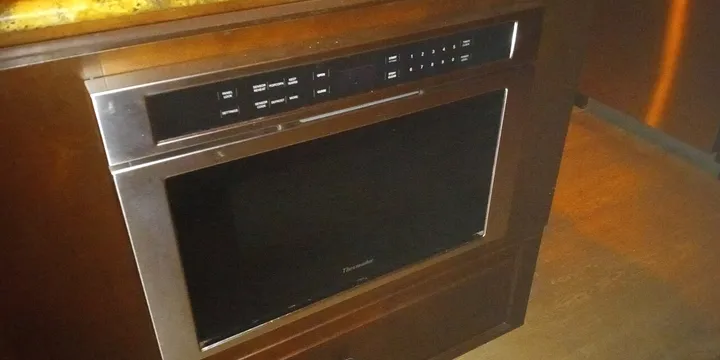
The same manual-first, removable-parts approach is useful for other kitchen appliances; the air-fryer cleaning guide applies the same care to a basket, drawer and heating area, while the dishwasher-cleaning guide explains why filters, seals and hidden water paths deserve more attention than a strong chemical alone. The microwave-cleaning guide applies the same careful approach to a cavity, turntable and control panel.
4. Clean the carafe, basket and hot plate separately
Coffee oils are stubborn, especially around the carafe lid and the small opening where brewed coffee enters. Let removable parts soak in warm soapy water, then brush the residue away. Rinse the carafe thoroughly so the next pot does not taste of detergent.
Wipe the hot plate and the machine’s exterior with a damp cloth. Keep water out of buttons, vents and electrical seams. Do not use abrasive pads on stainless steel, printed controls or plastic: scratches make future residue harder to remove.
5. Wipe the reservoir and inspect the water path
Empty the reservoir and wash it only if the manual permits. Wipe the inside with a soft cloth or bottle brush, rinse several times and leave it open to air-dry. Do not use a cloth that sheds lint inside a narrow tank, and do not poke at a valve with a knife.
Look for slimy film, scale flakes, a cracked tank or a filter that has been left wet for too long. Replace the water filter on the schedule stated by the manufacturer. A filter is not a reason to skip descaling: it may improve taste without removing all mineral buildup from the machine.
6. Clear a pod needle or brew outlet only as instructed
Single-serve machines can retain grounds around an entrance or exit needle. Use the cleaning tool supplied by the manufacturer, or follow the manual’s approved procedure with the machine unplugged. Do not push a random pin into a hidden needle or force a blockage deeper into the brew head.
For espresso machines, the group head, portafilter, steam wand and backflush routine are model-specific. Wipe the steam wand immediately after use and purge it as instructed; dried milk is a different problem from mineral scale and needs its own cleaning procedure.
7. Choose the correct descaler
Descaling is the step that removes calcium and other mineral deposits from the heated water path. Use the product and concentration named in your manual whenever possible. A branded descaler is not automatically better than every alternative, but compatibility matters more than a cheaper bottle.
Vinegar is not universal. Hamilton Beach and Mr. Coffee publish vinegar methods for some drip brewers, often with a pause during the cycle and several fresh-water rinses. Keurig publishes model-specific descaling directions. Nespresso says vinegar may damage its machines. If your instructions do not explicitly approve vinegar, use the recommended descaler instead.
Never mix vinegar, descaler, bleach, ammonia, baking soda or another cleaner. Mixing products can create irritating or dangerous reactions, and a chemical that is safe on a countertop may damage seals, coatings or a pump.
8. Run the Clean or Descale cycle without coffee
Remove coffee, pods and the charcoal water filter before starting the cycle if the manual requires it. Add only the approved solution and the amount of water specified. Place a large, heat-safe container under the outlet and stay nearby while the machine runs.
A Clean button may pulse the solution through slowly rather than brewing a normal pot. Do not interrupt the cycle unless the instructions tell you to pause. If your manual gives a soak time, follow it; more concentrated solution or extra heat is not a shortcut.
When the solution has finished, discard it safely. Do not drink it or use it on plants, and avoid splashing it on stone, metal or finished surfaces.
9. Rinse until the smell and taste are gone
Run the exact number of plain-water rinse cycles in the manual. If it gives no number, continue until there is no chemical or vinegar smell, while remembering that some machines require a longer rinse than others. Empty the container between cycles and rinse the reservoir first if residue is visible.
Make a small test brew with water only, then discard it. If the water is cloudy, smells unusual, or contains flakes after the approved rinse, repeat only the manufacturer’s rinse procedure. Do not add a second chemical to “neutralise” the first one.
For a reliable cup after cleaning, return to the basics in the home coffee guide: fresh water, a repeatable coffee-to-water ratio and a grind suited to the method make it easier to tell whether the machine is performing better.
10. Dry, reassemble and set a realistic schedule
Reinstall the filter basket, pod holder, drip tray, lid and water filter exactly as shown in the manual. Leave the reservoir lid open until the inside is dry, then store the machine clean and empty rather than trapping warm water overnight.
Set reminders based on use and water hardness, not a made-up universal number. Mr. Coffee discusses cleaning every 40–80 brews, while some Hamilton Beach guidance says at least monthly and more often in hard-water areas. Wash removable parts more frequently if coffee oils or milk residue are visible, and descale when the manual, indicator light or slower flow says it is due.
If the machine still leaks, smells of mold or burning, trips a breaker, produces flakes, or has a blocked internal water path after the approved cleaning, stop using it. The cheapest repair is not worth a flood, electric fault or contaminated drink.
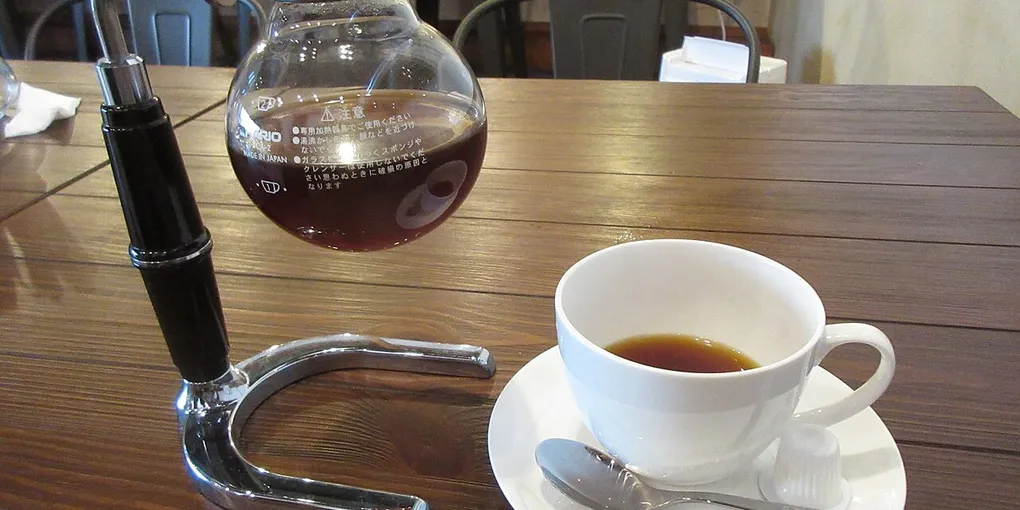
Hero image: Evelyn-rose, CC0, via Wikimedia Commons.
Sources
Frequently Asked Questions
How often should you clean a coffee maker?
Wash the carafe, basket, pod holder and other removable parts regularly, and follow your manual for descaling. As examples rather than universal rules, Mr. Coffee discusses cleaning every 40–80 brews and some Hamilton Beach manuals say monthly, or weekly in hard-water areas.
Can you clean every coffee maker with vinegar?
No. Some drip-brewer instructions allow diluted white vinegar, but the correct amount and cycle vary. Nespresso specifically warns that vinegar can damage its machines. Use your model's approved descaler or cleaning program when vinegar is not explicitly allowed.
How do you clean mold from a coffee maker?
Unplug the machine, discard old water or grounds, wash removable parts with warm soapy water, and follow the manual's cleaning procedure. Let the reservoir and parts dry completely. If mold, a smell or residue remains in an inaccessible water path, stop using the machine and contact the manufacturer.
Does baking soda descale a coffee maker?
Baking soda can help with some surface odors, but it is not a substitute for a manufacturer-approved descaler and can leave residue in the water path. Do not combine it with vinegar or another cleaner; use the product and cycle specified for your brewer.