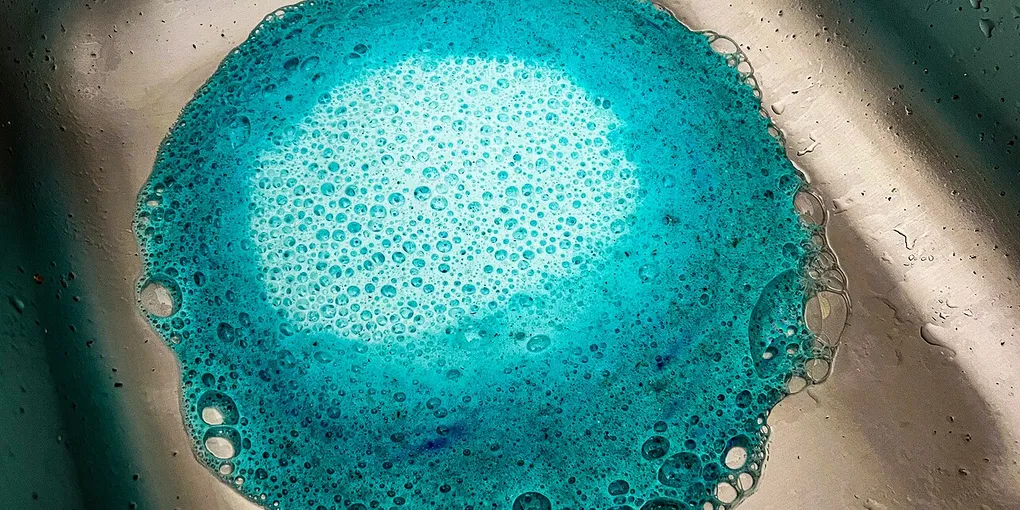
How to Clean a Garbage Disposal Without Damaging It
Quick answer
Turn the garbage disposal off, keep hands and tools out of the grinding chamber, clean the removable splash guard and sink rim, then flush the unit with cold water while it runs only as its manual directs. Use the manufacturer’s jam-clearing procedure—not chemicals or improvised tools—if it hums, leaks or will not run.
A garbage disposal is easy to ignore because most of its working parts are below the sink. Food residue can still collect around the rubber splash guard, sink opening and grinding chamber, causing a stale smell even when the drain appears to work. The useful approach is modest: clean the accessible surfaces, flush the machine as its maker directs and stop before a routine clean turns into a repair.
This guide is for an installed household food-waste disposer. It is not a drain-unclogging method. Start with your model’s manual, because controls, splash guards, reset buttons and jam-clearing tools vary.
Start with a safe boundary
Turn the disposal off at its wall switch. Do not put a hand, finger, fork, spoon, brush handle or other object into the chamber. A switch can be bumped, and a tool can damage a component even when power is off.
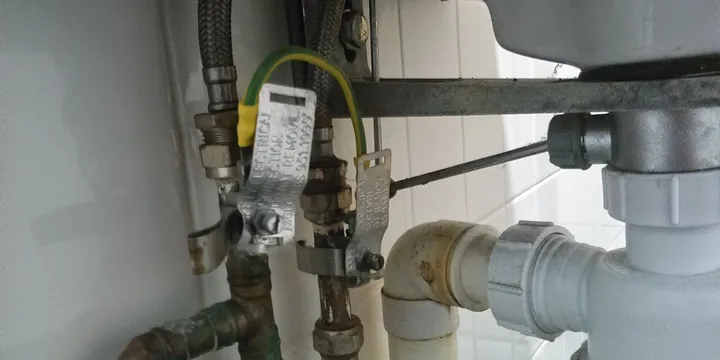
If you need to remove a part, inspect beneath the sink first. Some units have a plug, a switched outlet or a circuit breaker that can be isolated; follow the manual rather than guessing. If the unit is humming, leaking, tripping power, smells electrical or has a broken splash guard, skip cleaning and arrange service.
1. Clear the sink and identify the removable parts
Remove dishes, the stopper and loose food from the sink. Look at the sink opening: many disposals have a flexible rubber splash guard with several flaps. On some models it can be lifted out for cleaning; on others it is fixed. Do not pull hard on a part just because it looks removable.
Find the model number on the disposer body or in the installation paperwork. Check the manual for the recommended cleaning method, approved food waste and its instructions for a jam or reset. Those details matter more than a generic internet tip.
2. Clean the sink rim and splash guard
Food residue often sits on the underside of the splash guard, where you cannot see it during normal use. With the unit off, wipe the top and underside of a safely removable guard with a cloth or soft brush and warm, mildly soapy water. Rinse it thoroughly and put it back only when it is seated correctly.
Wipe the sink rim, stopper and flange as well. This small step often addresses an odor without putting anything into the chamber. InSinkErator’s support guidance specifically points to food buildup under the sink baffle as one source of odor.
3. Flush the disposal with cold water
Once the accessible parts are back in place, run a steady stream of cold water. Then run the disposer only according to its normal operating instructions. InSinkErator’s FAQ says regular use with cold water helps carry scraps through the chamber and drain line.
Keep the water running briefly after the grinding sound settles, then turn the disposer off before turning off the water. The point is to move loose residue onward, not to run the appliance for an extended empty cycle.
Do not use hot water as a shortcut for grease. Heat can soften grease and move it farther into plumbing before it cools. Put cooled cooking grease in a container for disposal according to local rules instead of sending it through the sink.
4. Use only a model-approved freshening method
A manufacturer may suggest a particular cleaning tablet, a baking-soda-and-water method or another mild freshening approach. For example, InSinkErator’s odor guidance describes flushing loose particles with water after a baking-soda mixture. Use only the proportions and sequence on the relevant manufacturer page or your manual.
Avoid treating an odor with bleach, oven cleaner, caustic drain opener or a homemade mixture. Never combine products. A disposal contains metal parts, seals and plumbing connections that are not improved by experimenting with strong chemicals.
Citrus peel is sometimes suggested as a deodorizer, but it is not a universal maintenance requirement. Your manual should decide whether it is suitable for your unit; the safer default is cleaning the splash guard and flushing water.
5. Keep unsuitable waste out
Cleaning works better when there is less residue to clean. Scrape plates into the bin or compost system where appropriate, and avoid sending grease, large bones, fibrous vegetable strands, absorbent starches, coffee grounds or non-food items into the disposal unless your manufacturer specifically permits them.
This is not a complete list for every model. The goal is to avoid material that wraps, swells, clumps or remains in the chamber. When in doubt, throw it away or use the local food-waste collection route instead.
6. Separate an odor problem from a drain problem
A disposal can smell while draining normally. That usually points first to residue near the splash guard, flange or chamber. Clean those reachable surfaces, then flush as directed.
Slow draining, water backing into the sink or a dishwasher connection problem is different. Do not keep cycling the disposer to force water through. The blockage may be farther down the drain or in the trap. The guide to unclogging a drain covers safe first checks for a separate plumbing blockage.
7. Know when to stop
A clean should not require disassembly. Stop and get qualified help when you see a leak beneath the sink, a cracked housing, repeated breaker trips, a persistent hum, a jam you cannot clear using the manual’s procedure, or an electrical smell.
If you are maintaining the surrounding kitchen at the same time, cleaning a dishwasher covers filters and hidden water paths, while cleaning a refrigerator covers removable shelves, seals and food-safe reloading. A short note in a home maintenance log can help you remember what you cleaned and any symptom worth watching.
Choose the next action by symptom
| What you notice | Safe next action | Do not do |
|---|---|---|
| Ordinary food odor with normal drainage | Turn power off; clean the accessible baffle, rim and sink opening; then flush as the model directs | Put a hand, utensil or brush handle into the chamber |
| Food buildup but no damage or electrical symptom | Follow the maker’s approved cleaning sequence and rinse with water | Mix cleaners or add a caustic drain opener |
| Slow drain or sink backup | Treat it as a plumbing question and use the manual or a qualified plumber | Keep cycling the disposer to force water through |
| Humming, leak, breaker trip, electrical smell or broken part | Stop using the unit and arrange qualified help | Use an improvised tool, reset sequence or disassembly from another model |
| Unknown model, fixed guard or inaccessible part | Find the model number and manual before continuing | Assume an InSinkErator instruction applies to every disposer |
The accessible-cleaning route is based on current InSinkErator guidance for its own models, including turning power off, cleaning food buildup near the baffle, and using cold water during normal grinding. It is not a cross-brand repair procedure.
A practical monthly reset
- Turn the disposal off.
- Wipe the sink rim and clean the accessible splash guard.
- Refit the guard correctly.
- Run cold water and operate the unit normally as the manual directs.
- Let the water run briefly after grinding stops.
- Record any unusual noise, leak or odor instead of masking it with chemicals.
That routine is enough for ordinary maintenance. It keeps attention on the parts you can safely clean and leaves repairs to the instructions or a professional.
Sources
- InSinkErator: How to clean a food-waste disposer
- InSinkErator Support: There is an odor coming from my garbage disposal
- InSinkErator US: Garbage disposal FAQs
Hero image: Tony Webster, CC BY 2.0, via Wikimedia Commons.
Sources
Frequently Asked Questions
Can I put my hand in a garbage disposal to clean it?
No. Turn it off and do not put hands, fingers or tools into the grinding chamber. Clean only parts that are safely accessible from above, such as the sink rim and a removable splash guard, and use the model manual for anything else.
Should I use hot or cold water with a garbage disposal?
Follow your model’s instructions. InSinkErator’s routine-use guidance calls for cold water while the disposer runs, which helps carry food particles through the drain. Do not treat that as permission to run unsuitable waste through the unit.
Why does my garbage disposal smell bad?
Odor commonly comes from food residue on the splash guard, sink flange or inside the grinding chamber. Clean the accessible surfaces and flush as the manufacturer directs. Stop and seek service if the odor is electrical, sewer-like, or comes with leaking, humming or poor drainage.
Can I use drain cleaner in a garbage disposal?
Do not pour a chemical drain cleaner into a disposal unless both the disposal and cleaner manufacturers explicitly approve that use. A jam, leak or persistent blockage needs the model-specific clearing procedure or qualified service, not a stronger chemical.

.jpg)