How to Clean a Blender: 10 Steps for a Fresher, Safer Jar
Quick answer
Unplug the blender, empty it and check the manual before removing parts or using a dishwasher. Rinse the jar, run a short warm-water-and-dish-soap cycle when the manufacturer allows it, wash the lid, gasket and approved removable parts with a soft brush, wipe the base without immersing it, then rinse and dry everything completely before reassembly.
A blender can look clean while residue hides under the lid, around the gasket or beneath the blade assembly. Smoothies, nut butter, sauces and oily dressings leave different kinds of film, and a jar that sits dirty for an hour is harder to clean than one rinsed immediately.
The safest routine is manual-first: disconnect power, identify which parts are removable, use a short soapy-water clean only when the manufacturer allows it, and keep the motor base dry. Vitamix recommends rinsing the container promptly and using warm water with a few drops of dish soap for its quick-clean method; Breville gives a similar 30–60-second method for compatible blenders. Those instructions are useful examples, not universal permission for every model.
Use these ten steps for a countertop blender. An immersion blender, personal blender cup or heated soup blender may have different care instructions. For another kitchen-appliance workflow, see the air-fryer cleaning guide or the coffee-maker cleaning guide.
1. Find the manual and identify the parts
Look for the model number on the base, jar collar or underside of the appliance, then open the manufacturer’s care page or owner’s manual. Check whether the jar, lid, cap, gasket, blade assembly and measuring cup come apart, and note which parts are dishwasher-safe.
Do not assume that two jars with the same shape have the same blade or seal. Some blades are fixed, some assemblies unscrew, and some containers must stay attached to a particular collar. The manual also tells you whether the appliance has a self-cleaning program and what fill level is safe for a powered cleaning cycle.
2. Empty the jar and disconnect power
Pour out the remaining mixture before cleaning. If food is stuck, use a spatula or spoon from above rather than reaching toward the blades. Switch the blender off, unplug it and remove the jar from the motor base.
Never clean a powered blender with your hand near the blades. Keep the cord, plug and base away from the sink. Stop if the jar, cord or motor housing is damaged.
3. Rinse before residue dries
Rinse the jar, lid and removable cap with warm water as soon as possible. Flush the underside of the lid and the area around the gasket, where smoothie pulp often collects. A quick rinse removes loose food before it becomes a hard ring.
Do not use boiling water on a plastic jar or seal. Breville warns that boiling water can warp plastic containers or weaken seals, while its cleaning guide also advises against rough scrub pads that can scratch plastic or glass. Warm water is enough for this first pass.
4. Use the quick-clean cycle only when approved
For a compatible countertop blender, add warm water and a small amount of dish soap to the jar, secure the lid and run the manufacturer’s approved short cycle. Vitamix describes warm water with a few drops of dish soap for one minute. Breville describes filling the jar halfway, adding a drop of soap and running at low or medium speed for 30–60 seconds. Blendtec also describes a small amount of water and one drop of soap for its jars.
Treat those as brand-specific examples. Follow your own manual for the fill level, speed and time. Keep one hand on the lid if the instructions call for it, stay nearby and stop immediately if the jar leaks, foams excessively or sounds abnormal. Never run the motor with an empty jar, an unsecured lid or a cleaning liquid above the marked maximum line.
Empty the dirty water into the sink, then rinse the jar until no soap film remains. The quick cycle loosens residue; it does not replace a careful deep clean around seals and blades.
5. Separate only the approved removable parts
Remove the lid, cap, gasket and blade assembly only as the manual shows. Take a quick photo before separating unfamiliar pieces so the gasket returns to the same groove. Keep small seals, clips and collars together instead of leaving them beside the drain.
If the blade assembly is not designed to come out, do not improvise with pliers or a knife. The blades may be relatively dull on some models but can still cut, and a damaged seal can make the jar unsafe to use. Vitamix recommends a long-handled brush to keep hands away from the blades when cleaning inside its containers.
6. Wash the jar, lid and blade area gently
Wash approved food-contact parts in warm water with a little mild dish soap. Use a soft sponge or long-handled brush around the jar walls, underside of the lid, cap opening and blade area. Work slowly around the blades rather than pressing a cloth or fingers into the assembly.
Brush the gasket groove and the underside of the lid, then rinse both sides. Food can remain trapped in a narrow channel even when the main jar looks clear. If the manual allows the blade assembly to be removed, clean the threads and gasket seat without stretching or cutting the seal.
Do not use steel wool, a metal scraper or a scouring powder. Abrasives can scratch plastic or glass and leave more places for residue to collect. The Breville cleaning guide specifically recommends a soft sponge or brush and warns against abrasive tools.
7. Soften thick, oily or dried-on residue
For nut butter, thick smoothie residue or dried sauce, fill the jar with warm soapy water and let it sit until the film softens. Use a second soak instead of harder scrubbing. A soft brush can reach the bottom and the area beneath the blade without putting your hand into the jar.
If the odor remains, wash the lid, gasket and blade area again; the smell often lives in one of those parts rather than in the jar wall. Do not pour bleach, drain cleaner or an improvised chemical mixture into the blender. Never mix cleaners, and do not use a household product unless the manufacturer explicitly approves it for the part and purpose.
Cloudy plastic may be mineral film or scratches rather than food that needs more force. Use the manufacturer’s care method and replace a damaged container.
8. Wipe the motor base and controls
Wipe the motor base, buttons, dial, cord and feet with a dry or barely damp cloth. Put cleaner on the cloth rather than spraying directly at controls, vents or the jar socket. Vitamix’s care guidance likewise says to wipe the base and leave the container upside down to air-dry.
Never immerse the motor base, plug or cord. Do not pour water into the drive socket or try to rinse crumbs into the ventilation openings. If liquid has reached the electrical housing, leave the appliance unplugged and follow the manufacturer’s service guidance.
The microwave-cleaning guide follows the same rule: clean accessible surfaces and keep liquid away from controls.
9. Rinse, inspect and dry every part
Rinse the jar, lid, cap, gasket and approved blade assembly until the water runs clear and there is no slippery soap feel. Hold the jar up to a light and check the bottom, threads and gasket channel for pulp or oil.
Dry with a clean towel where the parts are easy to reach, then leave the jar upside down and the lid or cap separated so air can circulate. Let washable parts dry completely before reassembly. Trapped water around a gasket or under a blade collar can create a stale smell and may dilute the next recipe.
Do not put the wet jar on the motor base just to store it. Keep the base and the jar separate until both are dry.
10. Reassemble, test and set a simple routine
Return the gasket, blade assembly, lid and cap in the order shown by the manual. Check that the gasket sits flat, the blade collar is correctly seated and the lid locks without force. If the manual provides a leak or empty-run test, follow that procedure; otherwise, start with a small amount of water and stay nearby.
Stop using the blender if it leaks, wobbles, smells of burning, makes a new grinding sound or shows a cracked jar or damaged cord. Cleaning cannot repair a failing motor, broken seal or electrical fault.
For routine care, rinse immediately and wash the food-contact parts after every use. Do a deeper clean whenever an odor or film returns, especially after oily, dairy-based or strongly seasoned recipes. A short rinse after each blend is easier than trying to remove a dried layer later.
A clean blender does not require aggressive chemicals. Disconnect it, rinse early, use the approved quick-clean method, brush carefully around the blade area, keep the base dry and let every part dry before the next blend.
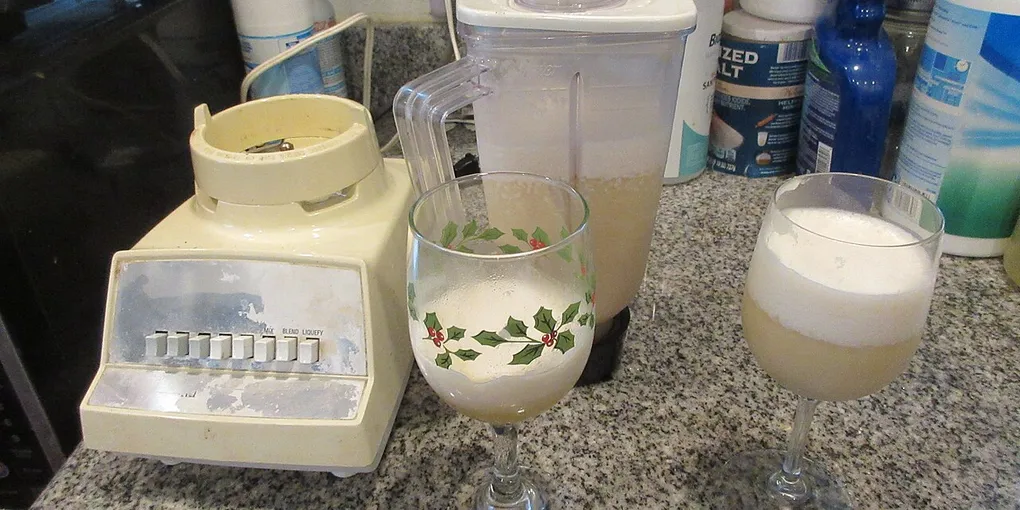
Hero image: Infrogmation of New Orleans, CC BY-SA 4.0, via Wikimedia Commons.
Sources
Frequently Asked Questions
How often should you clean a blender?
Rinse and clean food-contact parts after every use, before smoothie or sauce residue dries. Do a deeper clean when you notice an odor, stain or buildup, and clean thick, oily or strongly seasoned blends sooner rather than waiting for a calendar date.
Can you put a blender jar in the dishwasher?
Only when your model's manual says that the jar and each specific removable part are dishwasher-safe. The jar, lid, gasket, blade assembly and motor base may have different instructions; when the manual is unclear, hand-wash the removable parts and keep the base out of the dishwasher.
Can you clean a blender by running soapy water?
Many countertop blenders have a manufacturer-approved quick-clean method using warm water and a small amount of dish soap, but the speed, fill level and cycle vary. Secure the lid, stay nearby and follow your manual; never run the motor with an empty jar or a loose lid.
How do you clean a cloudy or smelly blender jar?
Wash the jar, lid, gasket and approved blade assembly with warm soapy water and a soft brush, then rinse and air-dry them fully. For persistent cloudiness or odor, use only a method the manufacturer approves; do not attack plastic or seals with abrasives, boiling water or mixed cleaners.