Build an Emergency Kit: A Practical Household Checklist
Quick answer
Start with water, shelf-stable food, a flashlight, batteries, first aid supplies, necessary medicines, phone power and a paper contact list. Store the kit where you can reach it, then add the items your household needs for children, pets, mobility, communication and local weather. Check it regularly and replace anything used or expired.
Editorial note: This is general information, not professional advice. Check the linked sources and current local guidance before acting.
An emergency kit is not a box of random supplies. It is a small reserve that lets your household follow official instructions when a storm, evacuation, power outage or other disruption makes ordinary shopping and charging difficult.
Ready.gov’s kit guidance recommends water, food and other essentials for several days. The American Red Cross also recommends making the kit fit the people, pets, climate and hazards involved. Start with the basics, then make deliberate additions rather than buying everything at once.
This is general preparedness guidance, not a substitute for local emergency instructions. If authorities tell you to evacuate, shelter or avoid an area, follow their current direction.
Start with one accessible container
Use a sturdy plastic box, backpack or lidded tote that is easy to carry and simple to open. Put it somewhere dry and accessible to adults in the home—not under a pile of seasonal storage or behind furniture that cannot move during an outage.
Label it clearly. A kit that nobody can identify is hard to use under pressure. If your household might need to leave quickly, keep a smaller grab-and-go bag near an exit, but do not let that replace supplies kept at home.
Avoid storing candles, fuel or anything with special temperature requirements in the same container as food, documents or medication. Keep a short inventory on the lid so a review takes minutes rather than an afternoon.
Water comes first
Ready.gov recommends at least one gallon of water per person per day for several days, for drinking and sanitation. That is a starting point, not a universal answer. Add water for pets, hot conditions, a larger household and any medical or hygiene needs that make the basic amount insufficient.
Keep commercially bottled water sealed until needed, or use clean, food-safe containers intended for water storage. Do not assume a home tap will keep working during every local emergency; pumps, treatment systems and plumbing can be affected differently.
Write the date on stored water and follow the manufacturer’s storage and replacement advice. Place heavier containers low down so they do not fall onto someone or make the kit impossible to lift.
Add food you can use without a full kitchen
Choose shelf-stable foods your household already eats: canned beans, vegetables, soup, nut butter, crackers, cereal, shelf-stable milk, ready-to-eat meals or other suitable options. Include a manual can opener if you include cans.
The point is not to create a perfect survival menu. It is to have food that needs little water, cooking or refrigeration when services are interrupted. Consider allergies, dietary restrictions, infant food and the needs of older adults. Add food for pets separately so it does not disappear into the regular pantry.
Rotate the food during normal meals before it expires, then replace it. That prevents waste and makes the kit familiar rather than mysterious.
Make light and communication independent of the outlet
Put a flashlight in the kit for each person who may need one, plus spare batteries in the correct sizes. A battery-powered or hand-crank radio can provide official information when home internet is down or phones need to conserve charge. Ready.gov lists both among basic kit items.
Add charging cables, a charged power bank and, where appropriate, a car charger. Test them. A cable without a compatible device, or a power bank that no longer holds a charge, is clutter rather than backup.
Include a paper list with household numbers, an out-of-area contact, local emergency numbers, a utility contact and important medical or care contacts. Phones are convenient, but the contact list should still work when a device is lost, flat or locked.
For a broader plan around outages, medical equipment and safe generator use, see how to prepare for a power outage.
Pack first aid, medicines and personal care thoughtfully
A basic first-aid kit belongs in the emergency kit. Check that its supplies are intact and that household members know where it is. Do not rely on it to replace professional care or emergency services.
Keep necessary prescription medicine, glasses, hearing-aid batteries, mobility items and hygiene supplies in a way that is safe for the item and private for the person. Some medicines need particular storage, quantities or handling. Ask a pharmacist or prescriber how to plan for those rather than guessing.
Useful personal-care additions can include soap, toilet paper, menstrual supplies, hand sanitizer, masks where appropriate, a whistle, warm layers and sturdy shoes. The Red Cross notes that a kit should be adapted for children, older adults and people with disabilities.
Protect the information you may need
Keep copies of identification, insurance details, emergency contacts and relevant medical information in a waterproof pouch. Do not put original documents in the kit unless you know you will need to take them. Store sensitive information securely, and limit access to the people who need it.
A little preparation makes leaving easier: note where prescriptions, keys, pet records and important account details are kept. A separate home inventory can help document belongings without making the emergency kit itself too heavy.
Add a small amount of cash and practical tools
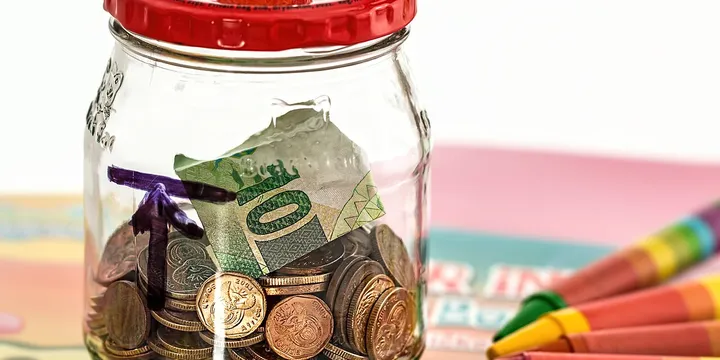
A limited amount of cash in small denominations can help when card terminals or internet access are unavailable. Keep it discreet and review it with the rest of the kit.
Add simple tools only where you know the use: a manual can opener, multipurpose tool, local paper map, waterproof matches only if your household can use them safely, and a whistle for signalling. Do not add tools that encourage risky repairs, such as attempting electrical work during storm damage.
A small notebook and pen are often more useful than expected. Use them to record an address, a medication schedule, a utility report number or instructions received over a radio.
Give children, pets and access needs their own checklist
General lists often fail because they omit the person who needs something different. Make a short add-on checklist for each household member who has specific needs. That may include infant feeding supplies, comfort items, spare glasses, mobility or communication aids, dietary food, or items needed by a caregiver.
For pets, add food, water, bowls, medication, a carrier or leash, waste supplies, identification and veterinary records. Keep their supplies close to the kit rather than assuming there will be time to collect them later.
Pair this kit with a written household emergency plan that covers alerts, meeting places, communication and responsibilities. Supplies help; decisions and contacts make them usable.
Check the kit twice a year
Pick two repeatable dates, such as the clock changes or the start of two seasons. Open the kit and check every item:
- replace expired food, water, medicine and batteries;
- recharge power banks and test lights and radios;
- update phone numbers, documents and local alert details;
- check clothing sizes, pet supplies and child-specific items;
- note what was borrowed or used and replace it.
Keep the review short. The best kit is maintained because it is easy to maintain, not because it contains the most equipment.
Keep the next action simple
Build the kit in layers. Today, choose the container and add water, food, light, first aid and contacts. Next, add your household’s medicine, documents and specific needs. Then test whether each person can find it and lift or carry the relevant part.
That is enough to turn a vague intention into a practical reserve. It will not solve every emergency, but it gives your household a clearer first hour and more room to follow good information.
Sources
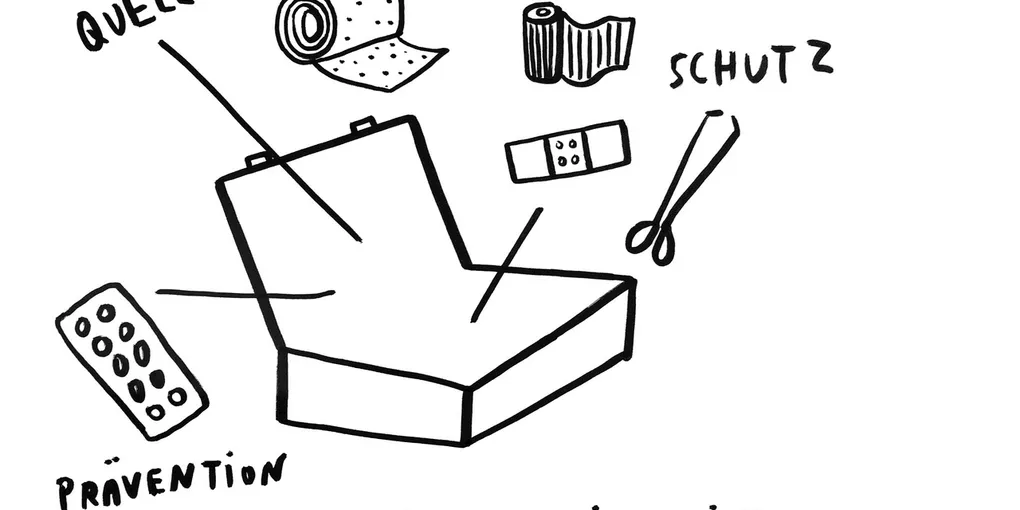
Hero image: graphicrecording.cool on behalf of Wikimedia Deutschland e.V., CC BY-SA 4.0, via Wikimedia Commons.
Sources
Frequently Asked Questions
What should be in a basic emergency kit?
A basic kit starts with water, non-perishable food, a flashlight, batteries, a battery-powered or hand-crank radio, first aid supplies, necessary medicines, a phone charger or power bank, hygiene items and a paper contact list. Add items for your household and local conditions.
Where should I keep an emergency kit?
Keep the main kit in a dry, accessible place that household members can reach without searching. A smaller grab-and-go bag near an exit can help if you may need to leave quickly, but it should not be the only supply you have.
How much water should an emergency kit contain?
Ready.gov recommends storing at least one gallon of water per person per day for several days, for drinking and sanitation. Increase that plan for pets, hot weather, medical needs and any local official guidance.
How often should I check an emergency kit?
Review it at least twice a year and after using it. Replace expired food, medicines and batteries, update contacts and documents, and check that chargers, lights, radios and any household-specific equipment still work.