Quick answer
Start with a ventilated bin in a convenient, well-drained spot. Add roughly two to three parts carbon-rich browns—dry leaves, shredded cardboard or uncoated paper—to one part nitrogen-rich greens such as fruit and vegetable scraps or fresh grass. Keep the mix as damp as a wrung-out sponge, add air by turning or mixing, and leave out meat, dairy, oils and pet waste from a basic home pile.
Composting is a small household system that turns selected food and yard scraps into a useful soil amendment. It is not a sealed trash can where anything organic can go. Give the pile air, moisture and a workable balance of materials, and the process becomes much less mysterious.
The U.S. EPA describes composting as managed, aerobic decomposition: microorganisms break down carbon-based material with oxygen and water. This guide uses a simple backyard or balcony-friendly approach. Check your local rules first, especially if you live in an apartment or plan to use a community collection service.
1. Choose a method you will actually maintain
Start with the smallest system that matches your space and habits:
- Backyard bin or open pile: best when you have leaves, plant trimmings and room for a steady supply of browns.
- Compost tumbler: tidy and easy to mix, but it has limited capacity and can become wet if you add food scraps without enough dry material.
- Worm bin: useful indoors or in a shaded outdoor place when food scraps are your main input. It needs a different setup and careful feeding.
- Community collection: the practical option if you have no outdoor space or cannot manage a bin.
Do not begin by buying the most complicated equipment. A lidded container with ventilation, drainage and enough room to mix is more useful than a gadget you avoid using.
2. Pick a convenient, well-drained spot
Place the bin where you can reach it in bad weather and where water will not pool. Partial shade can reduce drying, while some sun can help a cool pile warm up. Keep enough clearance to open the lid, add material and turn the contents.
A site near the kitchen encourages regular use, but it should not block a walkway or sit directly against a wall where air cannot circulate. If wildlife is a concern, use a secure lid and do not leave exposed food scraps on top.
3. Give the bin air and a way to drain
Compost microbes need oxygen. Use a bin with ventilation openings or a pile that is loose enough for air to move through it. The openings should be small enough to discourage animals, and the container should not hold standing liquid.
Do not pack the contents down like rubbish. If the material collapses into a dense, wet mass, mix in dry leaves, torn cardboard or small twig pieces. Large woody pieces can create air gaps but break down slowly, so chip or cut them when possible.
4. Build a supply of brown materials
“Browns” are carbon-rich materials that provide structure and help balance wet food scraps. Keep a dry reserve next to the bin so you can correct the mix every time you add kitchen waste.
Useful browns include:
- Dry leaves and small untreated plant trimmings
- Shredded plain cardboard and uncoated paper
- Torn paper egg cartons
- Straw or small amounts of untreated sawdust
- Small wood chips and dry stems
Avoid glossy or plastic-coated paper, labels, synthetic fabric, treated wood and material contaminated with chemicals. Tear or shred bulky browns so they do not form a dry mat that sheds water.
5. Add greens in manageable amounts
“Greens” are nitrogen-rich, often wetter materials. Fruit and vegetable scraps, coffee grounds, plain tea leaves, fresh untreated grass clippings and small green plant trimmings are common choices.
Cut large scraps smaller when convenient. A whole cabbage or thick stem takes longer to break down than chopped pieces. Bury fresh kitchen scraps under a layer of browns rather than leaving them exposed. This reduces smells and makes the bin less inviting to flies.
Tea bags need attention: some contain plastic or synthetic mesh. Empty the leaves unless the bag is clearly made from a compostable material accepted by your local program.
6. Balance browns and greens
A practical starting point is two to three parts browns to one part greens by volume. That is the ratio the EPA gives for a home compost pile; it is not a laboratory measurement you need to calculate for every apple peel.
If you add a bowl of wet scraps, cover it with roughly two or three bowls of dry material. Mix instead of building tall, neat layers if the scraps are concentrated in one area. The pile may need more browns when it smells sour, looks slimy or attracts flies. It may need more greens or moisture when it stays dry and unchanged.
The goal is a diverse, loose mix—not a perfect recipe. Keep extra leaves or shredded cardboard ready and make small corrections before the problem grows.
7. Keep the pile damp, not soggy
Squeeze a handful of material. It should feel like a wrung-out sponge: moist, but not dripping. The EPA and University of Maryland Extension both use this practical moisture test.
- Too wet: add dry browns, mix the pile and check that drainage and ventilation are working.
- Too dry: add a small amount of water while mixing, then reassess. Do not soak the pile.
- Dry on top but damp inside: mix before adding water; the surface may not represent the whole bin.
A lid or cover helps during heavy rain and dry weather, but do not make the bin airtight. Compost needs oxygen.
8. Know what to leave out
For a basic home pile, do not add meat, fish, bones, dairy, fats, oils, greasy leftovers, pet waste, plastic, synthetic fabrics, treated materials or chemicals. These items can create odors, attract animals or introduce contamination. Dog and cat waste deserves particular caution because it can carry pathogens.
The exact accepted list differs for backyard, worm and municipal composting. A commercial service may process materials that a small home pile should not. Follow the instructions for your specific system rather than assuming that “compostable” means “safe in this bin.”
If you have a large amount of cooked food, diseased plant material, invasive weeds or animal manure, find a local authority or extension guide before adding it. When uncertain, leave it out.
9. Add oxygen and troubleshoot calmly
Turn or mix the pile when it becomes compacted, smells unpleasant or stops changing. Use a fork or compost aerator to bring outer material inward and loosen the middle. You do not need to turn it every day.
A cool or passive pile takes patience. The University of Maryland Extension distinguishes it from hot composting: passive composting needs less labor but can take about a year, while hot composting needs a large, well-balanced batch and closer attention. Do not chase a hot-pile timetable with a small kitchen-scrap bin.
Use these simple fixes:
- Bad smell: add browns and air; the pile is likely too wet or compacted.
- Fruit flies: bury scraps and cover them with dry material; check the lid and feeding rate.
- Nothing is happening: mix it, add a little moisture if dry, and add some fresh greens.
- Unwanted animals: remove exposed food, secure the lid and stop adding problem ingredients.
10. Let it finish, then use it wisely
Compost is ready when it is dark, crumbly, earthy-smelling and mostly unrecognizable. It should be near outdoor temperature rather than actively hot. If you can still identify many scraps or the material is wet and sharp-smelling, leave it longer and mix it occasionally.
Sift out large pieces and return them to the bin. Use finished compost as a thin surface mulch or mix it into garden soil. It can also be part of a container-growing plan, but it should not automatically replace a balanced potting mix. The guide to growing vegetables in pots explains why containers need light, drainage and a suitable growing medium, while the tomato-growing guide shows where compost fits into a larger planting routine.
The best compost system is the one that remains easy to feed. Keep a small kitchen container, a dry-browns reserve and a five-minute weekly check. Once the mix is balanced, your routine becomes simple: add the right scraps, cover them, check moisture and give the pile air when it needs it.
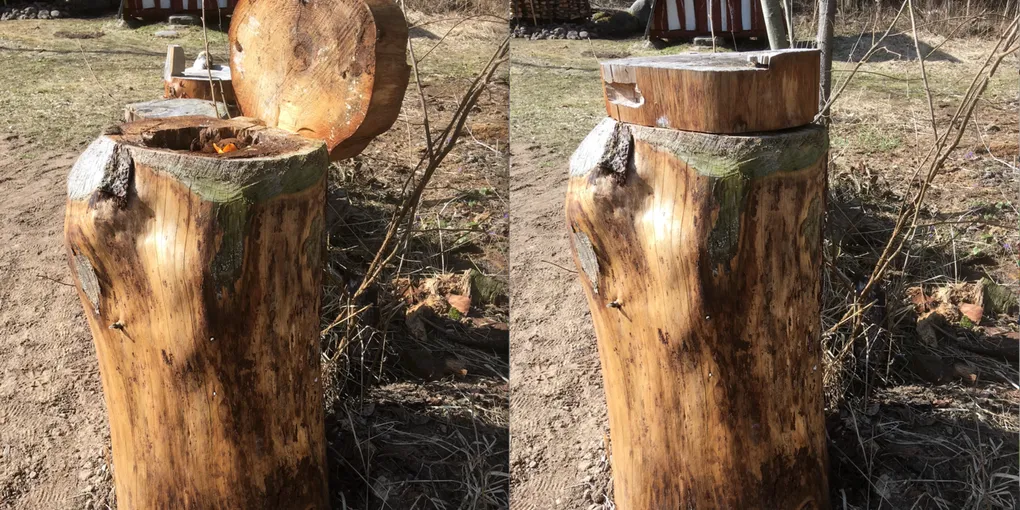
Hero image: Sillerkiil, CC BY-SA 4.0, via Wikimedia Commons.
Sources
Frequently Asked Questions
What can I put in a home compost bin?
Add fruit and vegetable scraps, coffee grounds, uncoated paper, shredded cardboard, dry leaves, small untreated plant trimmings and untreated grass. For a simple backyard pile, leave out meat, dairy, oils, bones and dog or cat waste; local commercial programs may accept a different list.
How wet should compost be?
Aim for the feel of a wrung-out sponge: damp, but not dripping or waterlogged. Add dry browns if the pile is soggy, or a little water while mixing if it is dusty and dry.
Do I have to turn compost?
No. A cool or passive pile can work with occasional mixing, but turning adds oxygen and helps distribute moisture. If you want faster, more even decomposition, mix the pile regularly while keeping the brown-and-green balance.
How do I know when compost is ready?
Finished compost is usually dark and crumbly, has an earthy smell, feels close to outdoor temperature and no longer resembles most of the original scraps. Let it rest or cure if it is still hot, wet or full of recognizable material.