Quick answer
Start seeds indoors 6–8 weeks before the last frost, harden the seedlings off for a week, then plant them out once the soil is warm — in a spot with 6–8 hours of sun. Water deep and evenly (irregular watering causes blossom-end rot), stake or cage the plant, and harvest when the fruit is fully colored.
Tomatoes are the number one vegetable people try to grow — and the first one that usually gets them hooked. The plant is forgiving, the taste difference is real, and one healthy plant gives you more fruit than you expect.
But most “why did my tomatoes fail” stories come down to a handful of mistakes: the wrong variety, planting too early, irregular watering, no support. All of them are avoidable. Here are the ten steps that decide your harvest, in order.
1. Pick the right variety first
The single biggest decision is between the two growth habits — and most gardening problems (or easy wins) start here:
| Type | Growth | Best for |
|---|---|---|
| Cherry / grape | Indeterminate | Beginners, containers, snacking — heavy, early production |
| Determinate | Bushy, sets once | Short seasons, sauce making, pots |
| Beefsteak | Indeterminate | Big, meaty fruit; needs sturdy support |
- Indeterminate plants vine all season and keep fruiting until frost — they need a tall cage or trellis.
- Determinate varieties grow to a fixed size and ripen their crop in a few weeks — handy if your season is short.
Heat is the other factor. If your summers run hot (many US states south of the Midwest, for instance), look for heat-tolerant or “sweet” cherry types; standard big tomatoes often stop setting fruit in intense heat. And if space is the problem, a cherry tomato in a container covers most of your snacking needs on its own.
2. Start seeds indoors 6–8 weeks before the last frost
Tomato seeds germinate best at 21–27°C (70–80°F) — a warm windowsill or a heat mat — and sprout in 5–10 days.
- Fill small pots or trays with seed-starting mix, plant seeds 0.5 cm deep, and keep the mix moist but not soggy.
- After germination, move them to the brightest spot you have: 12–16 hours of light a day is ideal. A LED grow light beats a window for the first weeks.
- When the first two true leaves form, transplant each seedling into its own 8–10 cm pot.
No seed-starting patience? Buying healthy seedlings is not cheating. In many climates it is the practical choice — see the container growing guide for the pot setup.
The timing rule counts backwards from your last frost date: start the seeds six weeks before.
3. Harden off — the week that saves your plants
Seedlings that go straight from a warm window to the garden get scorched and set back for weeks. Spend one week on this:
- Day 1–3: put the trays outside in shade for 2–3 hours, then back in.
- Day 4–5: move them to partial sun for 4–6 hours.
- Day 6–7: full sun all day, bring them in only if frost threatens.
After that, the plants are ready — and only after the last frost, when the soil has warmed.
4. Plant deep, after the soil is warm
Plant tomatoes two to three weeks after your last frost date, when nights stay above 10°C (50°F). Soil temperature matters more than the calendar: 15°C (60°F) or warmer is ideal.
Then the trick that surprises first-timers: bury the plant deep. Strip the lowest branches and plant it so that two-thirds of the stem is underground — buried stems grow extra roots, and deeper roots survive heat and drought far better.
Space plants 45–60 cm (18–24 inches) apart for determinate types, 60–90 cm (24–36 inches) for indeterminate — good airflow is the cheapest disease prevention there is.
5. Give them 6–8 hours of sun and good soil
Tomatoes are sun hogs:
- Sun: 6–8 hours of direct sun minimum, 8+ for a full crop. Less sun = leggy plants and little fruit.
- Soil: loose, well-draining, rich in compost. Aim for a pH around 6.0–6.8. Dig in a 5–10 cm layer of compost before planting. For a simple way to produce a usable amendment at home, see the home composting guide.
- Mulch: a 5 cm layer of straw, leaves or wood chips after planting keeps moisture even, keeps weeds down, and stops soil splash (the main way blight reaches the leaves).
- Container rule: use real potting mix, never garden soil — it compacts and drains badly in pots.
If you only have a sunny balcony, this still works: one cherry tomato in a 5-gallon bucket is a reliable beginner project.
6. Support every plant — cage, stake or trellis
Unsupported tomatoes sprawl on the ground, and everything goes wrong: sunburn, rot, slugs, missed harvests. Put support in at planting time, not after the plant flops.
- Cages (60–90 cm tall, sturdy): the lowest-effort option.
- Stakes: drive in at planting, tie the main stem every 20–30 cm as it grows.
- String method: for vertical gardens and small spaces — tie the main stem gently and prune to 2–3 stems.
For indeterminate plants, pinch off the “suckers” — the small shoots between the main stem and a branch — every week. Suckers steal energy from fruit; one or two left alone is fine, but a full summer of unchecked suckers is the classic “huge plant, five tomatoes” failure.
7. Water deep and even — never on a schedule
This is where most tomato problems start, especially blossom-end rot — the black, sunken spot on the bottom of the fruit. It is not a pest or a disease: it is a calcium uptake problem, and the cause is almost always irregular soil moisture. When the plant dries out and then floods, it stops moving calcium to the fruit.
- Water 2.5–5 cm (1–2 inches) per week, more in heat.
- Water at the base — wet leaves invite blight.
- Check with a finger: if the top few centimeters are dry, water. In hot summer that can mean every 1–2 days.
- Mulch is your friend here — it keeps moisture even, so the rot stays away.
8. Feed in two phases
Tomatoes have two distinct appetites:
- Early (leaves and growth): nitrogen — compost or a balanced fertilizer.
- After flowers appear: phosphorus and potassium — tomatoes are heavy feeders. Feed every 3–4 weeks with a tomato-specific or low-nitrogen fertilizer.
The classic warning sign: a giant, dark green plant with almost no flowers or fruit. That is too much nitrogen — back off the feeding and let it settle.
9. Stay ahead of pests and blight
Five minutes of looking each week prevents most tomato catastrophes:
- Aphids: clusters on young shoots — blast off with water or wipe with soapy water.
- Hornworms: big green caterpillars — they eat entire branches overnight. Hunt them at dusk; the leaf droppings give them away.
- Early blight: yellow-brown spots with rings on lower leaves. Prune affected leaves, keep the soil from splashing (mulch!), water at the base.
- Late blight: the one that starts like early blight and spreads fast in cool, wet weather — in a bad year it can kill the whole crop. It is one of the few things that make fungicides worth it; otherwise remove infected plants quickly.
Good airflow, mulch, and base-watering prevent the majority of leaf disease. Spacing is not decorative: cramped plants are disease magnets.
10. Harvest at the right moment
Ripe is a color, not a date: pick when the fruit is fully colored and just slightly firm. A small twist separates it from the stem — do not pull; you can rip off the branch and take the whole truss with you.
Two useful tricks for the ends of the season:
- A cold snap is coming? Pick all fruit that has started to turn color and let it ripen on the counter — it will continue off the vine. Fully green hard fruit also ripens, just more slowly (put them in a paper bag with a banana to speed it up).
- Don’t refrigerate ripe tomatoes — cold kills the flavor. Countertop, stem down, they keep for a week.
Quick-win checklist
- One variety chosen for your space and climate (cherry types easiest)
- Seeds started 6–8 weeks before last frost (or bought seedlings)
- A week of hardening off outdoors
- Soil warm, 6–8 hours of sun, compost dug in
- Planted deep — two-thirds of the stem buried
- Cage, stake or trellis in place from day one
- Watering on a consistent deep schedule (mulch!)
- Weekly two-minute check: suckers, pests, lower leaves
That is the whole game: a good variety, a warm start, deep planting, consistent water, and support. Get those five things right and the plant does the rest — and the first warm, home-grown tomato on the counter will make a bag of tomatoes from the store irrelevant (see how to save money on groceries for the rest of the budget picture, and plan meals around what you pick).
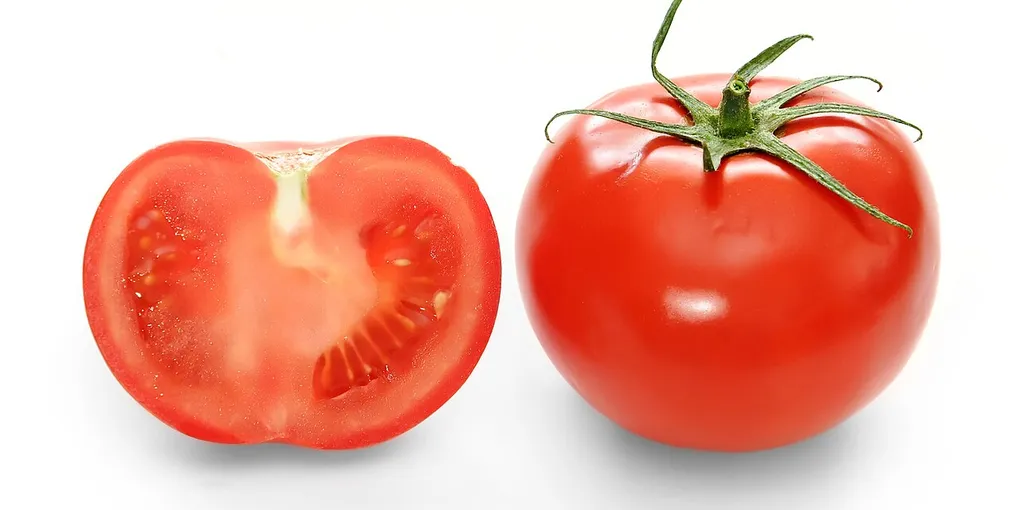
Hero image: fir0002 (flagstaffotos), GFDL 1.2, via Wikimedia Commons.
Frequently Asked Questions
How long does it take to grow tomatoes from seed?
About 90 to 120 days total: 6–8 weeks as a seedling indoors, then roughly 60–80 more days in the garden to first ripe fruit. Cherry types are usually fastest (around 60 days after transplanting), big beefsteak varieties the slowest.
How often should I water tomato plants?
Deep and evenly — about 2.5–5 cm (1–2 inches) of water per week, more in hot weather. Check the soil a few centimeters down and water when it is dry. Irregular watering is the main cause of blossom-end rot, so a consistent routine beats a big drink after a drought.
Do tomatoes need full sun?
Yes — 6–8 hours of direct sun a day is the minimum, and 8 hours or more gives the best crop. With less, plants get leggy and set fewer fruits. In very hot regions, some afternoon shade can actually help fruit set in midsummer.
Can you grow tomatoes in a 5-gallon bucket?
Yes — one plant per bucket, with drainage holes drilled, and a quality potting mix. A 5-gallon bucket is the minimum; a 10-gallon container is safer, because larger pots hold moisture more evenly. Skip upside-down planters: a normal big pot grows a healthier plant.