Quick answer
For most kitchen knives, a medium whetstone and a consistent 15–20° angle are the safest starting point. Sharpen one side until you can feel a burr, repeat on the other side, then use lighter alternating strokes, clean and dry the blade, and stop if the knife is chipped, serrated or valuable enough to warrant a professional.
A sharp kitchen knife should move through food with controlled pressure, not a wrestling match. You do not need an expensive machine to maintain one: a suitable whetstone, a stable work surface and a repeatable angle are enough for most ordinary chef’s and paring knives.
This nine-step method is deliberately slower than dragging a blade through a bargain sharpener. It removes less metal, gives you feedback through the burr and makes it easier to stop before you change the knife’s shape. Work over a clear counter, keep your attention on the blade and never sharpen in a crowded sink.
1. Inspect the knife before you sharpen it
Wash and dry the knife so you can see the edge. Look for a bent tip, deep chips, a crack, loose handle scales or rust that has pitted the cutting edge. A small dull patch is a normal sharpening job; structural damage is not.
Pause if the knife is serrated, single-bevel, unusually hard, handmade or valuable. Those edges have specific geometries that a general-purpose routine can damage. A professional service or the manufacturer’s instructions is cheaper than turning a good knife into an expensive repair.
Also decide what the knife does. If it is the everyday blade for the vegetables in your weekly meal plan, sharpen only as much as needed. The goal is a clean, useful edge, not a polished showpiece.
2. Choose a stable tool and a sensible grit
A medium whetstone around 800–1,200 grit is a practical starting point for a normally maintained kitchen knife. A coarse stone is for significant damage and removes metal quickly; a fine stone can refine an edge after the main bevel is established. If you own one combination stone, start with its medium side and read its instructions.
You will also need a nonslip base or folded damp towel, a bowl of water if the stone requires it, a clean cloth and a clear patch of counter. Serious Eats recommends a dedicated towel because stone grit can remain in the fabric. Do not hold the stone in your palm, and do not use an unstable cutting board as its platform.
Pull-through and electric sharpeners can be convenient, but they are not automatically gentle. They can remove more metal than you intend. A stone gives a beginner slower feedback and more control.
3. Prepare the stone according to its instructions
Some water stones need soaking; others are designed to be splashed and used immediately. Do not assume every stone has the same routine. Wet or prepare it exactly as its manufacturer says, then place it on the towel or holder so it cannot slide.
Keep the stone’s surface reasonably flat. A hollowed stone changes the bevel and makes consistent contact harder. If the stone is new, note which side is coarse and which is fine before you wet it. Put the blade, towel and any angle guide within reach before starting.
4. Set a repeatable sharpening angle
The angle is the space between one side of the blade and the stone. America’s Test Kitchen describes about 15 degrees for many Asian-style knives and 20 degrees for many Western-style knives. The exact maker’s specification wins, but a repeatable angle is more important than trying to hold a number perfectly.
Raise the spine until the bevel lies flat against the stone, then lift it only slightly. An inexpensive angle guide can help you learn the feel. Point the edge away from your body, keep your free fingers on the spine or blade face well behind the edge, and keep the hand holding the knife relaxed.
5. Sharpen the first side from heel to tip
Place the heel near the stone’s lower end. Using light, even pressure, sweep the blade forward and across the stone as if you were trying to shave a thin layer from its surface. Let the stroke travel from heel to tip so every section of the edge contacts the stone. Do not saw in one tiny spot.
Lift the blade at the end of the stroke rather than dragging the tip off the stone. Make five to ten slow passes, then inspect the edge. Pressure should be firm enough to create contact but never so hard that the stone skips. Wipe away slurry only when it hides the bevel or the stone’s instructions require it.
6. Raise and check a burr, then repeat on the other side
The first side is ready to change when a small wire-like burr has formed along the opposite side of the edge. Check it by carefully moving a fingertip from the spine toward the edge, never along the edge. You should feel a tiny rough lip catch consistently from heel to tip. If it appears only in the middle, keep working the missing sections rather than increasing pressure everywhere.
Turn the knife over and repeat the same number of controlled strokes at the same angle until the burr flips back. This is the feedback that tells you the two bevels have met. Do not chase a huge burr: it wastes metal and makes the final edge harder to clean up.
7. Refine the edge with lighter alternating strokes
Move to the finer side of a combination stone if you have one. Reduce pressure and alternate one stroke on each side, keeping the heel-to-tip motion and the same angle. Three or four light passes per side are usually more useful here than a long, forceful session.
Finish with a few very light edge-trailing strokes, where the blade moves away from the edge rather than cutting into the stone. The purpose is to remove the remaining burr, not to create a new bevel. If you are uncertain, stop and test instead of polishing indefinitely.
8. Hone and test without putting your fingers at risk
A honing rod can realign a slightly rolled edge between stone sessions, but it does not replace sharpening. If you use one, hold the rod vertically against a towel-covered cutting board and guide the knife down it at roughly the same 15–20-degree angle. Controlled, slow passes are safer than dramatic air-swiping. Serious Eats describes honing as a final alignment step after sharpening.
Rinse or wipe the blade and test it on a sheet of paper or a ripe tomato. A sharp edge should begin the cut cleanly instead of skating, crushing or requiring repeated sawing. Test several points along the blade; a knife can be sharp at the heel and dull near the tip. Never use the thumb test or run a finger along the edge.
9. Clean, dry and store everything
Rinse the blade, dry it immediately and store it so the edge cannot strike other metal. Dry the stone as its instructions say; Serious Eats recommends allowing a water stone to dry on a rack for at least a day. Do not leave the knife or stone submerged in a sink where someone can reach in without seeing them.
Use a cutting board that protects the edge: wood or a suitable plastic board is kinder than glass, stone or a plate. Clean the knife and board safely after raw meat or eggs, and keep raw and ready-to-eat foods separate as FoodSafety.gov explains. A sharp knife is only part of safe preparation; a clean workflow matters too.
For maintenance, hone when the edge feels slightly rolled and sharpen on the stone when honing no longer restores a clean cut. If you are cooking a batch of rice, vegetables or other staples from a simple rice-cooking routine, make the five-second paper test part of your normal prep rather than waiting until the knife becomes frustrating.
A quick tool guide
| Tool or method | Best use | Stop or avoid when |
|---|---|---|
| Medium whetstone | Routine edge repair and maintenance | The knife is chipped, cracked or specialist |
| Fine whetstone | Light finishing after the bevel is set | You are removing metal without improving the cut |
| Honing rod | Realigning a slightly rolled edge | The blade remains dull after several passes |
| Pull-through sharpener | Fast maintenance when its instructions fit the knife | The edge is valuable, thin, serrated or easy to over-grind |
| Professional service | Chips, hard steel, single bevels and expensive knives | The service cannot explain its method or return policy |
The best sharpening session ends with a knife that cuts predictably and a blade that still looks like itself. Start with light pressure, find the burr, keep both bevels consistent and stop as soon as the edge passes a real food test.
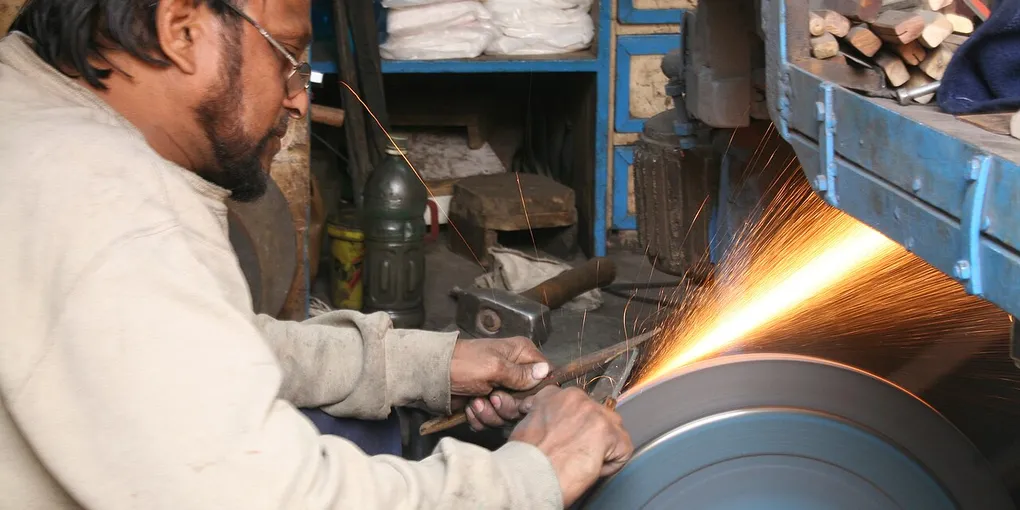
Hero image: Ramesh Lalwani, CC BY 2.0, via Wikimedia Commons.
Sources
Frequently Asked Questions
What angle should I use to sharpen a kitchen knife?
Use the angle recommended by the manufacturer when you have it. As a practical starting point, Asian-style knives are commonly sharpened around 15 degrees per side and Western-style knives around 20 degrees per side; consistency matters more than chasing a perfect number.
Is a honing steel the same as a knife sharpener?
No. Honing mainly realigns a rolled edge, while sharpening removes a small amount of metal to create a new edge. Use a honing rod for light maintenance, but use a stone or professional service when the knife stays dull after honing.
How do I know when a knife is sharp?
The edge should slice cleanly through paper or a ripe tomato without force or repeated sawing. Inspect it under good light too: a shiny line or reflection along the edge can reveal a remaining dull spot. Never test sharpness by running a finger along the blade.
Can I sharpen a serrated or chipped knife at home?
A serrated knife needs a tapered rod that fits each individual gullet, not a flat whetstone across the teeth. A deep chip, bent tip, cracked blade, single-bevel knife or expensive hard-steel knife is a good reason to use the maker's service or a reputable professional.