Quick answer
For a first batch of long-grain white rice, start with 1 cup rice and 1½ cups water in a covered saucepan. Bring it to a gentle boil, cover, simmer on the lowest steady heat for about 15 minutes, then rest covered off the heat for 10 minutes. Rice type, lid fit, burner strength, and package directions can change the result, so use the table as a starting point and adjust one variable at a time.
Rice is predictable when you treat it as a small absorption experiment: identify the grain, measure both ingredients, keep steam in, and change one variable when the result is off. The table below is a starting point for a covered saucepan, not a promise that every brand, pot, burner, or altitude behaves identically.
Start with the rice type and the package label
The most common mistake is applying one ratio to every grain. Long-grain white rice is a useful baseline; jasmine, basmati, brown, parboiled, and specialty rice differ in starch, bran, shape, and processing. If the package gives a method for that exact product, use it as the primary starting point. USA Rice also notes that U.S. enriched rice can lose enrichment when rinsed or cooked in excess water and drained, so check the label before rinsing (USA Rice cooking guidance).
| Rice type | Starting point for 1 cup dry rice | Covered simmer | Rest |
|---|---|---|---|
| Long-grain white | 1½ cups water | 15–20 minutes | 10 minutes |
| Jasmine | 1¼–1½ cups water | 15–18 minutes | 10 minutes |
| Basmati | 1½ cups water; optional soak changes this | 15–20 minutes | 10 minutes |
| Brown or whole-grain | 2 cups water | 40–45 minutes | 10 minutes |
| Parboiled | Start with the package directions | Often 20–30 minutes | As labelled |
These are practical starting ranges, not laboratory measurements. A wide pan, loose lid, aggressive burner, high altitude, or a rice brand with different instructions can shift the result. Keep a note of the ratio and timer that worked in your pot.
The dependable saucepan method
For one cup of long-grain white rice, use a small heavy saucepan with a lid that fits closely, a measuring cup, and a timer.
- Check the label and measure. Put 1 cup dry rice and 1½ cups water in the pan. Add salt or fat only for flavour; neither repairs a wrong ratio.
- Choose whether to rinse. If the label permits it and you want less surface starch, rinse briefly in a fine-mesh strainer and let it drain. Do not assume “clear” water is a safety test, and do not rinse enriched rice without checking the label.
- Bring it to a gentle boil. Stir once so the grains are distributed, then cover and reduce the heat to the lowest setting that maintains a quiet simmer. USA Rice’s general method likewise calls for boiling, a low covered simmer, and fork fluffing; its chart lists different times for white and whole-grain rice.
- Keep the lid closed. Start with 15 minutes for long-grain white rice. Do not stir or peek: both change the steam balance. If the pot is bubbling violently, move it to a smaller burner or lower the heat.
- Rest before judging. Turn off the heat and leave the lid on for 10 minutes. The rest allows residual moisture to redistribute. If liquid remains or the grains are still hard, replace the lid and cook 2–4 minutes longer, as USA Rice recommends.
- Fluff and taste. Lift with a fork or rice paddle. Taste one grain before changing the next batch; “sticky” may be correct for short-grain rice, while wet and pasty usually means excess liquid or stirring.
Worked example: one cup of long-grain white rice
The illustrative batch is 1 cup rice + 1½ cups water, a covered 15-minute simmer, and a 10-minute rest. It should produce roughly 3 cups cooked rice, but yield varies by rice and measurement. If the grains are firm but the pot is dry, add 2–3 tablespoons hot water, cover, steam for 5 minutes, and rest again. If the grains are tender but there is standing water, leave the lid off for a minute after turning off the heat, then record “less water next time” rather than repeatedly stirring this batch.
Choose a method for your equipment
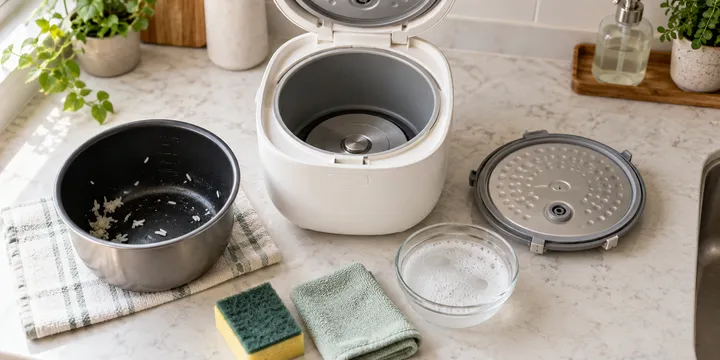
- Rice cooker: Use the machine’s own cup and inner-pot markings first. Different cooker models use different cup sizes and sensor programs; do not replace their instructions with a universal 1:1 claim.
- Microwave: Use a large, microwave-safe bowl because foaming water can overflow. Power, bowl shape, and starting-water temperature change the time. Follow the appliance’s instructions and keep the bowl covered or vented as directed.
- Pressure cooker: Treat the model manual and the rice package as the authority. Pressure settings, minimum liquid, natural-release instructions, and rice variety differ. The previous fixed “3 minutes white / 22 minutes brown” claim was too broad to retain safely.
Diagnose the result before changing the recipe
| Result | Likely cause | Next batch or rescue |
|---|---|---|
| Crunchy centre, dry pan | Too little water, heat too low, steam escaping, or too little time | Add a few tablespoons hot water, cover, steam 5 minutes, rest; next time check the lid and increase one variable slightly |
| Wet or gummy | Excess water, stirring, or a naturally sticky variety | Drain only if necessary; spread to release steam; next batch reduce water slightly or stop stirring |
| Burnt bottom, raw top | Burner too strong, pan too wide, or poor lid seal | Move the usable top rice without scraping; next time use a smaller burner and heavier lid |
| Foam or overflow | Pan too small, vigorous boil, or starchy variety | Turn down the heat and use a larger pan; do not lift a hot lid toward your face |
Change one variable per batch—ratio, burner, pan, rinse, or time. Changing several at once hides the cause and makes the next correction harder.
Store and reheat leftovers safely
Cooked rice is a perishable leftover. USDA FSIS says to refrigerate leftovers within 2 hours (1 hour at 90°F/32°C or above), cool large amounts quickly in shallow containers, keep them 3–4 days in the refrigerator, or freeze them for 3–4 months (USDA FSIS: Leftovers and Food Safety). Reheat until steaming hot throughout; USDA gives 165°F/74°C for reheated leftovers and recommends covering and rotating microwave food for more even heating. If rice sat out too long, do not rely on reheating to make it safe—discard it.
For a weekly meal plan, see how to plan meals for the week. To reduce the cost of the ingredients around a rice-based meal, see how to save money on groceries.
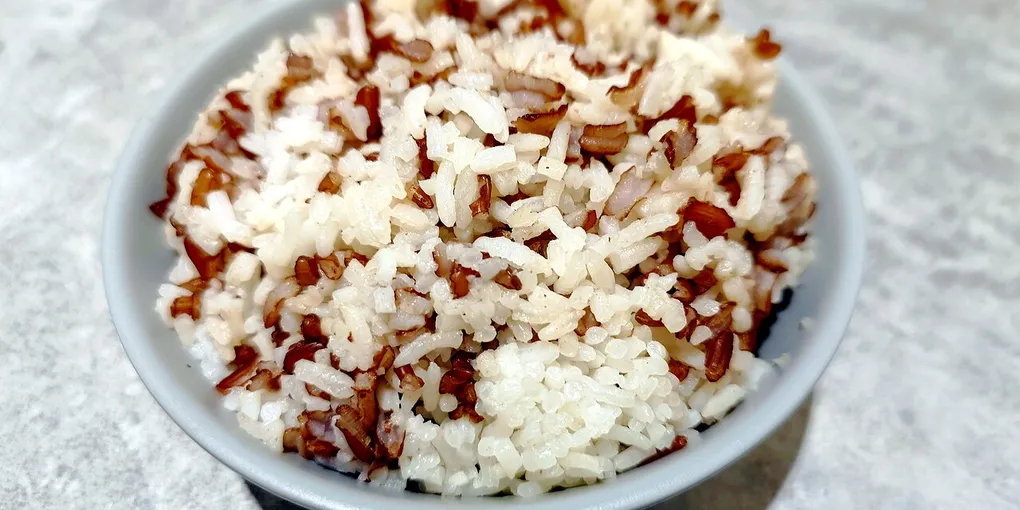
Hero image: Ceeseven, CC BY-SA 4.0, via Wikimedia Commons.
Take it with you
- Download the rice cooking checklist
A plain-text ratio, timer, troubleshooting, and leftover-safety checklist.
Frequently Asked Questions
What is the right rice-to-water ratio?
For a covered saucepan, use 1 cup long-grain white rice to 1½ cups water as a starting point. Jasmine, basmati, brown, parboiled, and package-specific products can need different amounts, so use the table and the package label when it conflicts.
Why is my rice crunchy or gummy?
Crunchy rice usually needs more time, water, or a better-sealed lid. Gummy rice often has too much water, excessive stirring, or a naturally sticky rice type. Fix the current batch gently, then change only one variable next time.
How long can cooked rice stay in the fridge?
Refrigerate leftovers within 2 hours, sooner in hot conditions, and use them within 3–4 days. Cool a large batch quickly in shallow containers. Reheat leftovers until steaming hot throughout; discard rice that sat out too long.
Should I rinse rice?
Rinsing can remove loose surface starch and make some varieties less clumpy, but it is not universal. Follow the package label for enriched rice, and do not rinse solely because a recipe promises perfect results. Rinsing also changes how much water clings to the grains.