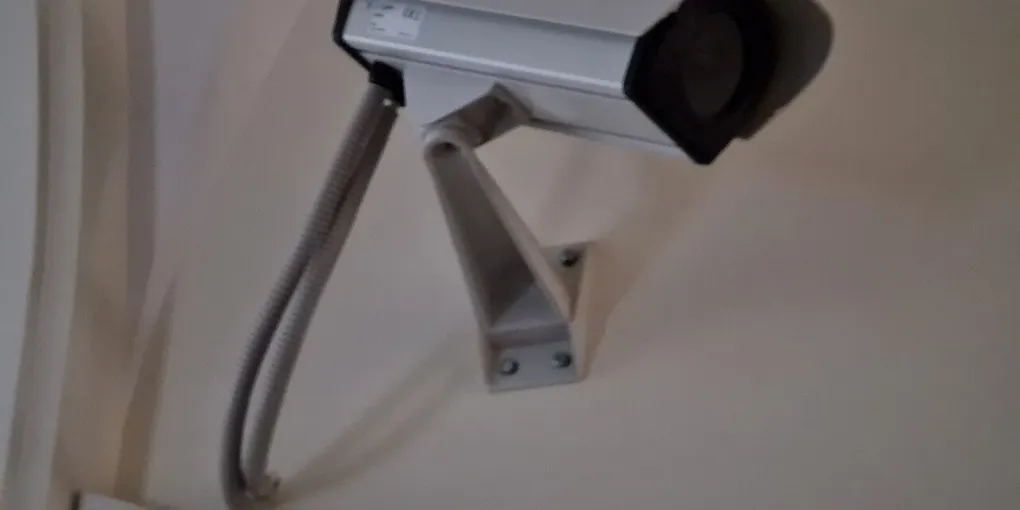
Quick answer
Set up a home security camera by choosing the scene it must cover, checking power and Wi-Fi at that spot, connecting it through the manufacturer’s app, changing default credentials, enabling updates and two-step verification, setting privacy boundaries, and testing alerts and playback before relying on it.
A camera is only useful when it shows the right scene, stays connected and does not create a new privacy or account-security problem.
This guide is for common indoor, outdoor and doorbell-style connected cameras. Menus differ by manufacturer, so use the device manual and app when a setting name or mounting step is model-specific. The FTC’s camera-security guidance covers account, software, network and livestream protections; the steps below turn those points into a practical setup order.
1. Define the scene before choosing the camera
Write down what the camera must answer. Is the question whether a package arrived, whether a gate opened, whether a pet is safe, or whether a particular room is empty? A narrow purpose makes placement, notifications and retention easier to control.
Choose between indoor, outdoor, wired, battery or solar power only after checking the location. Outdoor exposure, night lighting, cable reach, battery access and the camera’s temperature limits matter.
If you already have a camera, check its support status, update policy, account controls and privacy features before installing it permanently. The FTC recommends researching whether a camera encrypts account information, livestreams and stored videos.
2. Check privacy and local rules first
A camera records people as well as objects. Do not point it into bathrooms, bedrooms or another private space unless the people affected have specifically agreed. Avoid recording a neighbour’s property or a public path when you can frame the view more narrowly.
The Google Nest privacy guidance notes that local laws may restrict camera placement, audio or video recording, notice, consent and certain biometric features. It also recommends telling guests about cameras and respecting tenants’ rights. Rules vary by location, so treat this as a prompt to check current local requirements—not as legal advice.
Make privacy part of the physical design. A visible privacy shutter, a privacy zone, a camera that points only at your doorway, or a schedule that turns an indoor camera off when people are home can all reduce unnecessary capture.
3. Test power and Wi-Fi at the final spot
Before drilling or sticking anything to a wall, put the camera where it will actually live. Confirm that a wired outlet is reachable without a trip hazard, a battery can be removed safely, or a solar panel will receive the light it needs. For mains-powered outdoor equipment, follow the manufacturer’s installation instructions and applicable electrical rules; do not improvise live wiring.
Open the app’s live view from that position. A weak signal can cause delayed video, failed uploads and missed notifications. The Google setup guide recommends moving a camera closer to the router and reducing interference when connection or video quality is poor. Ring’s placement guidance similarly says to test Wi-Fi and check for obstructions at the mounting location.
If your router supports it, consider putting cameras on a separate guest or IoT network. The FTC says this can keep a compromised camera from having easy access to computers or printers on the main network. Our home Wi-Fi setup guide covers the device-side basics; use WPA3 Personal or WPA2 Personal encryption and keep the router’s software current. The FTC home Wi-Fi guide explains the relevant router settings.
4. Install the manufacturer’s current app
Use the app linked from the camera maker’s official website or the device documentation, not a random download page. Update the app before pairing. Create the account with an email address you control.
Many cameras need a QR code, Bluetooth permission or a temporary connection to the phone during setup. Complete pairing while the camera is unmounted and near the router. Google’s current Nest instructions specifically say to connect the camera to the app before mounting it and to keep the setup-code sticker for future troubleshooting.
If the camera was previously owned, factory-reset it before adding it to your account. Otherwise, the previous owner may still have access or the device may retain old network details.
5. Replace default credentials immediately
Do not leave a factory username, setup PIN or default password in place. CISA says default credentials can be easy to find online and recommends strong passwords, current software, careful security settings and multi-factor authentication when available.
Use a long, unique password for the camera account. Do not reuse your email, Wi-Fi or password-manager password. If the camera has a separate local administrator login, change that too. Store the credential in your password manager rather than in a note beside the device.
Turn on two-step verification or multi-factor authentication for the camera’s cloud account. Our two-factor authentication guide covers the account layer. If a family member needs access, invite that person through the camera’s sharing controls instead of handing over the main account password.
6. Update the camera, router and app
Install firmware updates before you begin relying on the camera. Turn on automatic updates when the manufacturer provides a trustworthy option, and check the app and router update settings as well. The FTC notes that camera software updates can fix security bugs and that the viewing app needs updates too.
After an update, review the settings again. A new feature can change motion zones, cloud storage, remote access or notification defaults. CISA recommends reevaluating security settings after patches or software changes rather than assuming the old configuration still applies.
If the maker no longer supplies security updates, treat that as a replacement signal. For a broader device checklist, see our home IoT security guide.
7. Frame the view narrowly and securely
Aim for the smallest useful field of view. A front-door camera may need the path, doorstep and package area—not every window across the street. Indoors, place the camera to cover the room’s function while excluding private areas.
Watch for backlight from windows, reflective glass, moving trees, flags and bright lights. Ring’s placement guidance says these can obstruct the view or create false motion alerts; it also recommends facing indoor cameras into the room rather than directly at a window. Use the app’s privacy zones or masking controls if available.
Lock the mount and protect the cable or power supply without blocking ventilation. For outdoor cameras, choose a position that is difficult to tamper with but still reachable for maintenance and reset procedures.
8. Configure detection and notifications gradually
Start with the least sensitive useful setting. Draw a motion zone around the doorway, driveway or room edge instead of monitoring the whole frame. If the app offers person, vehicle, package, sound or pet detection, enable one category at a time and observe the results.
Notifications should answer a decision, not become a stream of noise. Ask whether you need an alert immediately, a daily summary, or only a recorded event. Set schedules for known activity such as cleaning, deliveries or household routines. Keep audio recording off unless you have a clear reason and have checked the local rules.
Review cloud retention and download settings. Keep only as much history as you need, and remove shared links or old users after a house sitter, contractor or family visit ends.
9. Test live view, recording, alerts and recovery
Run a complete test from another phone or account with permission:
- Trigger the intended motion zone.
- Confirm the notification arrives.
- Open the live view away from home Wi-Fi if remote viewing is enabled.
- Check that the recording has the right time and view.
- Play it back and test a download if you need evidence outside the app.
- Disconnect the camera briefly and confirm the app reports the failure instead of silently showing stale video.
Test at day and night. Check faces, package labels, entrances and the areas you actually care about. If the image is delayed, distorted or too dark, fix placement, lighting, power or Wi-Fi before trusting the alerts.
10. Document access and review the setup
Write down the camera location, account owner, firmware date, network name, recovery method and who has shared access. Do not put the password in the document. Record the date you last checked the live view and storage.
Review the account’s devices and sessions every few months and after a password change, move, lost phone or contractor visit. Remove old viewers, rotate credentials when appropriate and confirm that two-step verification still works. If you sell or recycle the camera, remove it from the account and factory-reset it first.
Finally, tell household members what the camera does and how to use its privacy control. A reliable camera setup is deliberately limited: it covers a defined scene, uses a supported account, runs on a protected network, sends useful alerts and can be turned off when privacy matters.
Hero image: MichalPL, CC BY-SA 4.0, via Wikimedia Commons.
Sources
Frequently Asked Questions
Where is the best place to put a home security camera?
Choose a location that covers the entry, room or path you actually need to monitor, has reliable power and Wi-Fi, and does not unnecessarily record private rooms, neighbours or public areas. Test the live view and motion detection from the final position before mounting it.
Should a security camera be on a separate Wi-Fi network?
A separate guest or IoT network can reduce the camera’s access to computers and other devices if the camera or another device is compromised. The exact option depends on your router; keep the network encrypted and use a strong, unique password.
How do I make a home security camera more secure?
Change the default username or password, use a unique strong password, turn on two-step verification or multi-factor authentication when available, install camera and app updates, enable encryption and review remote-viewing and sharing settings.
Do I need permission to record with a home security camera?
Local rules can limit where you place a camera, whether you record video or audio, and whether you need notice or consent. Avoid private spaces and your neighbour’s property, tell guests when recording is active, and check current local requirements before installation.

.jpg)