How to Set Up Two-Factor Authentication: 10 Steps for Safer Accounts
Quick answer
Open the account's security settings, choose two-factor authentication (also called MFA or two-step verification), enroll an authenticator app, passkey or security key, and complete a test sign-in. Save the recovery codes offline, add a backup method you control and never share a verification code with someone who contacts you.
A password is only one lock. Two-factor authentication (2FA), also called multifactor authentication (MFA) or two-step verification, asks for a second proof when you sign in. That extra step can block an attacker who has learned your password, because the password alone is no longer enough.
The Cybersecurity and Infrastructure Security Agency explains that MFA requires another method of verifying your identity. The Federal Trade Commission’s guide groups these proofs as something you know, something you have or something you are. This is account protection, not a guarantee: a scammer can still trick someone into approving a fraudulent sign-in or handing over a code.
Use this process for your email first, then your password manager, banking, cloud storage, social accounts and any smart-home service that can unlock devices or expose cameras. Menu names move over time, but the workflow remains consistent.
1. Start with the account that can reset the others
Make a short priority list before you change settings. Put your primary email at the top: it often receives password-reset links for other services. Next add your password manager, financial accounts, cloud storage, main phone account and social or messaging accounts.
If you use a work or school account, follow the organisation’s instructions rather than adding a personal method that administrators do not support. For a personal account, start with the provider’s official website or app—not a link in an unexpected email or text.
2. Find the real security settings
Sign in directly, open your profile or account settings and look for Security, Sign-in and security, Password and security or Privacy and security. The setting may be called Two-factor authentication, Two-step verification, Multifactor authentication or simply MFA.
Examples of current official routes include:
- Google: Google Account → Security & sign-in → 2-Step Verification. Google documents the same feature for computer, Android and iPhone/iPad, with slightly different menus.
- Microsoft: open the Security area of your Microsoft account and choose Manage how I sign in or the two-step-verification option.
- Apple: open Apple Account settings and look under Sign-In & Security for two-factor authentication.
If a page asks you to send a code to an unfamiliar address, stop and type the provider’s known address yourself. A genuine setup flow should clearly identify the account and the method you are enrolling.
3. Choose the strongest method you can use reliably
The available choices differ by service. In general, consider them in this order:
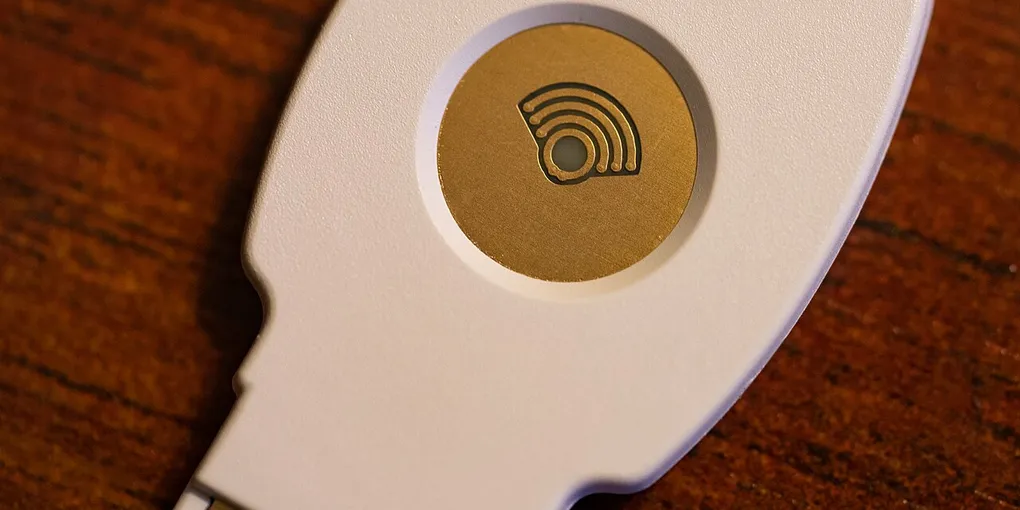
- Passkey or FIDO security key. These use a device or physical key and are designed to resist phishing. A key is useful for a high-value account, but buy a compatible model and plan a backup before relying on one.
- Authenticator app. The app generates a short-lived code, often without an internet connection. It is a good everyday option when passkeys or keys are unavailable.
- Provider prompt. A prompt on a device you already trust can be convenient. Read the account name and location before approving it; deny anything you did not start.
- Text message or voice call. Use this when it is the only practical option. It is better than password-only access, but phone-number attacks and message interception make it less resistant to phishing.
The FTC says an authenticator app or security key is safer than text or email when an account offers those alternatives. Do not reject 2FA because the best method is unavailable: turn on the strongest option you can maintain, then upgrade later.
4. Prepare the device before enrolling it
Charge the phone, update its operating system and confirm that you can unlock it. If you are using an authenticator app, install it from the device’s official app store and check the publisher before opening it. If you are using a security key, have the key and its backup ready.
Do not photograph a QR code or setup secret and leave it in a normal photo library. Treat an authenticator seed, recovery code or security-key registration as a credential. Keep your phone protected by a strong device passcode or biometric unlock, and do not lend an already-unlocked device during setup.
5. Enrol the authenticator, passkey or security key
Choose Set up, Add a sign-in method or the equivalent control. For an authenticator app, the account will usually show a QR code or a manually entered setup key. Add the account in the app, then enter the current code back into the provider’s page.
For a passkey, follow the prompt to create one on the phone, computer or hardware key. For a physical key, insert or tap it and complete its PIN or touch step if requested. The exact screens vary, so use the provider’s current help page rather than a years-old screenshot.
Give the method a useful name, such as Personal phone or USB security key, if the service allows it. That makes a later lost-device cleanup much easier.
6. Complete a test sign-in while you are still logged in
Do not assume enrollment worked because a success message appeared. Open a private browser window or sign out of a secondary session, then sign in again with your password and the new second factor. Confirm that the prompt, code or key works.
Check what the account offers for trusted devices. Google, for example, allows a person to skip a second step on a trusted device; use that only on a private device that you control. Never mark a shared computer as trusted just to save a few seconds.
If you receive an unexpected approval prompt, deny it, change the password from the official account page and review recent activity. A 2FA prompt you did not initiate is a warning, not an invitation to tap “Approve.”
7. Generate and protect recovery codes immediately
Recovery codes are the spare key for a lost phone, broken device or unavailable authenticator. Generate them during setup and read the provider’s instructions about whether each code works once or can be regenerated.
Google’s official instructions say its backup codes can be downloaded or printed and used when the phone is unavailable. Store the codes in a password manager’s secure note, on paper in a private place, or in another protected offline location. Do not put them in a public cloud note, an unprotected screenshot folder or a message thread.
Never give a recovery code to someone who calls, emails or messages you. A legitimate provider does not need you to read the code aloud to “cancel” a login.
8. Add a backup you can actually reach
A single phone is a single point of failure. Add a second trusted device, a second security key kept separately, or another supported method while you still have access. For Apple, trusted devices and trusted phone numbers are part of the sign-in flow; Microsoft and Google also provide account-specific recovery and additional verification options.
A backup should be independent enough to work when the first device is lost. Two authenticator apps on the same lost phone are not two useful recovery paths. At the same time, do not add a stranger’s phone number or an email account that is less secure than the account you are protecting.
9. Repeat the process in the right order
Once email is protected, move down your priority list. Change a reused password before or during each account’s 2FA setup; otherwise an attacker who already knows that password may still try it elsewhere. The password-manager setup guide can help you make the passwords unique and store the recovery information in one controlled place.
Use the strong-password guide for the password-reset workflow before you continue through the rest of the list.
For smart plugs, cameras, hubs and other connected devices, secure the cloud account as well as the device itself. The home IoT security guide covers stronger credentials, updates and safer remote access.
10. Review the methods after every device change
When you replace a phone, lose a key, change a number or stop using an old laptop, open the account’s security settings and remove the old method. Check recent sign-ins and enrolled devices at the same time. Rotate recovery codes if they were exposed, and regenerate them after using one if the provider replaces the full set.
Keep a small private inventory of which important accounts have 2FA, which method each uses and where the recovery codes are stored. Review it after a move, phone upgrade or account compromise. If you are locked out, use only the provider’s official recovery page; ignore anyone offering to recover the account for a fee through a direct message.
Two-factor authentication is most useful when it is both strong and recoverable. Start with the account that controls your resets, choose a method you can use without approving surprises, test it, save the recovery path and then repeat the routine across the accounts that matter most.
Hero image: Tony Webster from Minneapolis, Minnesota, United States, CC BY 2.0, via Wikimedia Commons.
Sources
Frequently Asked Questions
What is the safest way to set up two-factor authentication?
Use a passkey or FIDO security key when the account supports it. Otherwise, an authenticator app is usually a stronger practical choice than a text message. Any MFA is better than leaving an important account protected only by a password.
Should I use an authenticator app or text messages for 2FA?
Prefer a passkey, security key or authenticator app when available. Text-message codes are still useful when they are the only option, but phone-number attacks can make them more vulnerable.
Where should I store two-factor authentication backup codes?
Keep them in a password manager's secure record, on paper in a private safe place, or in another protected offline location. Do not leave them in a public note, screenshot folder or email draft, and never give them to a caller or message sender.
What should I do if I lose my phone with my authenticator app?
Use a saved backup code, another enrolled device, a security key or the provider's official account-recovery process. After you regain access, remove the lost device and add a replacement method before changing anything else.