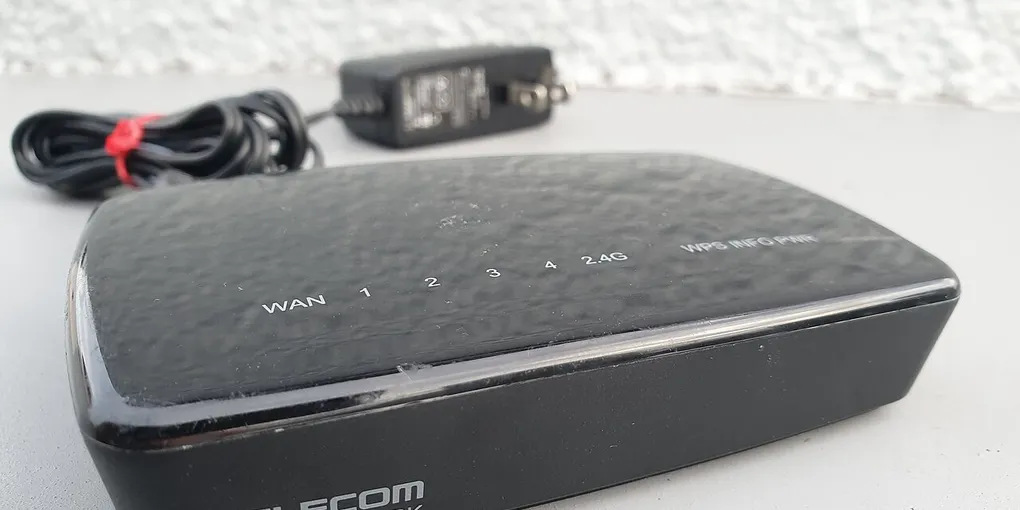
How to Set Up Home Wi-Fi: 10 Steps for a Safer Network
Quick answer
Connect the router to the modem, update its firmware, change the admin and Wi-Fi credentials, choose WPA3 Personal or WPA2 Personal, create a guest network, then reconnect and test every device.
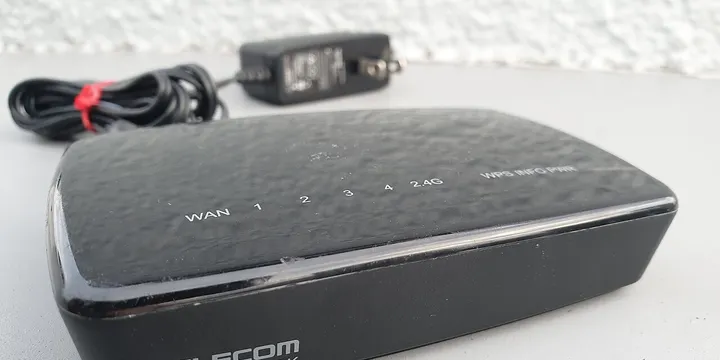
A new router is not finished when its lights turn green. The useful setup is the short sequence that connects the home, closes the obvious security gaps and leaves you with a network you can maintain later.
This guide is for a normal home router or mesh system connected to an internet-provider modem or gateway. The exact menu names vary by manufacturer, so use your router’s manual for button-by-button instructions. CISA’s home Wi-Fi setup guidance makes the same boundary clear: the security principles are broadly applicable, but each router’s controls are different.
1. Map the connection before unplugging anything
Write down what you have before moving cables:
- The modem, fiber box or ISP gateway
- The router and each mesh node
- The cable from the internet service to the router’s WAN or Internet port
- Ethernet cables for a desktop, TV, access point or other fixed device
- The current Wi-Fi name and password, if you are replacing an existing router
Take a quick photograph of the old connections. It is easier to recover from a misplaced cable when you can see which socket was used. If your ISP supplied a combined modem-router gateway, check whether the new router should run in router mode, access-point mode or bridge mode; the ISP’s manual is the authority for that choice.
2. Place the router for usable coverage
Put the main router in an open, central position rather than inside a cabinet, on the floor or behind a large appliance. Keep it away from metal objects, thick obstructions and places where it can be covered or overheated. A higher shelf often gives the antennas a clearer path through the rooms.
For a mesh system, place the first satellite where it still receives a good signal from the main unit, not in the dead zone you are trying to fix. If possible, connect satellites or additional access points with Ethernet; a wired link avoids making every hop depend on a weak wireless signal.
Coverage depends on the building. Use the Wi-Fi speed guide if the network is online but still slow.
3. Connect the hardware and open the correct setup page
Follow the ISP’s power-off instructions. Connect the service device to the router’s WAN or Internet port, power on, and let it start. An Ethernet-connected computer avoids losing access while you change wireless settings.
Open the setup address or mobile app named in the router’s manual. Do not guess from a random search result. Confirm that the page or app identifies the correct device, and save the manual’s recovery instructions somewhere you can find them without internet access.
If the router offers to copy an old network name, you can keep the same SSID and password to reduce reconnection work. Otherwise, choose a fresh name; never leave the manufacturer’s default in place.
4. Update the router before doing the detailed setup
Check for firmware updates as one of the first administrator tasks. CISA says routine updates protect against known vulnerabilities, and both CISA’s checklist and the FTC’s home Wi-Fi guidance recommend keeping the router’s software current.
If automatic updates are available and the router supports them, enable them after checking how the device handles reboots. Otherwise, note the manufacturer’s support page and review it periodically. A router that can no longer receive security updates is a replacement candidate even if it still provides adequate speed.
5. Change the router administrator credentials
There are two different credentials to change:
- The admin credential protects the router’s control panel. It can change the network password, firmware, firewall and other settings.
- The Wi-Fi password lets a phone, laptop or other device join the network.
Replace the default admin username and password where the router permits it. Use a long, unique password stored in your password manager. The FTC specifically advises against using your name, address or router brand in default replacements, while CISA recommends credentials that are long, random and unique.
Log out when you finish, and keep the new admin details in your password manager rather than on a visible label.
6. Choose a private network name and strong Wi-Fi passphrase
Change the default SSID, or network name. It should not identify your address, family name, apartment number or router model. Make the name recognizable enough that household members can select the right network without guessing.
Set a separate Wi-Fi passphrase that is long, unique and not used for an email, shopping or banking account. A memorable string of unrelated words is easier to type than a short predictable password. Share it only with people and devices that need access.
If you are replacing an old router, write down the new SSID and passphrase before updating the saved network on each device.
7. Select modern wireless encryption
In the wireless security menu, choose WPA3 Personal when your important devices support it. If WPA3 is not practical for the whole household, choose WPA2 Personal or WPA2 AES. The FTC’s security guidance identifies WPA3 as the newer, best option and WPA2 Personal as a workable alternative; CISA likewise identifies WPA3 Personal and WPA2 AES as the safe choices in its home-router checklist.
Avoid an open network, WEP, and old WPA or TKIP options. If a very old device cannot join the modern network, first check for a firmware update or a replacement. Do not weaken the security of every household device just to keep one unsupported gadget connected.
If you use a mixed WPA2/WPA3 mode for compatibility, reconnect one current phone or laptop and verify the router reports the expected security setting.
8. Create a guest network for visitors and simple IoT devices
Enable the router’s guest Wi-Fi if it provides one. Give it a different network name and password from the main network. This means visitors do not need your primary passphrase, and their devices are less directly connected to your household devices.
CISA recommends using guest Wi-Fi for people who do not routinely connect to the home network. It also recommends placing smart-home and other IoT devices there when they only need internet access, because that can prevent them from discovering household devices or the router settings. Check the guest-network option for client isolation, local-network access or a similarly named setting, and leave access to the main LAN disabled unless you have a specific reason to allow it.
A printer, media server or casting device may need local access. If it disappears from the guest network, move it back to the main network or use the router’s documented shared-device option. For advanced automation, see the privacy-first IoT security guide.
9. Turn off convenience features you do not need
Review the router’s advanced settings and disable:
- Remote management, unless you have a clearly understood and secured reason to administer the router from the internet
- WPS, if you do not need push-button or PIN-based setup
- UPnP, unless a device or application genuinely depends on it and you accept the trade-off
The FTC describes these features as convenient functions that can weaken network security, and CISA’s checklist recommends disabling remote management, WPS and UPnP. Menus differ, so record each change before saving. If a specific console, camera or automation device needs one feature, test the device first and enable only what is necessary rather than turning everything on permanently.
Also confirm that the router firewall is enabled. The FTC describes the router firewall as an additional protection layer, not a substitute for updated devices, secure accounts or safe browsing.
10. Reconnect, test and record the finished setup
Reconnect in a controlled order:
- Join the main network with one phone or laptop.
- Confirm that the device has internet access and that the router’s security mode is the one you selected.
- Connect the other important computers and phones.
- Add printers, set up your smart TV, and smart-home devices one at a time, using the guest network where appropriate.
- Test a wired device if you have one, then test the rooms where coverage matters.
- Check that guests cannot see household file shares or router controls.
When a device fails, forget the old network on that device and join the new SSID again. Older smart-home products may need 2.4 GHz during setup; follow that product’s instructions instead of changing the security of the whole network.
Record the router model, firmware date, admin-account location, SSIDs, recovery steps and device assignments in a private place. Keep the router physically secure; CISA notes that physical access can enable a reset using default information.
A good setup has current firmware, separate admin and Wi-Fi credentials, WPA3 or WPA2 Personal, a guest path for visitors and suitable IoT devices, and only necessary convenience features. If it is secure but slow, troubleshoot coverage separately.
Hero image: Syced, CC0, via Wikimedia Commons.
Sources
Frequently Asked Questions
What is the safest Wi-Fi security setting for a home network?
Choose WPA3 Personal when every important device supports it. WPA2 Personal or WPA2 AES is the practical fallback; avoid open networks, WEP and older WPA or TKIP options.
Should guests use my main Wi-Fi network?
Use a separate guest network with its own password when your router provides one. CISA also recommends placing smart-home and IoT devices there when they only need internet access.
What is the difference between the Wi-Fi password and the router admin password?
The Wi-Fi password lets devices join the wireless network. The admin password protects the router's settings, including the Wi-Fi password, firmware and security features. Change both.
Why can a device not connect after I change the Wi-Fi settings?
Forget the old network on that device, restart its Wi-Fi and join the new network name with the new password. For smart-home devices, check whether they require 2.4 GHz or a temporary setup mode.