Quick answer
Find the exact printer model, remove its shipping materials, load the recommended paper and connect it by USB or to the same Wi-Fi network as your device. Add it in Windows or macOS, use AirPrint on Apple devices or a supported Android print service, then print a test page and check the paper, scale and color settings before an important job.
A printer setup is finished when you can send a small test job from the devices you actually use—not merely when the printer powers on. The safest route is model-first: identify the exact printer, follow its manufacturer instructions for ink, paper and network setup, then use the operating system’s built-in printing path where possible.
This guide covers a typical home inkjet or laser printer connected by USB or Wi-Fi. Menu names and supported features vary by model. Microsoft says Windows supports most printers out of the box, while Apple says AirPrint works with supported printers without extra drivers. Treat those as compatibility paths, not promises that every old printer will work.
1. Find the exact model and read the setup instructions
Write down the brand and complete model name from the front, back or rating label. A product family can contain several printers with different cartridges, drivers and wireless steps. Search the manufacturer’s official support page for that exact model and download its setup guide only from there.
Keep the manual nearby for questions that cannot be answered generically: which side of the paper faces up, whether the printer supports 5 GHz Wi-Fi, which cartridges fit, and how to enter pairing mode. Do not install a driver from an unverified download site.
If you are setting up a printer for documents that already live in Drive, the Google Drive organization guide can help you keep the source files and exported copies easy to find.
2. Unpack the printer without skipping the boring parts
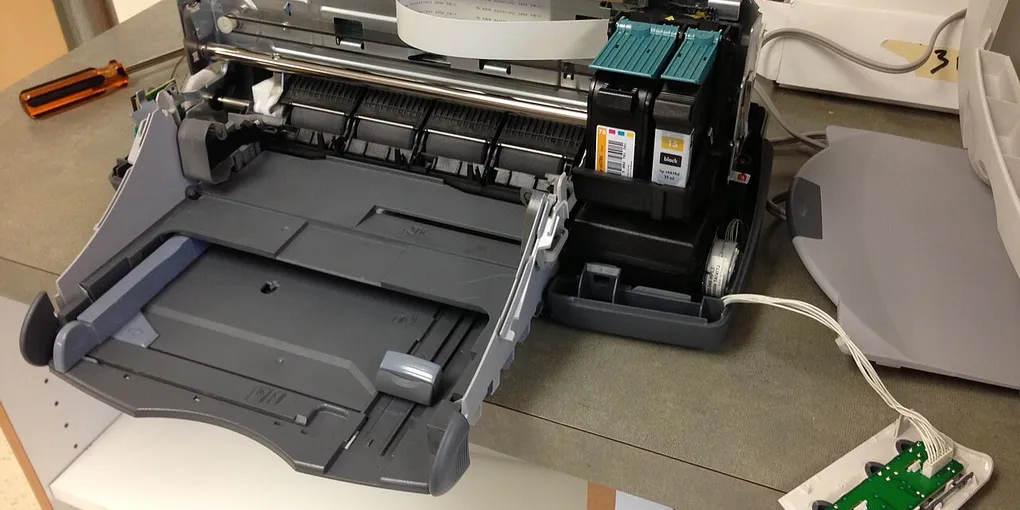
Remove every piece of transport tape, foam, cardboard and protective plastic identified in the manual. Open the access doors and check for packing material inside the paper path. Leaving one strip in place can cause a paper-feed error or stop the carriage from moving.
Put the printer on a stable surface with room to open the paper tray and replace cartridges. Leave space around vents and keep the power cable away from places where it can be pulled. Connect the power cable, turn the printer on and let its initial setup finish before trying to print.
3. Load the right ink, toner and paper
Install the cartridges or toner named for the exact model. Remove protective seals only when the instructions say to do so, and do not touch sensitive contacts or smear ink across the carriage. If the printer has an alignment or calibration routine, let it complete.
Load a small stack of the paper type you plan to use. Adjust the paper guides so the stack is supported without being squeezed. Set the paper size and type in the printer or driver when prompted. A4, Letter, envelopes and photo paper are not interchangeable just because they fit the tray.
4. Choose USB or Wi-Fi before connecting devices
USB is usually the simplest choice for one nearby computer. Wi-Fi is more flexible when several computers and phones need to print, but the printer must join the network and remain reachable.
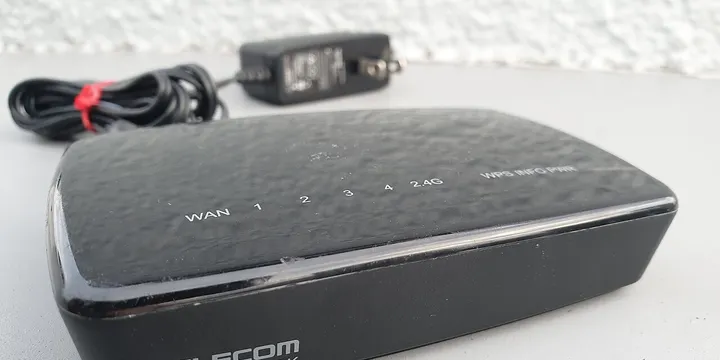
For a wireless setup, use the printer’s screen, the manufacturer’s setup app or the documented temporary USB method. Select your home network carefully and enter its password. Do not use a guest network if your router prevents devices on it from seeing one another; the home Wi-Fi setup guide explains why guest and main networks can behave differently.
Wait until the printer reports that it is connected. Note its displayed network name or status, but do not guess at an IP address unless the manual tells you to use one.
5. Add the printer in Windows
Microsoft’s printer installation instructions give this current Windows path:
- Plug in and turn on the printer.
- Open Start > Settings > Bluetooth & devices > Printers & scanners.
- Select Add device beside the printer when it appears.
- If it is not found, choose the option to add a device manually and follow the documented connection method.
A USB printer may install automatically. A network printer can take a little time to appear while Windows searches. After it is added, check Windows Update for an updated driver. Microsoft notes that a printer can work with reduced functionality until its full driver set is installed, so use the manufacturer or Windows Update path rather than assuming the first successful connection is the final setup.
6. Add the printer on a Mac
Open System Settings > Printers & Scanners, choose Add Printer, Scanner, or Fax, and select the printer that macOS discovers. Apple documents that macOS commonly uses AirPrint when adding a compatible printer; for an older USB model, the manufacturer may provide a different supported driver.
If the printer does not appear, confirm the cable or network connection, wake the printer and retry the add flow. Avoid adding the same printer repeatedly with slightly different names until you know which connection is working. One clear entry is easier to choose later.
For a document, use File > Print, select the printer and inspect the preview before sending. The PDF guide is useful when the file should be checked and shared digitally instead of printed immediately.
7. Print from an iPhone or iPad with AirPrint
Apple’s AirPrint guidance says the printer must support AirPrint and the iPhone or iPad must be connected as required—normally to the same Wi-Fi network. It also notes that not every app supports printing.
To print:
- Open the photo, document, webpage or email.
- Tap Share or the app’s Actions button.
- Scroll to Print.
- Tap No Printer Selected, choose the AirPrint printer and check the options.
- Tap Print.
If Print is absent, look in the app’s help information or use an app that supports printing. Do not assume that a printer visible on your Mac is automatically available to an iPhone; the printer and phone still need a compatible network and AirPrint path.
8. Print from Android
Android printing depends on the phone, Android version, app and printer. On a Pixel, Google says to open Settings > Connected devices > Connection preferences > Printing, select a print service and add one when necessary. In a printable app, the option may be under Menu, More, Share or Print.
The Mopria Android instructions explain that many Android devices include a Mopria-powered service and that compatible apps can print documents, PDFs, photos, emails and webpages. If the built-in service cannot find your printer, check whether the printer is Mopria-certified or install the manufacturer’s official app. Keep only the service you need enabled so the printer list stays understandable.
For paper documents that start as photos or scans, see the phone document-scanning guide before printing. A readable source file is more useful than a blurry copy with perfect printer settings.
9. Send a test page and check the preview
Print a short document before committing to a long report or a stack of photos. Check that:
- the correct printer is selected;
- the paper size matches the tray;
- portrait or landscape orientation is right;
- scaling is set to the intended size rather than accidental “fit to page”;
- color, grayscale and duplex choices are deliberate; and
- text and images are not cut off at the edges.
If the printer offers a nozzle check, alignment page or calibration test, use it when the manual recommends it. A blank page, streaks or shifted lines usually need ink/toner, alignment or cleaning attention—not repeated copies of the same failed job.
10. Make the setup easy to recover
Give the printer a recognizable name, such as Office Printer, rather than leaving several identical entries. Save the model’s official support page, the cartridge or toner reference and the connection method in your household notes. Do not write the Wi-Fi password on the outside of a printer that visitors can access.
When the printer vanishes, start with the simple checks: power, paper, ink or toner, paused jobs, sleep mode and the intended network. Restart the printer and the device, then add it again. If Windows or a phone still cannot find it, consult the exact model’s official troubleshooting page. Repeatedly installing random drivers can create more problems than it solves.
A printer that works from one device is only halfway configured. Test one Windows or Mac computer and one phone if those are part of your normal workflow, then keep a small test page nearby as a quick check after moving the printer or changing the router.
Hero image: Snewkirk7953, CC BY-SA 3.0, via Wikimedia Commons.
Sources
Frequently Asked Questions
How do I set up a wireless printer?
Turn the printer on, open its network setup or the manufacturer's app, and connect it to your home Wi-Fi. Then add it from your computer or phone while that device is on the same network. Follow the model's manual because the exact buttons and Wi-Fi requirements vary.
How do I add a printer in Windows?
Connect and turn on the printer, then open Start > Settings > Bluetooth & devices > Printers & scanners and choose Add device. If Windows cannot find it, choose to add a device manually and use the printer manufacturer's documented driver or connection method.
Can I print from an iPhone or Android phone?
Yes, when the printer and phone support a compatible print service and are connected as required. iPhone and iPad use AirPrint for supported printers; Android devices can use the built-in or Mopria-powered print service, or a manufacturer's app when necessary.
Why is my printer not showing up?
Check that it is powered on, connected to the intended Wi-Fi network, not asleep or paused, and within range. Restart the printer and device, then add the printer again. If it still does not appear, use the manufacturer's support page for the exact model instead of a random driver site.