Quick answer
Start by gathering copies without deleting anything, then sort photos by year and event, use descriptive filenames or albums, remove only confirmed duplicates and keep at least two additional backups. A small, consistent system beats a perfect cleanup you will never finish.
A photo library becomes hard to use long before it runs out of storage. The warning signs are familiar: the same picture appears five times, screenshots sit beside family photos, and finding one image means scrolling through every photo taken since 2014.
The answer is not a more complicated app. It is a small system you can apply consistently to photos from a phone, camera, computer and old external drive. This 10-step workflow separates the risky work—copying and backup—from the tidy work, so you do not accidentally delete a memory while trying to find it.
1. Gather every source before changing anything
Make a list of where photos currently live: phone, tablet, camera card, computer folders, cloud library, messaging apps and external drives. Copy the original files into a temporary Photo Inbox on a computer or large drive. Do not move or delete the originals yet. When an old phone, camera card or drive is leaving your household, follow the electronics recycling guide before handing it over.
If a phone is nearly full, free space only after you have confirmed that the photos exist in a second location. The phone-storage guide covers a safe space-recovery sequence; photo cleanup should not begin with an unverified swipe.
2. Make a first backup of the messy library
Before sorting, duplicate the Photo Inbox to another physical drive or a reputable cloud service. The copy does not need to be elegant. It needs to exist and be readable.
A useful rule is three copies, two kinds of storage, one different place. That is more resilient than trusting a phone, a single laptop or a single synchronization service. Sync can reproduce deletions and is not the same as an independent backup. The 3-2-1 computer-backup guide explains the restore-test part of the process.
Open several files from the backup, including a video and an older image. If the files cannot be opened now, sorting will not repair them later.
3. Choose one durable folder structure
Pick a structure that still makes sense if you change phones or photo software. A year-first system is easy to browse and search:
Photos/
  2024/
    2024-07 Family holiday - Copenhagen/
    2024-12 Christmas/
  2025/
    2025-05 Garden/
  2026/
    2026-08 Weekend trip/
Use the date format YYYY-MM so folders sort chronologically. Add a short event or place name after the date. Avoid structures based only on the device that took the picture: “iPhone” and “Camera 2” tell you less than a date and an event.
The Library of Congress recommends descriptive names and consistent organization for long-term access. Your structure can be different; consistency is the part that matters.
4. Separate photos from screenshots and documents
Create a few broad destinations before sorting: Photos, Screenshots, Documents, Exports and To review. Receipts, identification documents and screenshots may need different privacy and retention rules than family photographs.
Do not use the photo library as your only filing cabinet for passports, tax records or private health documents. Move those files to a protected document system, and delete sensitive screenshots from shared albums and chat exports when you no longer need them.
Keep the top level small. Ten clear destinations are easier to remember than forty categories that differ only slightly.
5. Sort by year, then by event
Work from the oldest or messiest source in batches. First assign a year; then create an event folder only when there are enough related images to justify one. A quiet month can remain as 2025-03 Miscellaneous rather than forcing every photo into a fictional event.
For birthdays, trips and projects, use the event name people will actually search for. “Summer 2025” is useful; “IMG_4831 final” is not. If a date is uncertain, use the best known month and put the uncertainty in the name or a note rather than inventing precision.
Do not attempt to identify every person in every image on the first pass. A broad chronological arrangement gives you a usable library quickly.
6. Cull obvious rejects, not your whole history
Start with safe deletions: accidental pocket photos, black frames, exact duplicates and badly corrupted files. Keep near-duplicates until you have compared them at full size. The less visible copy may have the sharper face, open eyes or better expression.
Use a temporary Review folder for uncertain images. Set a date—30 or 60 days—and revisit it once. This is safer than turning an emotional decision into an irreversible cleanup session.
If your phone or photo app offers a duplicate tool, review its suggestions before confirming. Apple documents a Duplicates area that can merge duplicate photos and videos, but automated matching is a helper, not permission to delete without looking.
7. Give important images useful names or albums
You do not need to rename every file manually. Rename the photos that you will want outside your current app: family milestones, property records, work documentation and favorite images.
A practical filename looks like:
2026-08-14_Copenhagen_harbour_Rasmus.jpgKeep the original capture date in the file metadata when possible. Do not put private addresses, full names or other sensitive information into filenames that may be shared.
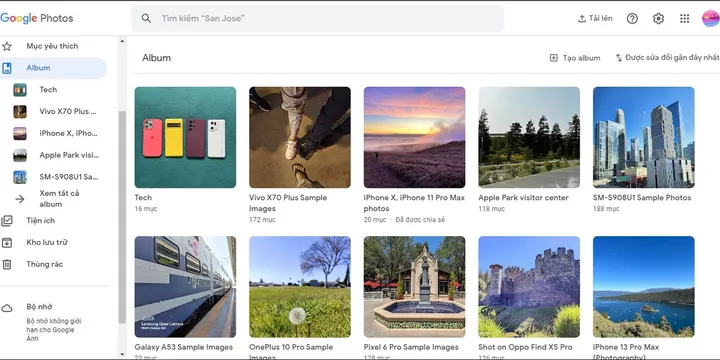
Use albums for flexible views: Favorites, Family, Trips, Projects or Print. One photo can belong to several albums without creating several physical copies. Apple’s album guidance shows the same principle in its Photos and iCloud tools: albums are a way to organize and view items, not a replacement for preserving the files.
8. Treat phone photos and cloud libraries deliberately
Decide which service is the main library. If both Apple Photos and Google Photos are backing up the same phone, you may be paying for two overlapping libraries and creating confusing deletion behavior. That can be a valid redundancy strategy, but understand which copy is independent and which is synchronized.
Turn on backup, wait for it to finish and inspect the service from another device or its web interface. Check an old photo, a recent photo and a video. The Google Photos backup and album guide explains the same verification-first workflow for that service. Do not tap “free up space” until those checks pass.
Archive photos that you want to keep but do not want in the everyday timeline. Google describes Archive as a way to hide items from the main Photos view without deleting them. Archive is not a backup and not a private vault, so use it for clutter, not sensitive data.
9. Preserve originals and export important memories
Keep the original camera files when storage allows. JPEG and HEIC images are practical for daily use, while RAW files retain more editing information but need compatible software. Do not convert or compress the only original just to save a little space.
For especially important photos, export a full-resolution copy and a normal sharing copy. Print a few irreplaceable images as another kind of backup. A printed photograph cannot replace the original digital file, but it makes the memory less dependent on one account, drive or format.
Write down the software or account needed to access unusual files. Future-you should not have to guess why a folder contains sidecar files or an unfamiliar camera format.
10. Schedule a small monthly reset
A photo system stays useful through maintenance, not one heroic weekend. Once a month, spend 15 minutes doing four things:
- Import new photos into the Photo Inbox.
- Delete only obvious rejects and confirmed duplicates.
- Move finished events into the year-and-date structure.
- Open one backup file and check the free space on the backup destination.
Every six months, verify that the second copy still opens and that the cloud account is accessible. Every year, review whether your folder names and albums still make sense. If the system takes longer to maintain than the photos are worth, simplify it.
The best photo library is searchable, backed up and boring to maintain. Start with copies, use year-and-event folders, let albums provide flexible views and make deletion the final step—not the first. A consistent 15-minute reset will beat an elaborate system that collapses after one busy month.
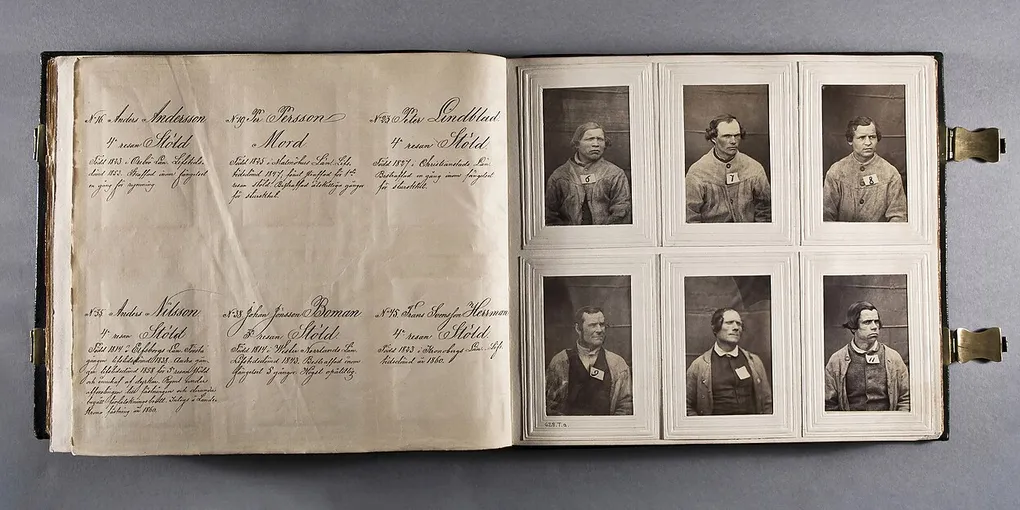
Hero image: Mats Landin, CC0, via Wikimedia Commons.
Sources
Frequently Asked Questions
What is the best way to organize digital photos?
Use one consistent system based on year and event, such as 2026/2026-08 Family holiday, then add a short descriptive filename or an album. Keep the original files, avoid making many overlapping folders and back up the finished library.
How do I organize thousands of photos quickly?
Work in batches: first separate photos by year, then handle one month or event at a time. Delete only obvious rejects and duplicates, make a short list of important albums, and stop after a fixed session so the project remains manageable.
Should I organize photos in folders or albums?
Use folders for the durable storage structure and albums for flexible views such as Favorites, a trip or a person. Albums are convenient, but they should not be your only copy or your only description of where a file belongs.
How many backups should digital photos have?
Keep the working library plus at least two additional copies, with one copy in a different place. Test that you can open and restore files; a backup that has never been checked is only a promise.