Quick answer
Start with two or three herbs you already cook with, give them bright light, containers with drainage and a light potting mix, then water when the mix begins to dry rather than by a fixed calendar. Harvest lightly and regularly, rotate windowsill pots and move leggy or pest-damaged plants before the problem spreads.
You do not need a garden, greenhouse or elaborate hydroponic kit to grow herbs. A bright windowsill, a few containers and a routine you can repeat are enough to put fresh leaves within reach of the kitchen.
The easiest setup is small. Choose two or three herbs you already use, give each one a sensible place to grow and adjust care to the plant instead of treating every pot the same. Penn State Extension’s indoor-herb guidance notes that many herbs need around six hours of direct sunlight, while the RHS guide to growing herbs recommends sunny windowsills for raising plants and overwintering suitable herbs.
1. Pick herbs you will actually eat
Start with meals, not a seed catalogue. Basil suits pesto and tomato dishes, chives work in eggs and potatoes, parsley fits soups and salads, and cilantro is useful for salsa and many fresh sauces. Thyme and oregano are practical choices for cooked dishes; rosemary can work well if you have a bright, roomy spot.
Do not buy ten plants on your first visit. A small group is easier to place, water and harvest. Mint deserves its own container because it can become large and crowd neighbouring herbs. OSU Extension also warns that mint, dill, lemon balm and fennel can outgrow indoor spaces quickly.
2. Decide between seeds and plant starts
Seeds are inexpensive and satisfying, but they add a germination stage. A healthy plant start gives you leaves sooner and makes it easier to see whether your location provides enough light. OSU Extension recommends plant starts for many herbs because some are slow from seed, while basil, chives and cilantro are more approachable seed choices.
If you sow seeds, use a clean seed-starting or potting mix, follow the packet depth and keep the surface evenly moist without leaving it flooded. Put seedlings under strong light as soon as they emerge. Thin, pale seedlings usually need more light rather than more water.
3. Find the brightest practical window
Place herbs close to your brightest window, with enough space that leaves do not press against cold glass. A south-facing window is often a useful starting point in the Northern Hemisphere, but the actual light in your home matters more than the compass label.
Many herbs need about six hours of direct sunlight. Turn each pot a quarter turn when it begins leaning so growth stays more even. If natural light is weak in winter, add a suitable grow light and follow the fixture’s distance and timing instructions; Penn State lists 14 to 16 hours under certain fluorescent setups as one indoor option.
More light can also mean faster drying. Check the soil after moving a plant into a sunnier place instead of carrying over the old watering routine.
4. Use a pot with a real drainage hole
A decorative cover pot is not a substitute for drainage. Put the herb in a container with a hole at the bottom, then place that container on a saucer to catch runoff. Choose a size that gives the roots room without leaving a large volume of permanently wet mix around a tiny plant.
Use packaged potting mix rather than soil dug from the garden. OSU Extension describes packaged potting soil as lightweight and well-draining and cautions against heavy topsoil indoors. Fill the pot loosely, leave a little space below the rim and avoid packing the mix down hard.
If roots are growing through the hole or the plant dries almost immediately after watering, repot into the next sensible size. Do not jump to a huge pot just because it looks tidy; excess wet mix is harder for small roots to use.
5. Give each plant enough breathing room
Group pots so you can care for them, but do not make a solid wall of leaves. Air should move around the foliage, and you should be able to see the soil surface. Crowding hides pests and makes it harder to tell which plant is actually dry.
Keep herbs away from radiators, hot cooking surfaces and strong drafts. A bright kitchen is useful, but steam, grease and sudden temperature changes are not a replacement for stable growing conditions. Rotate the pots when one side receives more light.
6. Water when the mix starts to dry
A calendar cannot account for pot size, sunlight, plant type or winter heating. Push a finger into the mix and check whether it is beginning to dry. When watering is needed, wet the mix thoroughly until a little water drains from the bottom, then empty the saucer.
Basil should not be allowed to dry out completely. Woody or Mediterranean herbs such as rosemary, thyme, oregano and sage can usually dry slightly between waterings, as Penn State explains. Neither group should sit in standing water. Constantly wet mix deprives roots of air and invites rot, while a completely dry root ball can pull away from the pot and shed water down the sides.
7. Keep light, temperature and airflow balanced
Indoor herbs need more than a sunny photograph. Very dry air from heating can crisp leaves, while stagnant, humid air can encourage fungal problems. Leave a little space around the pots and use gentle room airflow rather than placing plants directly in a strong draft.
If a windowsill becomes cold overnight, move tender herbs farther into the room. Basil is particularly sensitive to cold conditions; Penn State advises keeping it away from winter windowsills when temperatures may fall too low. Watch the plant and location together rather than assuming every herb has the same tolerance.
8. Feed lightly and follow the label
Potting mix contains limited nutrients, and repeated watering gradually carries some away. Use a water-soluble fertilizer only as directed on its label and choose a conservative rate for edible plants. More fertilizer is not a shortcut to better flavour; Penn State warns that overfertilizing can negatively affect aroma and taste.
Do not fertilize a severely wilted or bone-dry plant first. Water appropriately, let it recover and then resume a modest routine. If the plant has roots circling the container or emerging from the drainage hole, repotting may help more than additional feed.
9. Harvest in a way that keeps the plant useful
Harvest is part of the care routine, not a final exam. Snip what you need with clean scissors, take the older outer leaves first when that suits the herb and leave enough healthy growth for the plant to continue. For leafy herbs, pinching the tips can help prevent one long, bare stem and gives you usable leaves for the next meal.
Do not strip a small plant just because it is finally producing. Take a modest amount, see how it responds and harvest again when it has replaced the growth. Wash harvested leaves before using them in food.
A weekly meal-planning routine makes the habit easier: decide where the herbs will be used before they become forgotten decorations on the windowsill.
10. Diagnose problems before buying more products
Use the plant’s shape and the soil’s condition as clues:
- Tall, thin or leaning growth: move it closer to stronger light, rotate the pot and check that nearby leaves are not shading it.
- Yellow leaves and wet mix: pause automatic watering, confirm the drainage hole is open and let the mix dry appropriately for that herb.
- Crisp leaves and a shrinking root ball: water thoroughly and check the plant more often, especially after adding sunlight or turning on heating.
- Small flying insects: reduce needless surface moisture, isolate the pot and use a yellow sticky trap if appropriate. For visible pests, remove damaged growth and follow edible-plant label directions.
- Roots through the hole: repot into a slightly larger container with fresh, well-draining mix.
Give leaves a quick inspection whenever you water. Penn State recommends cultural and mechanical pest control for indoor herbs and says leaves should be washed before they are used in a recipe.
A five-minute weekly routine
Once a week, rotate each pot, check the top of the mix, empty saucers, inspect the undersides of leaves and harvest what you need. Every few weeks, wipe dust from broad leaves and check that the window has not become too cold or shaded. If an herb declines despite better light, drainage and watering, replace it rather than turning a small kitchen garden into a rescue project.
For a larger balcony or patio setup, the beginner’s guide to growing vegetables in pots covers the same container basics at a bigger scale. Indoors, the winning system is simpler: a few useful plants, enough light, careful watering and regular harvesting.
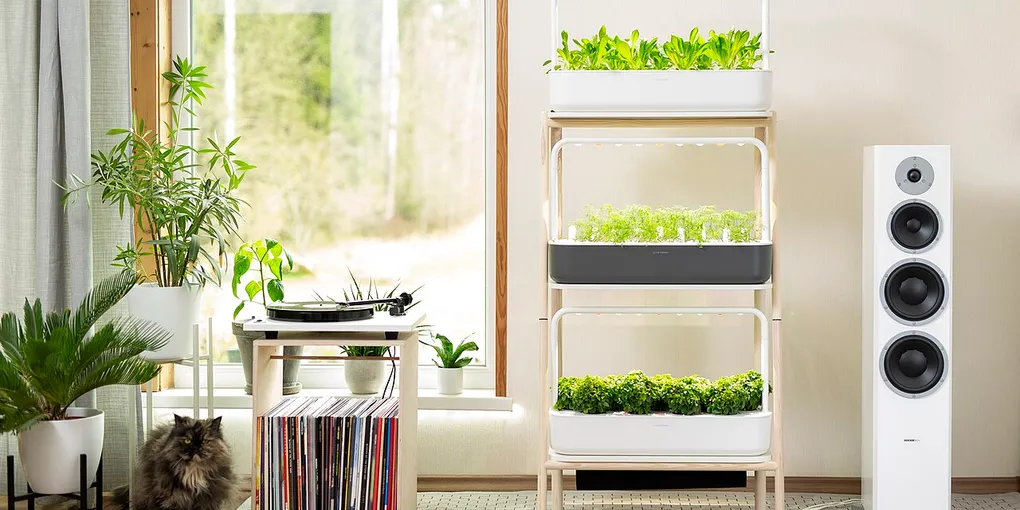
Hero image: Janar Raidla, CC BY-SA 4.0, via Wikimedia Commons.
Sources
Frequently Asked Questions
What herbs are easiest to grow indoors?
Basil, chives, cilantro, parsley, thyme and oregano are useful starters when you can give them enough light. Choose herbs you already cook with, start with only a few pots, and remember that mint can outgrow a small indoor space or crowd other plants.
How much light do indoor herbs need?
Many herbs need about six hours of direct sunlight, so begin with the brightest window you have and rotate pots as they lean. If natural light is weak, use a suitable grow light according to its instructions; thin, stretched growth is a sign that the plant needs more light.
How often should you water herbs indoors?
Check the potting mix instead of following a fixed schedule. Water when it starts to dry, let excess water drain completely and empty the saucer. Basil should not dry out completely, while rosemary, thyme, oregano and similar herbs can dry slightly between waterings.
Can I grow herbs indoors from seed?
Yes, but buying a healthy plant is often faster for many herbs. Basil, chives and cilantro are reasonable seed choices for beginners; use a clean seed-starting mix, keep it evenly moist during germination and give seedlings strong light as soon as they emerge.