How to Clean a Showerhead: Remove Scale Without Damaging the Finish
Quick answer
Check the showerhead manual and finish-care guidance first. For visible mineral scale, clean the accessible nozzles gently and use only a cleaner the manufacturer permits; EPA specifically notes that white vinegar or a cleaning product can remove scale. Rinse thoroughly, dry the finish and test the spray before calling the job done.
A showerhead does not need harsh chemicals or a complicated ritual to stay usable. The common problem is visible mineral scale around the spray openings: a few jets drift sideways, the pattern becomes patchy, or the outside loses its clean look. A gentle clean can help, but the right method depends on the fixture’s finish and construction.
The EPA advises periodic inspection for scale and says that a cleaning product or white vinegar can be used to remove it. That is a useful starting point—not a license to soak every fixture in whatever is under the sink. Read the showerhead manual and the finish-care guidance first, especially for matte black, brushed, plated, painted or specialty finishes.
Start, stop or get model-specific help?
| What you find | Sensible next action |
|---|---|
| Crusty scale at the spray openings; no leak | Start with a soft cloth and the fixture maker’s permitted cleaner. EPA lists white vinegar as one scale-removal option. |
| Unknown, plated, painted, dark or specialty finish | Stop before soaking or scrubbing. Find the model’s care guidance; finish instructions vary. Moen, for example, calls for rinsing and drying after cleaning and limits abrasive treatment by finish. |
| Drip at the connection or stray spray | Check the connection and the installation instructions. EPA says a tight pipe connection may need attention; do not dismantle the wall-side arm by trial and error. |
| Crack, damaged thread, loose wall-side arm, discoloured water or a bathroom-wide sudden pressure loss | Do not treat it as scale. Contact the manufacturer, building manager or a qualified plumber. |
Check the fixture before you clean it
Run the shower briefly and look at the spray pattern. Note which openings are blocked, whether water escapes at the ball joint or hose, and whether the flow changed suddenly or gradually. A gradual change with crusty deposits at the nozzles is a reasonable cleaning candidate. A leak from the wall connection, a cracked housing or a loose shower arm is a repair issue.
Then identify the showerhead model if you can. The installation leaflet, product page or a marking on the fixture may say whether there is a removable filter, a rubber spray face, or a finish-specific cleaning limit. Keep a soft cloth, a small bowl, water and the approved cleaner ready. Avoid metal picks, abrasive pads and powder cleaners: they can scratch a finish or enlarge a soft spray opening.
1. Protect the shower area
Let the fixture cool if the shower has been running hot. Put a towel over the drain and tub or shower floor so a small washer does not disappear and so a dropped tool does not chip a surface.
If you are cleaning while the head remains installed, you usually do not need to shut off the home’s water supply. Just keep the controls off. If you are planning to remove the head, turn the shower controls off and make sure you understand the manufacturer’s removal and reinstallation directions before loosening anything.
2. Start with the least aggressive method
Wipe the exterior with a soft cloth dampened with water. For flexible rubber nozzles, gently rub the spray face with clean fingers or a soft cloth to loosen surface scale. Do not force a blocked opening with a pin or toothpick; that can tear a nozzle or change the spray shape.
This first pass separates loose residue from stubborn buildup. It also lets you see whether the apparent problem is actually soap film on the exterior rather than scale in the spray openings.
3. Choose a cleaner that suits the finish
EPA’s WaterSense maintenance guidance names white vinegar as an option for scale removal. Moen’s finish-care guidance gives a more cautious example: a 50/50 household vinegar-and-water blend for a limited time, followed by thorough rinsing and drying. Those instructions are not universal. Treat your own fixture’s manual as the controlling instruction.
Do not mix vinegar with bleach or other cleaners. Do not use strong acid, oven cleaner, scouring powder or a rough scrubber unless the manufacturer explicitly approves it. More force is not better when the goal is to preserve a coated finish and small spray components.
4. Clean an installed showerhead carefully
If the manual permits the selected method on an installed fixture, apply it only where needed. A cloth lightly dampened with the approved solution gives more control than flooding the whole fixture. Work across the spray face, then wipe around the rim and joint without forcing cleaner into the wall opening.
Keep the contact time modest and follow the product or fixture instructions. Rinse the spray face with clean water. Then wipe it dry with a soft cloth; this is especially helpful on a polished or dark finish where water spots make a clean fixture look dull.
5. Remove the head only when the manual supports it
A removable showerhead can be easier to clean, but removal creates opportunities to damage threads, lose a washer or scratch the finish. If you proceed, wrap the fixture with a cloth before using an appropriate tool and hold the shower arm steady. Do not twist the arm inside the wall.
Set aside every washer, screen or filter in the order it came out. Clean only parts that the manual identifies as user-serviceable. The EPA notes that fixtures with mineral buildup or slimy film may need more frequent cleaning and may require removing the showerhead and hose to soak in a cleaning solution. That is a maintenance observation, not a reason to disassemble an unfamiliar fixture by trial and error.
6. Rinse, reassemble and test the spray
Rinse away all cleaner with clean water. If you removed the head, put the washer or filter back exactly as specified and hand-tighten first. Use a tool only if the installation instructions call for it, and protect the finish.
Turn on the water slowly. Look for drips at the connection, then test the spray at normal pressure. A few seconds of water may flush loosened mineral bits from the nozzles. If the spray still looks uneven, repeat only an approved cleaning step rather than escalating to a stronger chemical.
7. Know the limit of a cleaning job
Cleaning helps with surface scale; it cannot fix every flow problem. Stop and seek a plumber or the manufacturer’s support when you find a cracked body, persistent joint leak, damaged threads, unusual water color, a sudden major pressure loss throughout the bathroom, or a fixture that cannot be reassembled securely.
If the issue is only one showerhead and cleaning makes no difference, check whether the model has a documented filter or flow-regulator procedure. Do not remove water-saving components simply to chase a stronger spray. If replacement is the sensible answer, EPA recommends looking for a WaterSense-labeled showerhead when choosing a new model.
A small maintenance routine that is easy to keep
- Watch for drifting jets, crusty nozzles or new water spots.
- Wipe the spray face and exterior with a soft cloth.
- Use an approved scale-removal method only when needed.
- Rinse and dry the finish completely.
- Test for a normal spray pattern and leaks.
- Write down any recurring issue in a home maintenance log.
That last note matters because repeated scale or flow changes are easier to spot over time than from memory. For other bathroom cleaning jobs, see the guides to cleaning a shower and fixing a leaky faucet—but treat a wall-side leak or a loose shower arm as a repair problem, not a cleaning task.
Sources
- US EPA WaterSense: Home Maintenance
- US EPA: Legionella in the Indoor Environment
- Moen: Faucet Finish Care and Cleaning
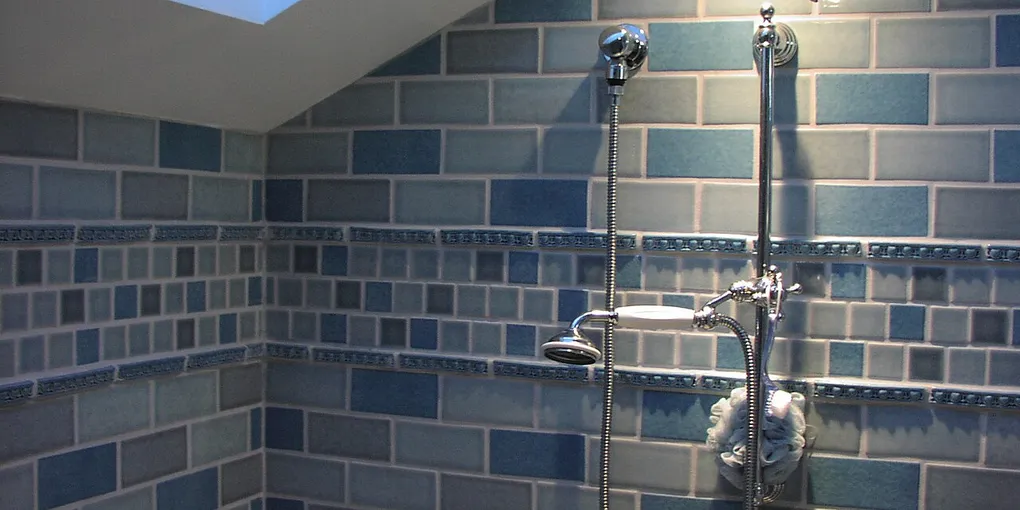
Hero image: andrechinn, CC BY 2.0, via Wikimedia Commons.
Sources
Frequently Asked Questions
Why is my showerhead spraying unevenly?
Mineral scale can restrict individual spray openings. Start by checking the nozzles and the manufacturer’s cleaning guidance. If cleaning does not restore the pattern, the issue may be inside the fixture, filter or plumbing rather than on the surface.
Can I use vinegar to clean a showerhead?
EPA lists white vinegar as one option for removing showerhead scale, but the fixture manual and finish-care instructions come first. Some finishes, coatings and non-metal parts have limits on cleaner strength or contact time. Rinse and dry after any approved cleaning method.
Do I need to remove the showerhead to clean it?
Not always. Many showerheads can be cleaned at the nozzles and exterior while installed. Remove one only if the manufacturer’s instructions support it and you can protect the finish, threads and any washer or filter during reassembly.
When should I replace a showerhead instead of cleaning it?
Consider replacement when the fixture leaks from a cracked body, has corroded parts, cannot be reassembled correctly or still has poor flow after approved cleaning and basic troubleshooting. Match the replacement to the shower arm and local water-efficiency requirements.