Quick answer
Turn off the shutoff valves, confirm whether the leak comes from the spout, handle, base or supply connection, then identify the faucet model before buying parts. Compression faucets often need a washer; cartridge, ball and ceramic-disk faucets usually need the matching cartridge, seals or seats. Reopen the water slowly and call a plumber if the shutoff, supply line or pipe in the wall is leaking.
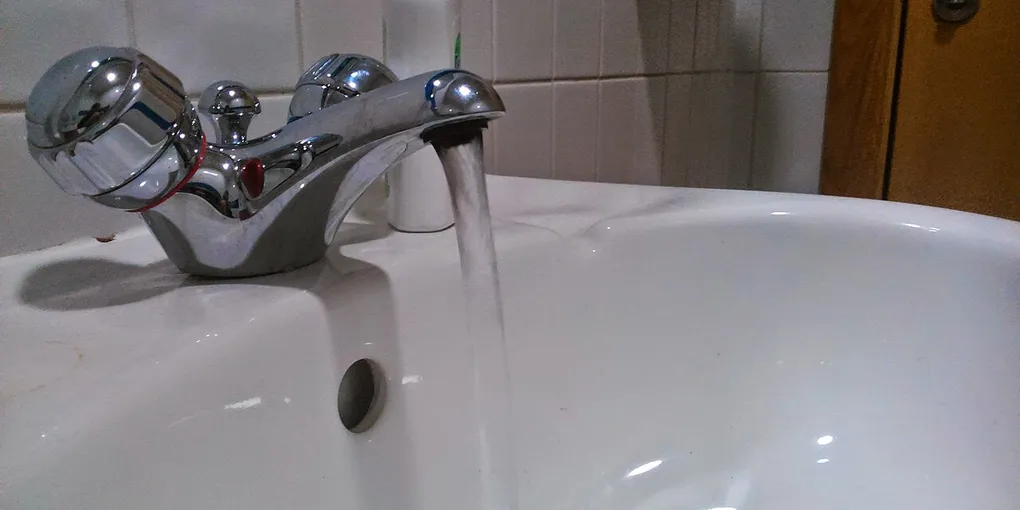
A leaky faucet is usually repairable once you identify where the water begins. A drip from the spout points to the valve inside the faucet; water at the handle, base or supply connection calls for a different repair. This guide shows how to trace a leaky faucet, match the model-specific part and stop before a supply-line or wall leak causes more damage.
This guide is for a typical kitchen or bathroom sink faucet. Keep a towel, small bowl, screwdriver, adjustable wrench, flashlight and your phone nearby. If the water cannot be isolated safely, stop before opening the faucet. EPA WaterSense includes dripping faucets among the household leaks worth finding and fixing, so do not ignore a slow drip simply because the cabinet is still dry.
Safety first: If water is running into a wall, the shutoff valve is broken, the supply hose is splitting, or the cabinet is already wet, close the main water supply if you can and call a qualified plumber. Do not force a corroded valve or fitting.
1. Confirm exactly where the leak starts
Dry the faucet and the area beneath it. Turn the handles off, wait a minute and watch the spout. Then run the water briefly and look around the handle, the faucet base, the hoses and the shutoff valves under the sink. A sheet of dry paper towel makes a slow seep easier to see.
Use the pattern as your first diagnosis:
- Drips from the spout while off: the valve, washer, cartridge, ball or ceramic discs may not be sealing.
- Water appears around the handle: an O-ring, stem seal, cartridge or retaining nut may be involved.
- Water runs around the base: the spout O-rings, mounting seal or loose connection may be the source.
- Water comes from a hose or shutoff: this is a supply-side problem, not a faucet-handle repair.
Do not begin by tightening every nut you can see. Over-tightening can damage threads, seals or the sink fitting and make the eventual repair harder.
2. Shut off the water and protect the drain
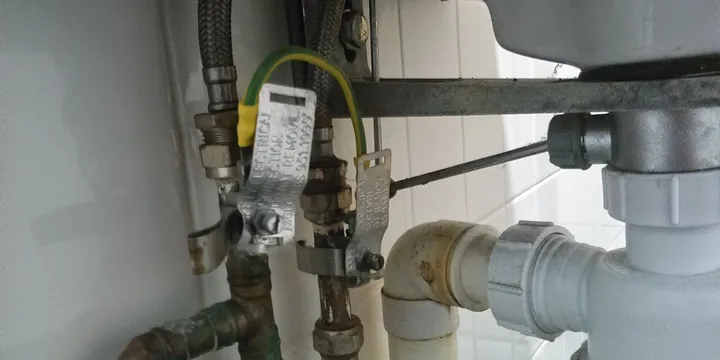
Look for the hot and cold shutoff valves on the pipes below the sink. Turn each one clockwise gently until it stops; do not use a wrench if the handle is seized. Open the faucet to release pressure and confirm that the water has stopped. If the valves do not work, use the main shutoff and tell everyone in the home before you start.
Put a towel in the cabinet and a bowl under the connections. Close the sink stopper or cover the drain so a tiny screw cannot disappear into the plumbing. If you are also dealing with a slow sink, fix that separately with the drain-clearing guide rather than mixing two problems together.
3. Find the faucet model before buying parts
Look for a brand name on the handle, escutcheon, base or the back of the spout. Check under the sink and search your old installation paperwork. Photograph the faucet from several angles, including the handle with its cap removed if you can do that without damaging it.
The model matters because cartridges, seats, springs and O-rings are not universal. Manufacturer tools such as Delta’s parts identifier and Moen’s cartridge guides can narrow the choice. If you remove a part, take it to the hardware store or compare it with the manufacturer’s diagram. Matching by colour or approximate length is not enough.
4. Identify the valve design
You do not need to become a plumber, but recognising the broad design prevents buying the wrong repair kit.
| Faucet type | Common clue | Usual service parts |
|---|---|---|
| Compression | Two handles; each turns down to close | Washer, seat or packing |
| Cartridge | One or two handles; smooth lift or turn | Matching cartridge and O-rings |
| Ball | Single handle; rounded cap or dome | Ball, seats, springs or seals |
| Ceramic disk | Single lever; short, smooth movement | Disk cartridge or seals |
These clues are not a guarantee. A two-handle faucet can use cartridges, and brands change designs over time. Use the model number and the part inside as the final check.
5. Remove the handle carefully
Many handles have a decorative cap hiding a Phillips screw. Others use a small hex set screw on the side. Cover the drain, take a photograph before each layer comes off, and place screws in a cup in removal order. Lift the handle straight up after loosening it; twisting aggressively can damage the stem.
If the handle will not move, pause. A stuck handle may need a proper handle puller or a plumber, especially if the finish or stem is already corroded. Do not lever against a thin faucet body with a large screwdriver.
6. Replace the part that actually seals the water
On a compression faucet, remove the stem and inspect the rubber washer at its end. Replace it with the same size and shape. If the washer seat is damaged or the stem is badly worn, a new washer alone may not last.
On a cartridge faucet, remove the retaining nut or clip exactly as the manufacturer’s instructions show, then pull the cartridge out and install the matching replacement in the same orientation. On a ball faucet, the repair may involve a new ball, two spring-loaded seats and small O-rings. A ceramic-disk faucet usually needs its model-specific cartridge or seal kit rather than a generic rubber washer.
A leak around the handle can come from a seal even when the spout looks fine. Replace the damaged O-ring or packing only after checking its size and location. A little manufacturer-approved plumber’s grease can help an O-ring seat, but never use random oil or petroleum jelly on a seal unless the instructions allow it.
7. Inspect the seat, seals and mineral buildup
With the water off, look for grit, torn rubber, cracks and mineral deposits. Wipe loose debris away with a clean cloth. If a manufacturer says a removable aerator or metal part can be descaled, follow those instructions; do not soak the entire faucet or a cartridge in an unapproved cleaner. The same finish-first approach applies to a scaled showerhead, where an approved gentle clean can restore blocked spray openings without damaging the fixture.
A damaged valve seat, cracked ceramic part or deeply scored stem can defeat a new washer. This is the point to stop and get the correct replacement or professional help, not the point to add more force. Keep old parts until the faucet works, because they provide a useful comparison if the new part does not fit.
8. Reassemble in the same order
Replace clips, nuts, springs and seals exactly as they were positioned. A photograph is useful here. Tighten threaded parts firmly by hand and then only as much as the manufacturer’s instructions require. Refit the handle, but leave the water shut off until every screw and retaining piece is back in place.
Turn the hot and cold shutoffs on slowly, one at a time. Watch the cabinet and the faucet while pressure returns. Open the faucet gently to flush any loose debris, then close it and wait several minutes. Check the spout, handle, base and supply connections again with dry paper towel.
9. Handle a base leak or loose connection separately
If water starts at the base of a swivelling spout, the internal O-rings may need replacement. If the whole faucet moves on the sink, the mounting hardware may be loose, but do not confuse movement with a failed seal. Turn the water off before reaching into the tight space under the basin.
For a threaded connection that is visibly seeping, first dry it and identify whether the water comes from the faucet fitting, flexible supply hose or shutoff valve. Tighten only the appropriate connection and retest. Never use a wrench to compensate for a split hose, damaged thread or valve that leaks around its stem. Those parts should be replaced, and a plumber is safer when the valve will not isolate the water.
10. Know when to stop the DIY repair
Call a plumber when:
- the shutoff valve will not close or begins leaking when touched;
- the flexible supply line, wall pipe or main connection is wet;
- the faucet body, sink or countertop is cracked;
- the cartridge is seized and removing it may damage the valve body;
- replacement parts are unavailable or the faucet has failed repeatedly; or
- you would need to cut, solder, crimp or reroute water pipe.
A new faucet can be sensible when the existing body is corroded, the finish is failing, the model has no parts support or repair costs approach replacement. If you are a landlord, record the leak, shutoff location and repair date; the first-time landlord guide has a broader maintenance workflow.
A simple post-repair check
Run both temperature sides briefly, move the handle through its range and dry every connection. Put a fresh paper towel underneath and check again after 15 minutes. If it is damp, return to Step 1 instead of guessing at another part.
A successful repair is quiet, dry and easy to inspect: identify the leak, isolate the water, match the part and reopen the supply slowly.
Hero image: 247homerescue, CC0, via Wikimedia Commons.
Sources
Frequently Asked Questions
What is the most common cause of a dripping faucet?
A worn washer, gasket, O-ring, seat or cartridge is a common cause. The correct repair depends on where the water appears and which valve design is inside the faucet, so identify the model before buying a part.
Can I fix a leaky faucet without replacing the whole faucet?
Often, yes. A compression faucet may need a washer, while a cartridge, ball or ceramic-disk faucet may need a matching cartridge, seat, spring or O-ring. Replace the whole faucet only when the body is damaged, parts are unavailable or repair no longer makes sense.
Why does my faucet leak from the handle instead of the spout?
Water around the handle commonly points to a worn O-ring, cartridge seal, stem packing or loose retaining part. Shut off the water, remove the handle, and use the faucet model to choose the correct replacement rather than tightening everything harder.
When should I call a plumber for a leaking faucet?
Call a plumber when the shutoff will not close, a supply hose or pipe in the wall is leaking, parts are seized or corroded, water has entered the cabinet or wall, or the repair would require cutting pipe or changing a valve.