Quick answer
For a first multimeter check, read the manual, inspect the leads, put black in COM and red in the voltage/resistance port, then start with a disconnected AA battery or unplugged fuse. Use DC voltage for batteries and continuity or resistance only on unpowered items. Do not probe a mains outlet, open fixed wiring, or measure current until you have the training and equipment for that work.
A multimeter can answer useful small questions at home: does this AA battery still have voltage, is this unplugged fuse continuous, or is this cord broken? It can also create a dangerous situation when the wrong function, port or test method is used. Treat this guide as a low-risk orientation, not permission to probe mains wiring.
The safe beginner pattern is: read the meter manual, inspect the leads, choose the function before touching the probes, start with a disconnected low-voltage item, and stop whenever the job involves fixed wiring, an outlet, a powered appliance, heat, water or damaged insulation.
Know the four controls that matter first
Most digital meters have a display, a selection dial, input ports and two test leads. The symbols vary, so use your model’s manual as the final authority.
| Marking | Use | Beginner boundary |
|---|---|---|
V⎓ or DC V |
Batteries and other direct-current sources | Start with a loose battery, not an unknown circuit |
V~ or AC V |
Alternating-current sources | Leave mains testing to trained users |
Ω |
Resistance | The item must be disconnected from power |
| Sound-wave or diode symbol | Continuity or diode test | Use only on an unpowered item unless the manual says otherwise |
The black lead normally goes into COM. For voltage, resistance and continuity, the red lead normally goes into the port marked V, Ω, or mA. A separate A or 10A port is for current. Do not leave the red lead in a current port and then touch a voltage source: that mistake can blow the meter fuse or damage the meter.
Run the pre-check before every measurement
- Read the meter manual for the symbols, maximum rating, fuse arrangement and lead ports.
- Check the casing, display, plugs and probe insulation. Do not use cracked or exposed leads.
- Put black in
COMand red in the voltage/resistance port for the beginner checks below. - Set the dial to the intended function before the probes touch the item.
- Keep your fingers behind the probe guards and keep the tips from touching each other accidentally.
- For resistance or continuity, unplug the item and remove its battery if possible.
Never treat a normal-looking display as proof that a circuit is safe. If the object is part of fixed wiring, a mains outlet, a live panel, a heating appliance, or a wet area, stop. The Fluke safety guidance and your local electrical rules take priority over a generic web tutorial.
Check a loose AA battery with DC voltage
This is the best first exercise because the item is separate from the household wiring and has a known approximate result.
- Set the dial to
V⎓or DC voltage. Use auto-ranging if your meter has it; otherwise choose a range above the battery’s expected voltage. - Put the black probe on the battery’s negative end and the red probe on the positive end.
- Read the display without letting the probe tips touch each other.
- Record the value and date. A fresh alkaline AA is commonly around 1.5 V, but the exact reading depends on the battery and load history.
If the value has a minus sign, the probes are reversed; it does not mean the battery is dangerous. If the display is blank, shows a low-battery indicator, or gives an unexpected value, check the meter battery, function and lead placement before drawing a conclusion. Do not use a battery reading to diagnose a device that may have a damaged charging circuit.
Test an unplugged fuse or cord for continuity
Continuity is a pass/fail-style check: the meter sends a small test signal and may beep when it detects a low-resistance path. Use it only on a fuse, wire or cord that is completely disconnected from power.
- Unplug both ends of the cord or remove the fuse from its holder. Do not test through a powered appliance.
- Set the dial to the continuity symbol. If your meter has no beep mode, use resistance and follow its manual.
- Touch the probes together first. A beep or a reading close to zero confirms that the setup can detect continuity.
- Touch one probe to each end of the fuse or conductor.
- A beep suggests a continuous path; silence or
OLsuggests an open path. Replace a fuse only with the exact type and rating specified by the appliance or fuse holder.
This does not prove that a cord is safe to use. A cord can pass continuity and still have damaged insulation, a loose plug, heat damage or an intermittent fault. Retire it when the physical inspection fails.
Read resistance without powering the item
Resistance is measured in ohms and is useful for comparing a simple component or checking whether two points are connected. It is not a general-purpose “is this safe?” test.
Power the item down, unplug it, remove batteries and wait for stored energy to discharge only when the manufacturer’s instructions make that safe. Set the dial to Ω, place the probes across the item, and compare the result with the component’s specification. A displayed OL can mean that the resistance is above the selected range or that the path is open. A low number is not automatically a fault: the correct value depends on what you are measuring.
Do not open a fixed appliance or probe a capacitor, power supply or circuit board just to practise. These parts can retain energy after disconnection. If a reading requires removing a cover, defeating a guard or guessing at a discharge procedure, stop and use a qualified repair service.
Decide whether to continue
| Situation | Safe beginner action |
|---|---|
| Loose AA/AAA battery | DC-voltage check, following the meter manual |
| Removed fuse or unplugged cord | Continuity check after physical inspection |
| Unknown appliance, outlet or wall switch | Stop; do not probe it as a first exercise |
| Resistance on an item that may hold charge | Stop and get model-specific guidance |
| Damaged lead, casing, insulation or burning smell | Stop using the meter and isolate the hazard |
| A current/amp measurement | Stop unless trained and the manual gives a specific safe procedure |
The downloadable checklist below condenses these checks and stop points. Keep it with the meter, but do not let a checklist replace the manual or qualified help. For a related tool-buying decision, see our cordless-drill guide; for household resilience planning, see how to prepare for a power outage.
The practical takeaway
Use a multimeter to answer one narrow question at a time. Start with a known battery, then an unplugged fuse or cord. Confirm the function, port and power state before every test. If the job involves live mains, fixed wiring, stored energy, water, heat or damaged insulation, the useful decision is to stop—not to find a more confident-sounding internet instruction.
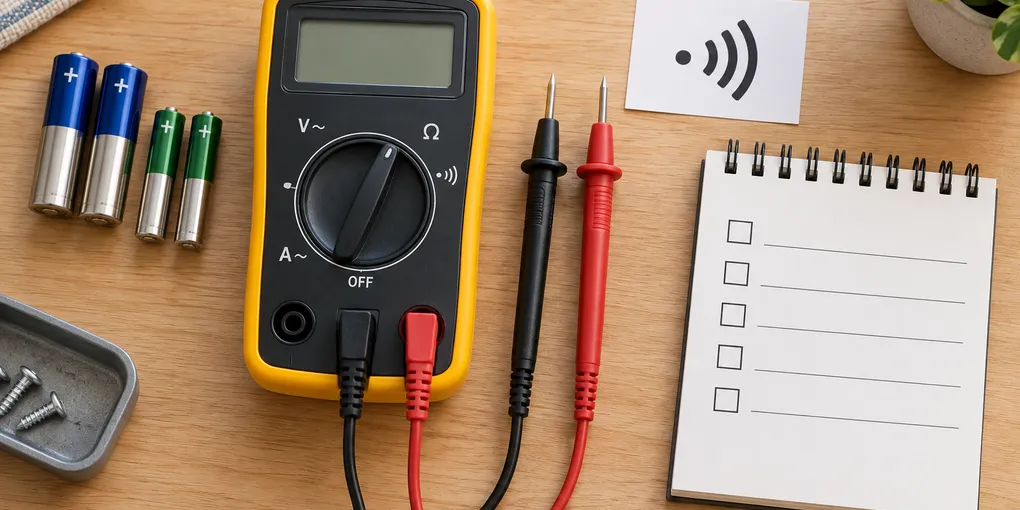
Hero image: original conceptual illustration generated for Lejnel.com with OpenAI image generation; it is not a photograph of a performed test.
Take it with you
- Download the multimeter home-check checklist
A plain-text pre-check and stop-point list for low-risk beginner checks.
Sources
Frequently Asked Questions
What should I test first with a multimeter?
Start with a known AA battery in DC-voltage mode, because it is a low-voltage example with an expected result around 1.5 volts. Then move to continuity or resistance on an unplugged fuse or wire only after confirming the item is unpowered.
Why does my multimeter say OL?
OL commonly means overload, out of range or an open circuit, depending on the mode and meter. Check the manual, confirm the function and range, and do not interpret OL as proof that a circuit is safe.
Can a beginner test a wall outlet with a multimeter?
A wall outlet is a live mains source and is not a good first exercise. If you are not trained for live electrical testing and do not have correctly rated equipment, stop and use a qualified electrician or an appropriate non-contact tester according to its instructions.