Quick answer
To take better phone photos, clean the lens, find soft light, tap your subject to focus, lower exposure when highlights are blown out, use the normal lens instead of heavy digital zoom, and hold the phone steady. Then take several frames and edit lightly.
A better phone photo usually comes from a better decision, not a newer phone. Clean glass, useful light, a steady grip, and a simple frame will improve more pictures than another camera app or a longer list of filters.
The steps below work on iPhone and Android. Menu names differ, but the principles are the same: control the light, tell the camera what matters, and remove distractions before you press the shutter.
1. Clean the lens before you shoot
Your phone spends most of its life in a pocket or on a table. Fingerprints and dust create a hazy glow around lights and make fine detail look soft, especially in backlit scenes.
Wipe the camera glass with a clean microfiber cloth or a soft cotton shirt. Do not use a rough paper towel, and do not spray cleaner directly onto the phone. Check the lens again if a picture looks mysteriously foggy.
2. Put the light where it helps
Phone cameras are small, so they need useful light. Start by turning your subject toward a window or placing the light to one side. Soft daylight is usually kinder than a harsh ceiling light directly overhead.
Avoid putting a bright window behind a person unless you want a silhouette. If the background is much brighter than the face, move the person, turn them toward the light, or tap their face and lower the exposure slightly.
At midday, look for open shade rather than direct sun. A doorway, porch, or the shadow of a building can give you even light without making people squint.
3. Tap the subject and set the brightness
The camera has to decide what to focus on and how bright the picture should be. Help it. Tap the main subject on the screen before taking the photo.
A small sun or brightness slider usually appears beside the focus box. Drag it down if white clouds, a window, or a pale shirt has lost all detail. Drag it up carefully if the subject is buried in shadow. A slightly dark photo often retains more useful detail than a highlight that has turned into a blank white patch.
On many iPhones, pressing and holding creates AE/AF Lock. Many Android phones offer a similar focus-and-exposure lock, although the gesture varies by manufacturer. If the scene changes, tap again and reset it.
4. Simplify the frame
Before you shoot, scan the edges of the screen. A rubbish bin, bright sign, loose cable, or branch growing out of someone’s head can pull attention away from the subject.
Move the phone, move the subject, or wait for the background to clear. A plain wall can be stronger than an impressive location full of visual noise.
Turn on the grid in your camera settings if you find composition difficult. Use the lines as guides rather than laws: place a horizon near a horizontal line, leave space in the direction a person is looking, and keep vertical buildings as straight as possible.
5. Use the normal lens before you zoom
Start with the phone’s main, usually 1x, camera. It generally gives you the best balance of light and detail. If you need a closer view, take a step forward before pinching to zoom.
Optical lenses such as 0.5x, 1x, and 2x can be useful, but the labels and quality vary by phone. Heavy digital zoom enlarges a smaller crop and can make hair, text, and distant details look smeared.
There is one important exception: do not walk into danger or disturb wildlife just to avoid zoom. Use the lens that lets you keep a safe distance, then accept that a little softness is better than a risky shot.
6. Hold the phone like a camera
Use both hands, keep your elbows close to your body, and press the shutter gently. If the light is low, brace your hands against a wall, table, or railing. The goal is to stop the phone moving while it records the image.
The volume button can act as a shutter on many phones and is often easier to press without twisting your wrist. A two- or three-second timer also helps for night scenes and any shot where your finger tends to shake the phone.
7. Move your feet for perspective
Zoom changes the crop. Moving changes the relationship between the foreground and background, which changes how the photo feels.
Walk closer for a detail, step back for context, or move sideways until a distracting object is no longer behind your subject. For people, keep the phone around chest or eye level rather than pointing sharply up from waist height. Ultra-wide lenses can stretch faces and limbs near the edges, so keep people near the center when you use one.
Take a vertical frame for a person, building, or story meant for a phone screen. Use horizontal when the scene needs width, such as a landscape or a group around a table.
8. Choose Portrait and Night modes deliberately
Portrait mode is a tool, not a requirement. Use it when the subject is separated from the background and you want attention on them. Look closely at hair, fingers, glasses, and plant leaves: artificial blur can cut around these edges badly.
Night mode combines several exposures while you hold still. It can rescue a static street, room, or landscape, but it cannot freeze a running child or a moving pet. For motion, find more light, raise the phone’s shutter speed if your camera app allows it, or take several frames and choose the sharpest one.
The normal camera is often the honest choice. If the phone’s software makes the scene look painted, try turning off an exaggerated filter or reducing the effect in editing.
9. Take three versions, not one hundred
Small changes matter. After your first frame, take another with a slightly different composition, one with a little more space around the subject, and one after checking focus. For people, ask them to hold still for one second and capture a few expressions rather than relying on a single blink-prone frame.
Review the image immediately when the moment matters. Zoom in just enough to check eyes, text, and important edges. A photo that looks sharp as a thumbnail can be blurred at full size.
Delete obvious duplicates later. Keeping every failed frame makes it harder to find the good one and fills your library quickly; if storage is already tight, use this guide to free up space on your phone.
10. Edit with a light touch
Editing should clarify the photo, not replace it. Start with the crop and straighten tools. Then make small adjustments to exposure, highlights, shadows, contrast, and colour. Stop when the image looks like the scene you remember.
A useful order is:
- Crop out distractions and choose the final orientation.
- Straighten the horizon or strong architectural lines.
- Recover bright highlights if the app allows it.
- Lift shadows only until the subject is readable.
- Add a little contrast or warmth if the image feels flat.
- Sharpen gently, especially for text or architecture.
Save the original when your app supports non-destructive edits. Export a copy for sharing rather than repeatedly saving over the only full-resolution file. Your phone’s Photos or Gallery app is enough for most of this; you do not need a complicated editor to make a noticeable improvement.
Quick fixes for common situations
- Indoor people: face them toward a window, turn off a competing ceiling light, and tap the face.
- Moving pets or children: add light, use burst or rapid shots, and accept that several frames will miss.
- Food: shoot from the side for height or from above for a flat lay; remove wrappers and bright clutter first.
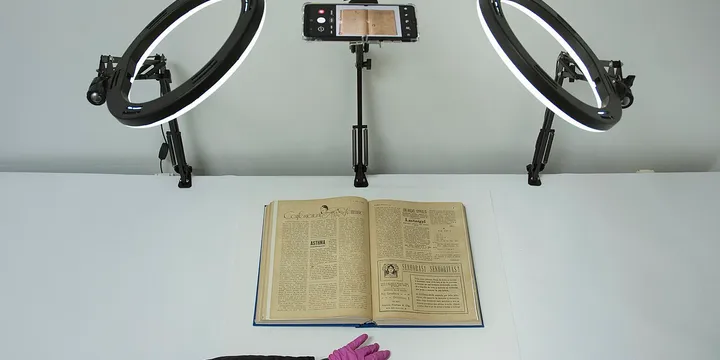
- Documents: place the page flat, use even light, keep the phone parallel, and use a document-scanning guide if your phone offers one.
- Night streets: brace the phone, use Night mode for still scenes, and avoid touching the screen until capture finishes.
- Screens and receipts: reduce reflections by changing your angle; if you need to share what is on a screen, a screenshot shortcut may be cleaner than photographing it.
A five-second checklist
Before you press the shutter, ask:
- Is the lens clean?
- Is the main subject well lit?
- Did I tap to focus?
- Is anything distracting at the edges?
- Am I holding still, and am I using the right lens?
After you take the picture, make one more decision: keep the best frame and remove the obvious misses. Back up important photos and keep them available across your devices with a reliable sync routine; the universal device access guide covers the broader setup.
Better phone photography is mostly a repeatable pre-shot routine. Clean, light, simplify, focus, steady, and edit less. Practice those six decisions for a week and your current phone will probably give you more useful pictures before you need a new one.
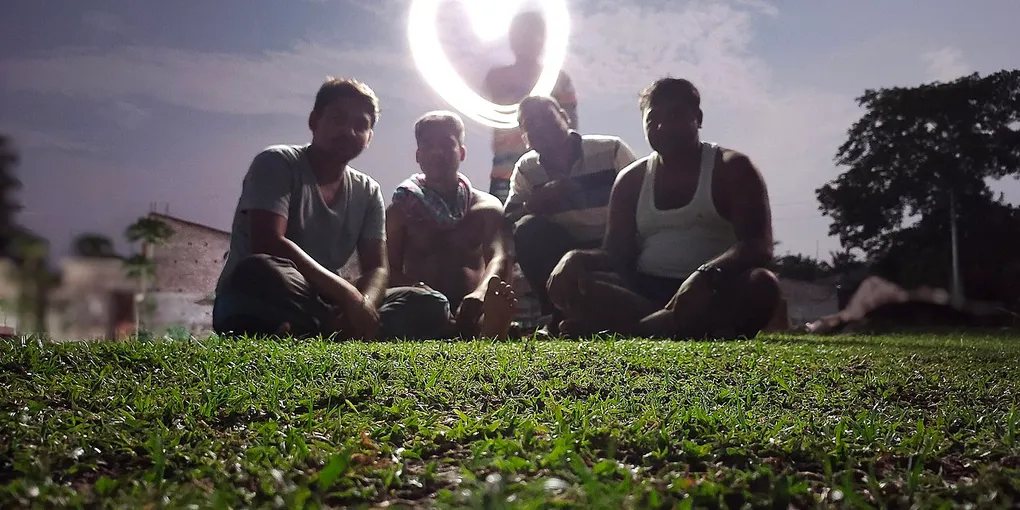
Hero image: Apurv013, CC0, via Wikimedia Commons.
Frequently Asked Questions
How can I take better photos with my phone?
Clean the lens, put the light in front of or beside your subject, tap to focus, and use the normal camera lens rather than heavy digital zoom. Hold the phone with two hands, simplify the background, take several frames, and make only small edits afterward.
What is the best camera setting for phone photography?
There is no single best setting for every phone, but the normal 1x lens, grid lines, HDR or automatic dynamic-range mode, and a moderate image resolution are useful defaults. Turn on RAW only when you plan to edit carefully and have enough storage.
How do I take sharp photos in low light?
Move closer to a lamp or window, steady the phone against a solid surface, and hold still until the capture finishes. Use Night mode when it appears, but avoid moving subjects because the longer exposure can create blur.
Should I use portrait mode for every photo?
No. Portrait mode works best for a clearly separated person or object with a reasonably simple outline. For groups, pets, hair, glasses, plants, and busy backgrounds, the normal camera often produces a more natural result.