Quick answer
Use one toilet-safe cleaner at a time, ventilate the bathroom and wear the protection on its label. Clean from the tank and handle down to the bowl and floor, let the bowl product work for its stated time, scrub under the rim, then rinse or flush. Never mix bleach with toilet-bowl cleaner, acids, ammonia or urine.
Routine cleaning removes visible soil. Disinfection is a separate task: the EPA distinguishes it from cleaning, and the product label controls the surface, dilution, protective equipment, contact time and rinse instructions. This guide therefore does not prescribe a cleaner, dose or waiting time.
Choose the route before opening a bottle
| What you see | Safe next action | Do not do |
|---|---|---|
| Ordinary soil on the exterior or bowl | Use one toilet-safe product exactly as its label directs; wipe high surfaces before the base and floor | Add a second product because the first one smells weak |
| A bowl ring or mineral-looking mark | Check the fixture manual and use only a product labeled for that bowl and use | Scrape with metal or improvise an acid mixture |
| Illness-related or body-fluid contamination | Clean first, then use an EPA-registered disinfectant only where its label permits and for its full stated contact time | Assume every bathroom cleaner disinfects |
| Rising water, clog, leak, loose bowl, sewer odour or cracked seat | Stop cleaning and address the plumbing or damaged part | Pour chemical cleaner into a clog or soak the floor around the base |
| Strong fumes, eye/throat irritation, or products accidentally mixed | Leave for fresh air and contact local emergency or poison-control services for advice | Stay to “air it out” or add another product |
A modest routine clean
First identify the toilet, seat, bidet attachment and any electronic controls. Their manuals may limit cleaners or moisture. Ventilate the room, keep children and pets away, and wear the protection required by the product label.
Use a separate cloth for the outside and floor. With a mild product approved for the relevant surface, wipe the tank, handle, lid, seat, hinges and bowl exterior from high to low. Apply product to the cloth rather than spraying electronic controls or hinges. A damp floor around the base can conceal a leak, so use only the amount appropriate for the floor finish.
For the bowl, use one product labeled for toilet bowls. Apply, wait and brush only as that product directs, then flush or rinse as directed. If the toilet is clogged or water is rising, do not add a chemical; use a mechanical method or the toilet-unclogging guide instead. A slow flush, recurring refill or water on the floor is a repair symptom, not a cleaning failure; the running-toilet guide covers a separate tank diagnosis.
The non-negotiable chemical boundary
Keep every other cleaner closed until the first one has been used, rinsed and put away. Never mix household cleaners. Poison Control warns that mixing bleach with acidic toilet products can create chlorine gas, while bleach with ammonia can create chloramine gas. The same caution applies to a product left in the bowl: do not add bleach, vinegar, ammonia or another cleaner on top of it.
If cleaning is not enough and disinfection is genuinely needed, pre-clean first and follow the disinfectant label exactly. EPA guidance says the listed contact time is the time the surface must remain wet. It is not a general number that can be transferred from one product to another.
Stains and persistent odours are a reason to narrow the job
Do not treat a returning stain as proof that a stronger chemical is needed. Orange or reddish staining can have a water or plumbing cause; Seattle Public Utilities notes that recurring discoloration can merit investigation of the source. A cracked bowl, water that looks unusual, a persistent sewer smell, or a toilet that moves at its base needs a plumber or water utility rather than further scrubbing.
Finish by putting products away, washing hands and letting reusable tools dry. A repeatable, label-led clean is more useful than a universal recipe because the product and fixture—not this page—determine the safe chemistry.
Sources
- U.S. EPA: What’s the difference between products that disinfect, sanitize, and clean surfaces?
- U.S. EPA: Selected EPA-Registered Disinfectants
- Poison Control: Top tips for a safe spring cleaning
- Seattle Public Utilities: Water Aesthetics
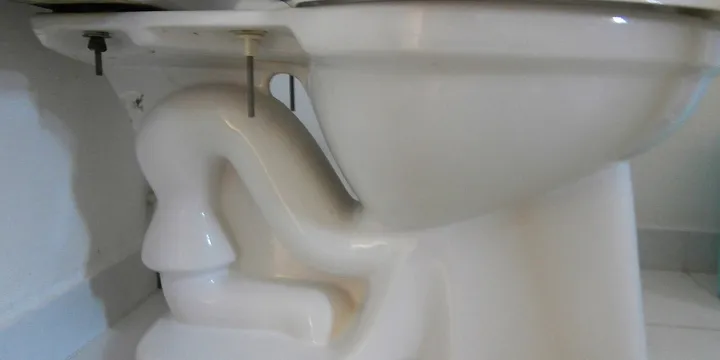
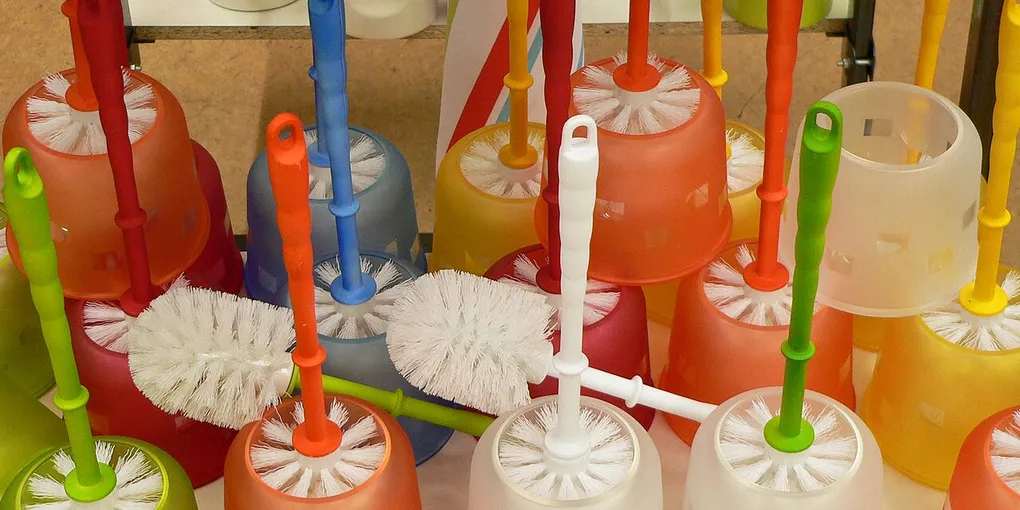
Hero image: Photograph: Frank C. Müller, Baden-Baden, CC BY-SA 4.0, via Wikimedia Commons.
Sources
Frequently Asked Questions
What is the best way to clean a toilet?
Start with ventilation, gloves and one toilet-safe product. Clean the exterior from top to bottom, apply bowl cleaner under the rim according to its label, let it work for the stated time, brush the bowl and rinse or flush. Use a separate cloth for the floor and never mix products.
How do you remove hard-water stains from a toilet bowl?
Choose a toilet-safe limescale or mineral-deposit cleaner and follow its label, especially for stains below the waterline. Avoid metal scrapers and aggressive abrasives that can damage the finish. If orange staining returns, investigate the water or plumbing source instead of scrubbing harder.
Can you mix bleach and toilet-bowl cleaner?
No. Never mix bleach with toilet-bowl cleaner, acids, ammonia or any other household cleaner. Poison Control warns that bleach and acidic toilet products can form chlorine gas, while bleach and ammonia can form chloramine gas.
How often should you clean a toilet?
Wipe the handle and seat when visibly dirty, clean the bowl and exterior weekly as a practical starting routine, and do a deeper hinge, base and floor check when buildup returns. Clean more often when someone is ill or there is visible contamination, following the product label.